Django RESTful API
In this Django RESTful API we will learn to create a RESTful API with Django. Here we will Create, Read, Update and Delete posts using RESTful API. We will use the POSTMAN to test our API.
Table of Contents
- Basic Setup
- Create the Application
- Install Django REST framework
- Create Superuser
- Output So Far
- Postman
- Login
- Permissions
- Authentication
- Postman to use our API
- Documentation
Basic Setup
Install Django
#terminal
pip install django
#terminal
django-admin startproject Django_REST_API
cd Django_REST_API
python manage.py runserver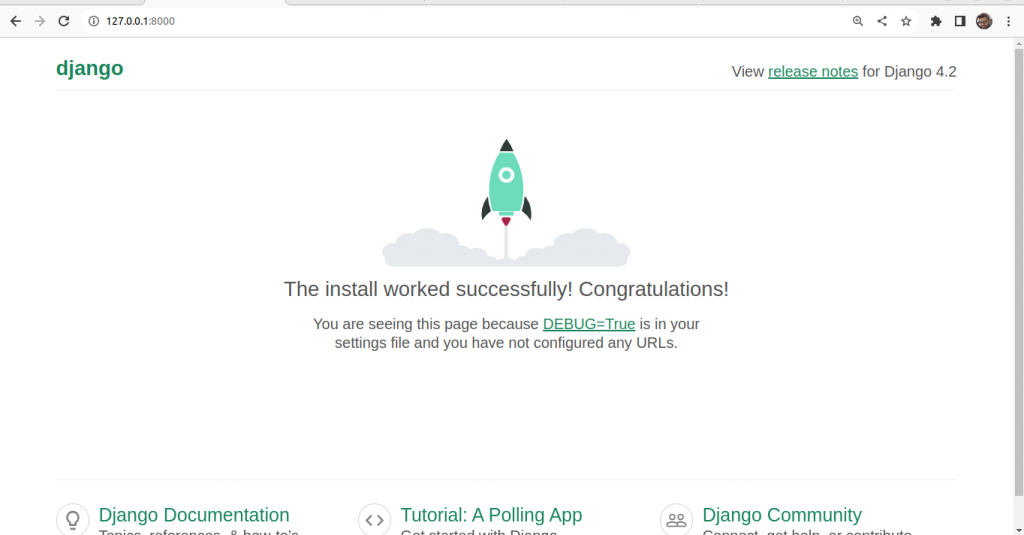
Create the Application
#terminal
django-app startapp Haiku
Add app to the project
#settings.py
INSTALLED_APPS = [
    'Haiku',
    'django.contrib.admin',
    'django.contrib.auth',
    'django.contrib.contenttypes',
    'django.contrib.sessions',
    'django.contrib.messages',
    'django.contrib.staticfiles',
]
Create the Model
Edit the models.py file of Haiku application.
from django.db import models
from django.contrib.auth.models import User


# Create your models here.
class NoteModel(models.Model):
    title = models.CharField(max_length=225,unique=True)
    content = models.TextField()
    created_at = models.DateTimeField(auto_now_add=True)
    updated_at = models.DateTimeField(auto_now_add=True)
    user = models.ForeignKey(User, on_delete=models.CASCADE)  # Add a ForeignKey to User


    def __str__(self):
        return self.title
Install Django REST framework
#terminal
pip install djangorestframework
Add it to the list of installed applications
# Application definition

INSTALLED_APPS = [
    'Haiku',
    'django.contrib.admin',
    'django.contrib.auth',
    'django.contrib.contenttypes',
    'django.contrib.sessions',
    'django.contrib.messages',
    'django.contrib.staticfiles',

    'rest_framework',
]
Serializers
Create a new file Haiku/serializers.py
from rest_framework import serializers

from .models import HaikuModel

class HaikuSerializer(serializers.ModelSerializer):

    class Meta:
        model = HaikuModel
        fields = '__all__'
Views.py
Now add following code to Haiku/views.py
from rest_framework import viewsets
from .models import HaikuModel
from .serializers import HaikuSerializer

class HaikuModelViewSet(viewsets.ModelViewSet):
    queryset = HaikuModel.objects.all()
    serializer_class = HaikuSerializer
urls.py
Create a file Haiku/urls.py
from django.urls import path, include

from rest_framework.routers import SimpleRouter

from .views import HaikuModelViewSet

router = SimpleRouter()

router.register("",HaikuModelViewSet, basename="posts")
urlpatterns = router.urls
Now, add following line of code to urls.py of the project.
from django.contrib import admin
from django.urls import path,include

urlpatterns = [
    path('admin/', admin.site.urls),
     path('api/v1/', include('Haiku.urls')),
]
Make migrations
#terminal
python manage.py makemigrations
python manage.py migrate
Create Superuser
#terminal
python manage.py createsuperuser
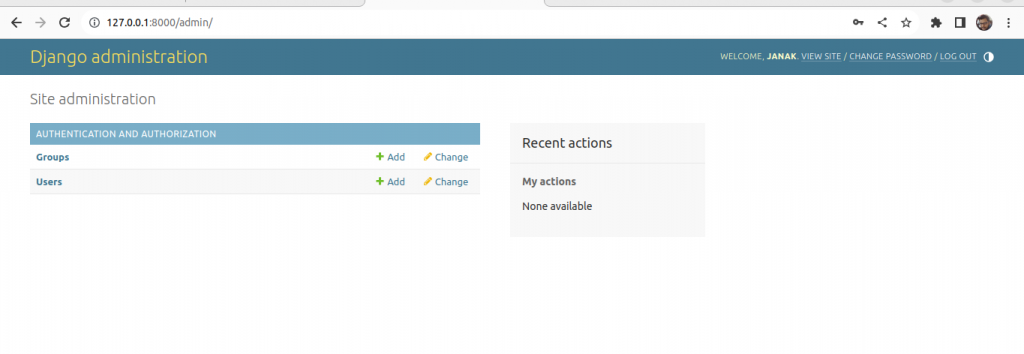
Run the server and login as superuser.
Register model to admin
We do not see our model here so we need to register our model to admin.
Add the following codes to Haiku/admin.py
from django.contrib import admin
from .models import HaikuModel
# Register your models here.


admin.site.register(HaikuModel)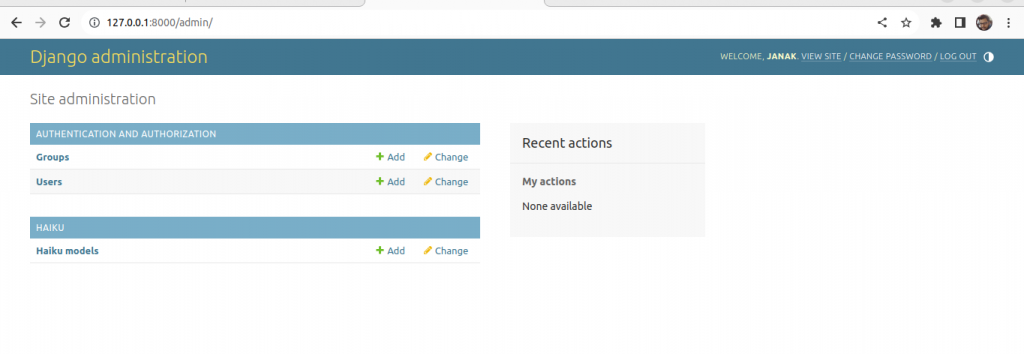
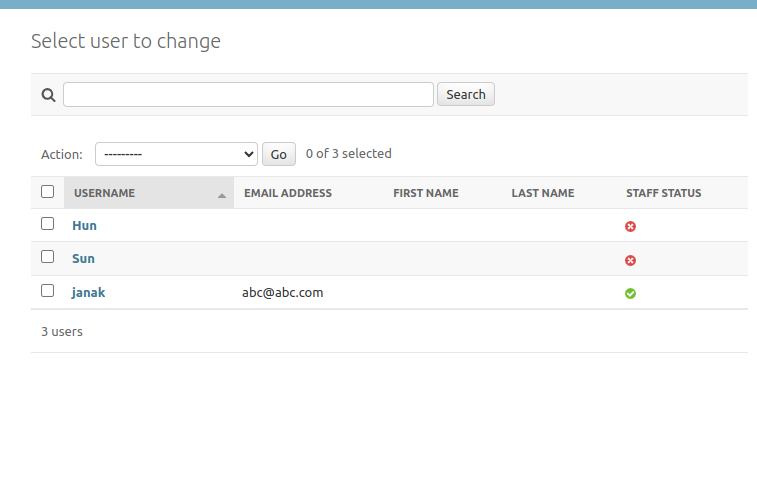
Create users
Create few users.
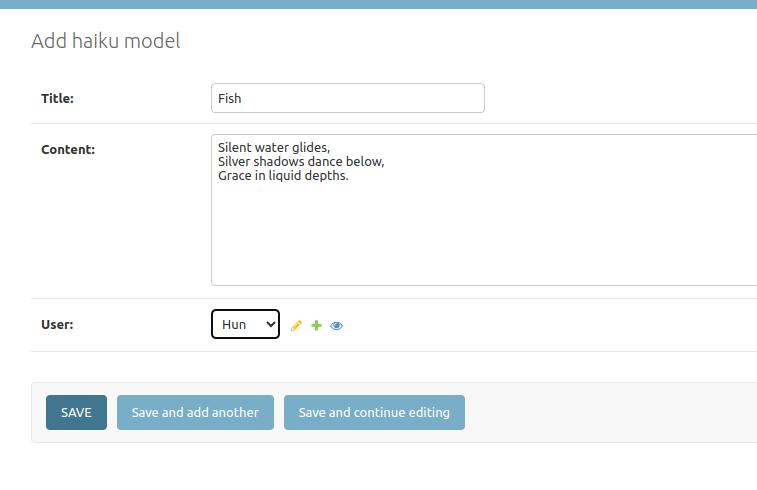
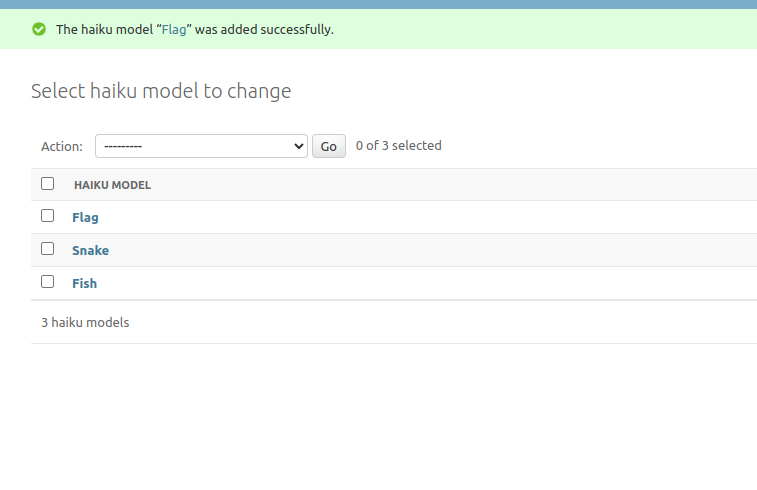
Add contents
Now write some Haiku.
Output so far
The landing page containing list of Haiku and form to create a new one.
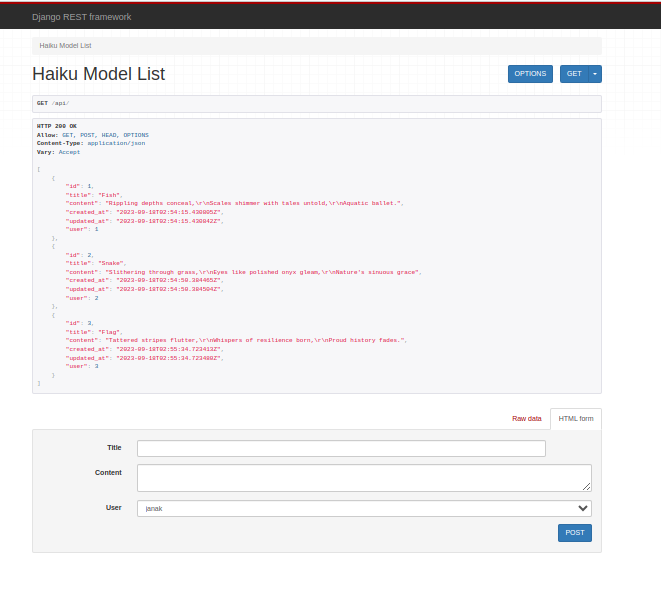
Create a Haiku from this form.

Visit http://127.0.0.1:8000/api/1/ to see detail page and also form to update the Haiku.

Update the content.
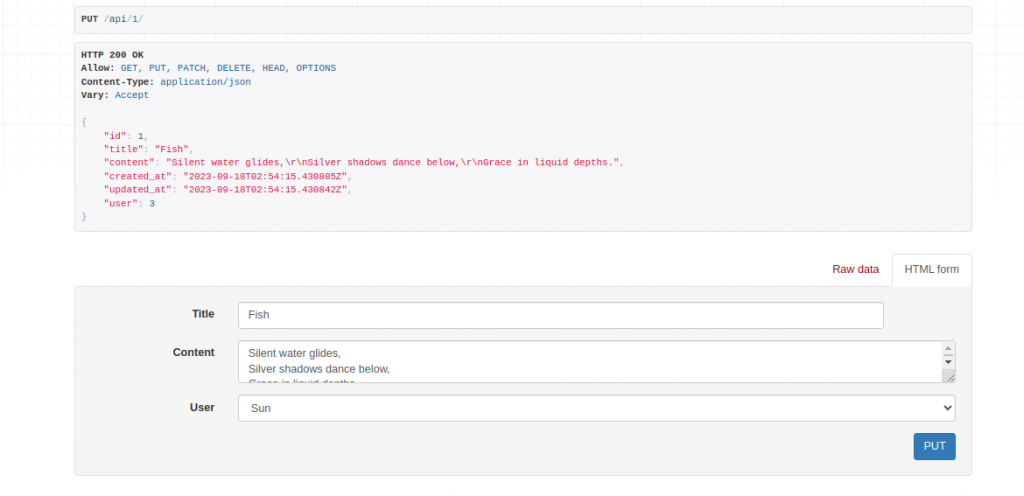
Notice that you can change the name of user (author) of the Haiku. You do not need to be logged in to do anything for now.
We can also delete our Haiku if we want.
Postman
link to postman
We will use Postman to test our API so far.
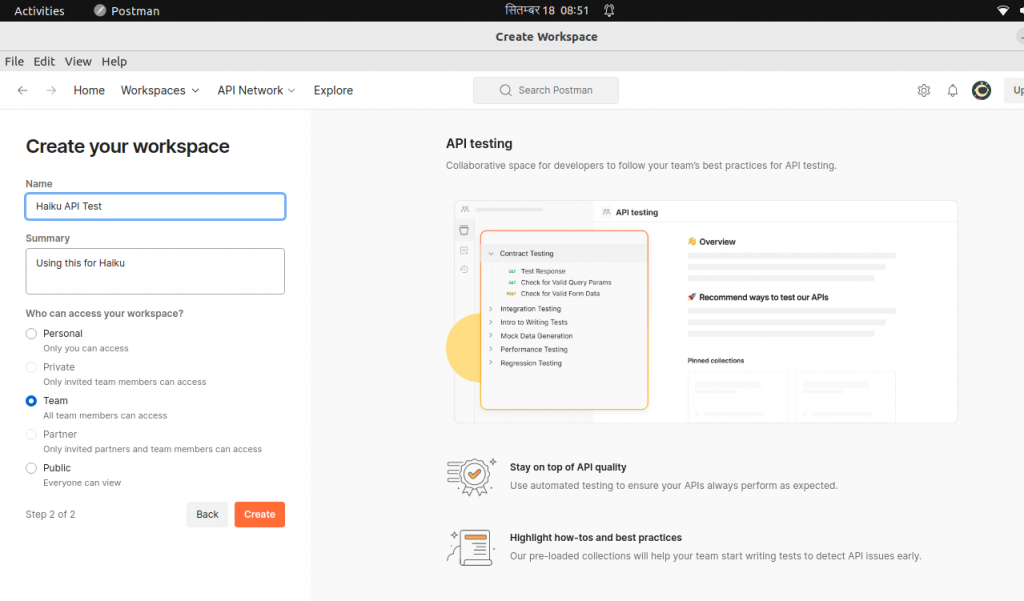
Create a new workspace.
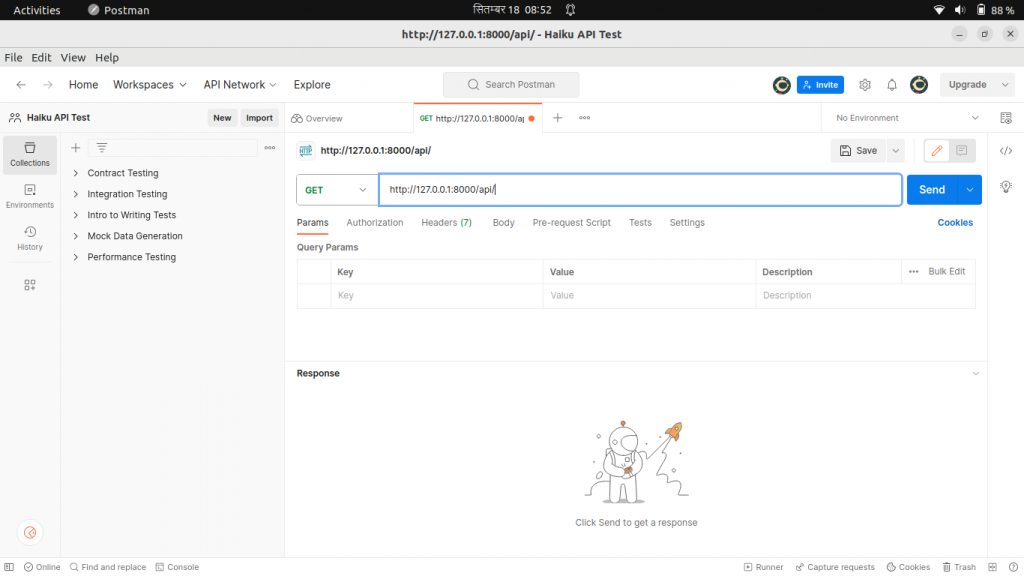
Now click send.
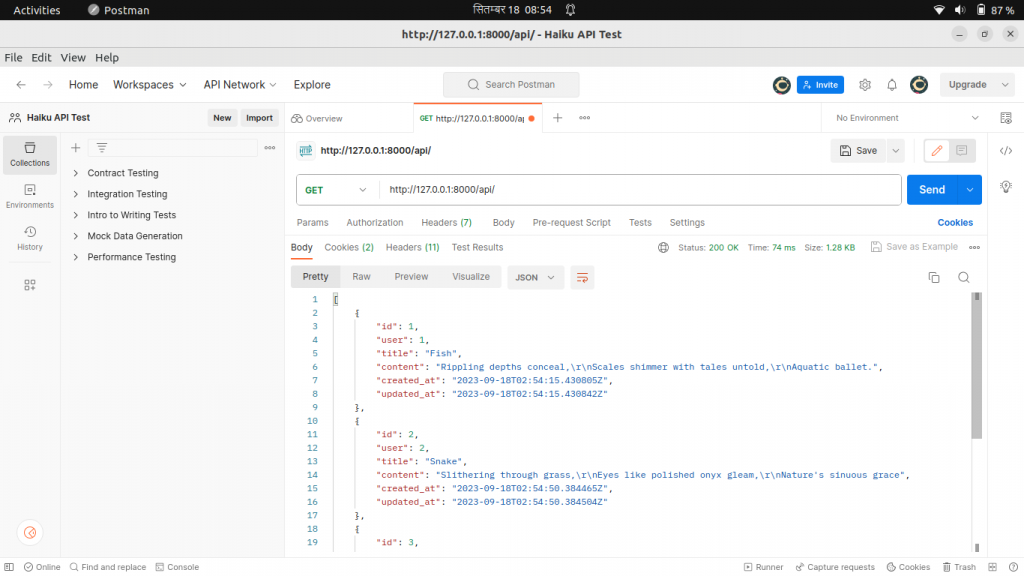
To create the new post

To see details
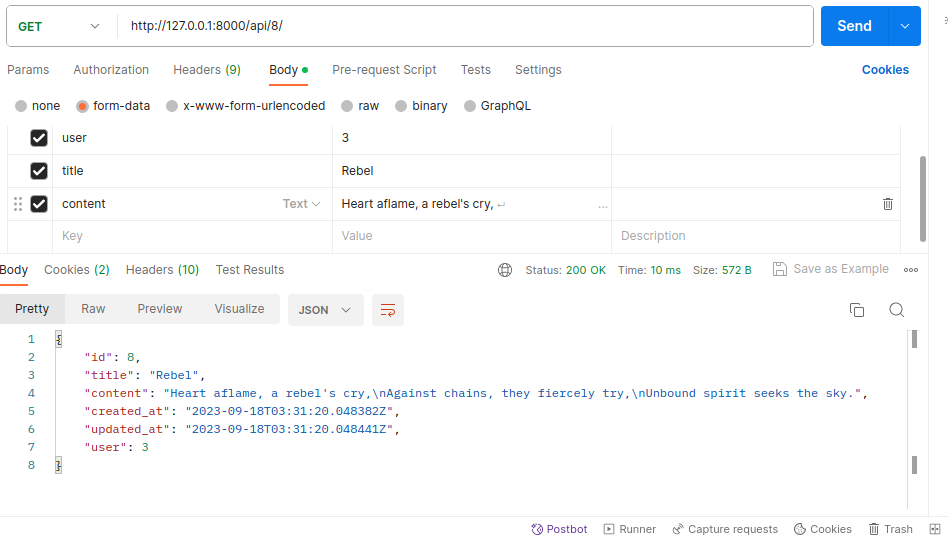
To update details with postman
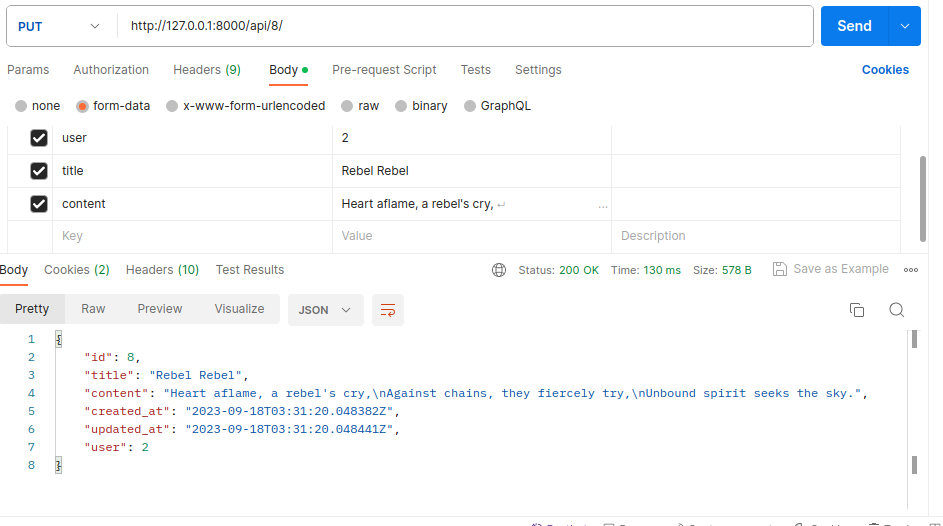
Notice the username and the title has been changed.
login
Edit uls.py file of the project as follows.
from django.contrib import admin
from django.urls import path,include

urlpatterns = [
    path('admin/', admin.site.urls),
     path('api/v1/', include('Haiku.urls')),
     path('api-auth/',include("rest_framework.urls")),
     ]
Run the server and visit.
http://127.0.0.1:8000/api-auth/login/
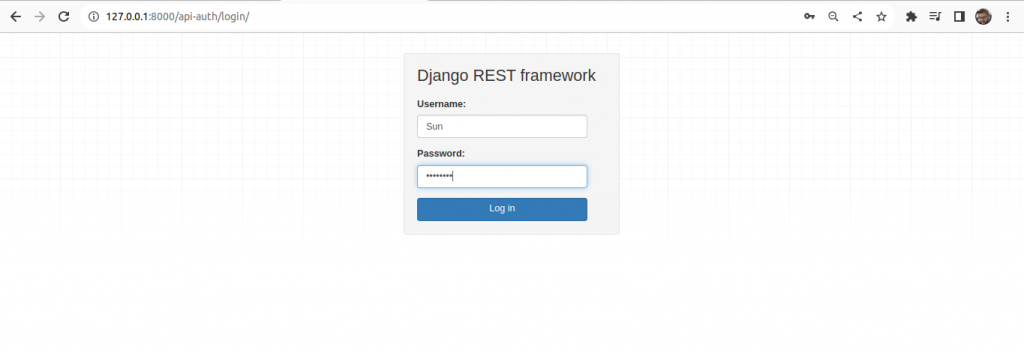
Try login with Postman


To deal with this.
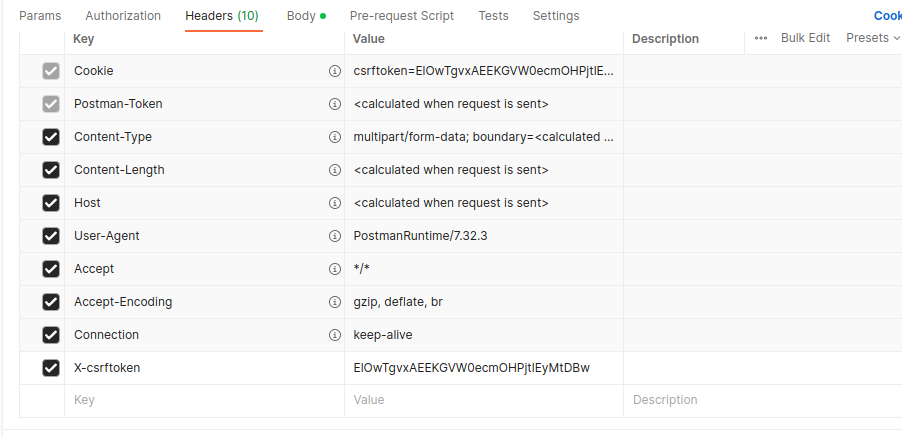

Permissions
We want the logged in user to be the author of the Haiku.
Edit the serializers.py as follows.
from rest_framework import serializers

from .models import HaikuModel

class HaikuSerializer(serializers.ModelSerializer):
    user = serializers.PrimaryKeyRelatedField(read_only=True, default=serializers.CurrentUserDefault())
    class Meta:
        model = HaikuModel
        fields = '__all__'

    def save(self, **kwargs):
        """Include default for read_only `user` field"""
        kwargs["user"] = self.fields["user"].get_default()
        return super().save(**kwargs)
We are logged in as ‘Sun’ or user no 3.
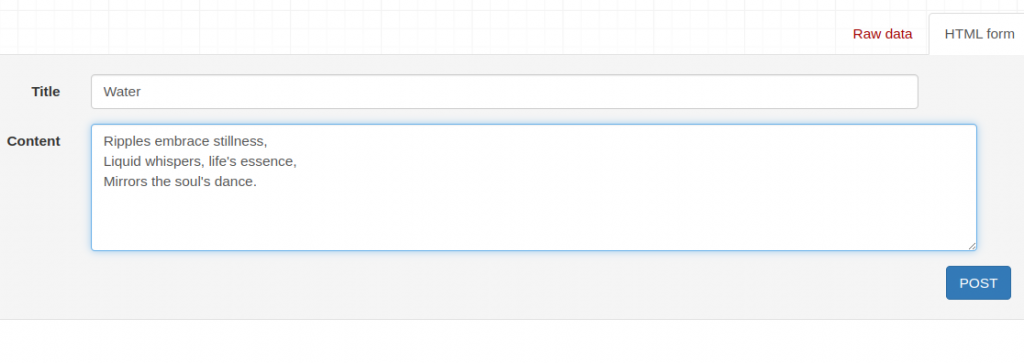
After posting

In order to use our API our user need to be logged in.
Add following code to settings.py
REST_FRAMEWORK = {
    'DEFAULT_PERMISSION_CLASSES': (
        'rest_framework.permissions.IsAuthenticated',  # Example: Only authenticated users have access
    ),

}
Logout (if logged in) and try to access http://127.0.0.1:8000/api/v1/.
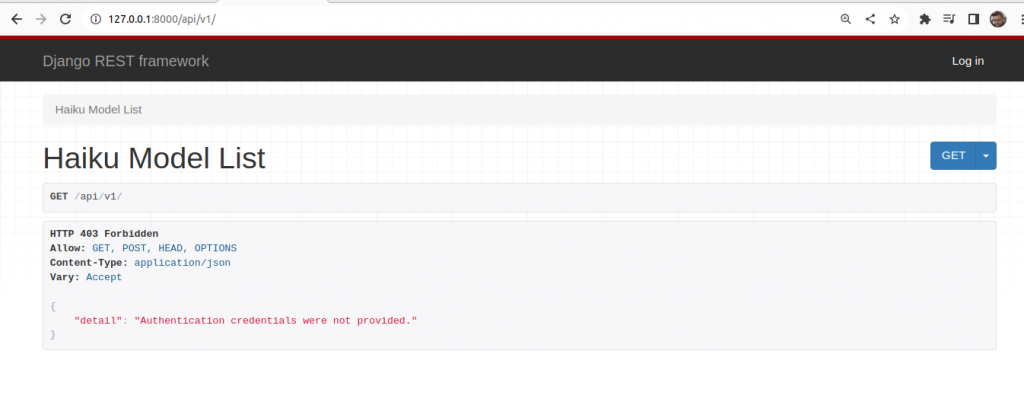
Only the owner can update or delete the Haiku.
Log in again and try to visit
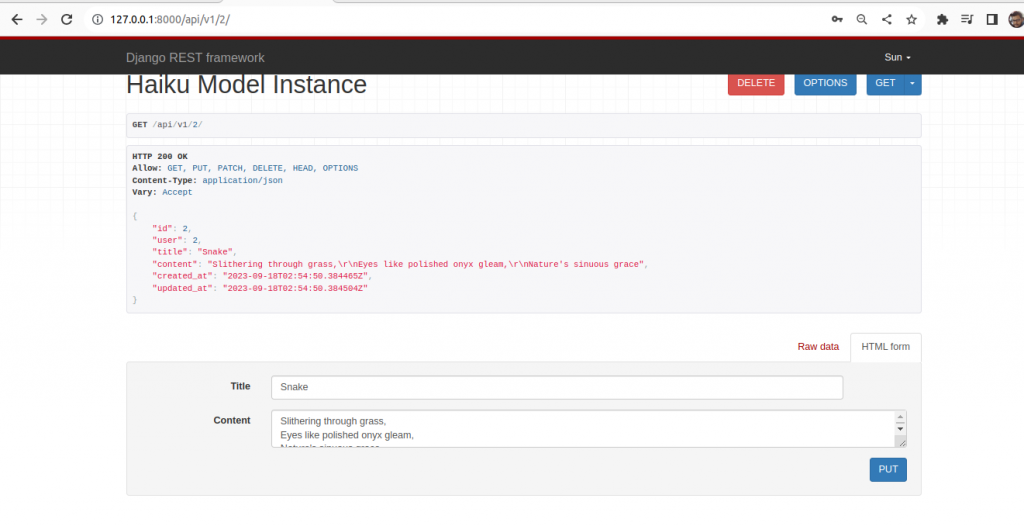
Create Haiku/permissions.py and fill it with the following code.
from rest_framework import permissions

class IsOwnerOrReadOnly(permissions.BasePermission):
    """
    Custom permission to only allow owners of an object to edit it.
    """

    def has_object_permission(self, request, view, obj):
        # Read permissions are allowed to any request.
        if request.method in permissions.SAFE_METHODS:
            return True

        # Write permissions are only allowed to the owner of the post.
        return obj.user == request.user
Now add the following line of codes to views.py
# api/views.py
from rest_framework import viewsets
from .models import HaikuModel
from .serializers import HaikuSerializer
from .permissions import IsOwnerOrReadOnly

class HaikuModelViewSet(viewsets.ModelViewSet):
    permission_classes = [IsOwnerOrReadOnly]
    queryset = HaikuModel.objects.all()
    serializer_class = HaikuSerializer
Now, visit http://127.0.0.1:8000/api/v1/2/ again.
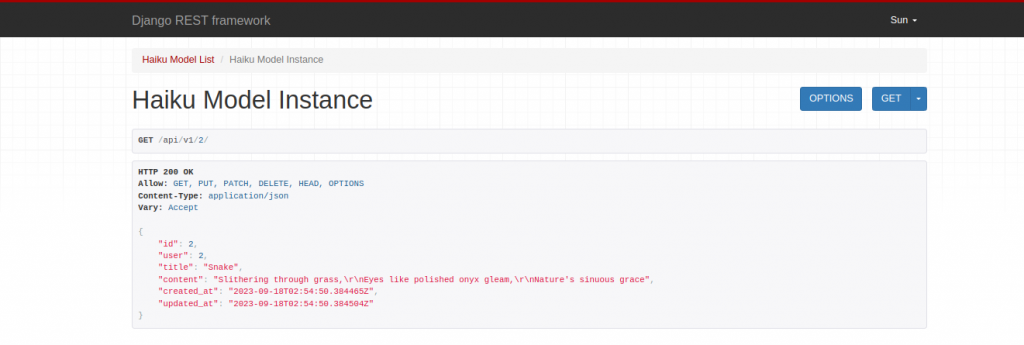
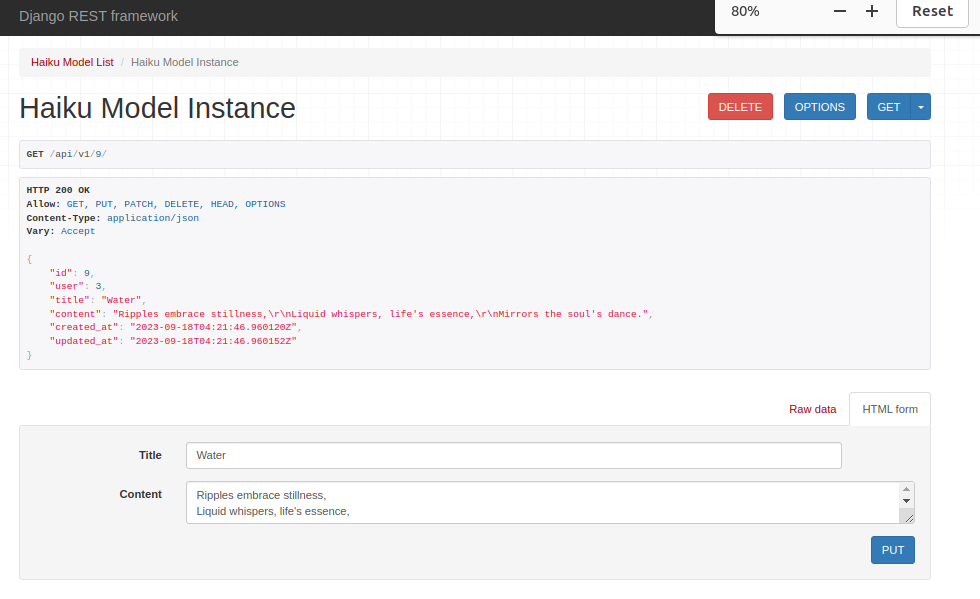
Since, this Haiku was not written by the logged in user so logged in user do not have permission to update or delete it.
Now, visit http://127.0.0.1:8000/api/v1/9/ (or the Haiku created by the logged in user)
Authentication
We will implement token authentication.
Edit settings.py as follows.
# Application definition

INSTALLED_APPS = [
    'Haiku',
    'django.contrib.admin',
    'django.contrib.auth',
    'django.contrib.contenttypes',
    'django.contrib.sessions',
    'django.contrib.messages',
    'django.contrib.staticfiles',

    'rest_framework',
    'rest_framework.authtoken',

]
........................................................
REST_FRAMEWORK = {
    'DEFAULT_PERMISSION_CLASSES': (
        'rest_framework.permissions.IsAuthenticated',  # Example: Only authenticated users have access
    ),

    "DEFAULT_AUTHENTICATION_CLASSES":[
        "rest_framework.authentication.SessionAuthentication",
    "rest_framework.authentication.TokenAuthentication",
    ],

}
migrate
#terminal
python manage.py migrate
Also install dj_rest_auth
#terminal
pip install dj-rest-auth
Add it to settings.py
# Application definition

INSTALLED_APPS = [
    'Haiku',
    'django.contrib.admin',
    'django.contrib.auth',
    'django.contrib.contenttypes',
    'django.contrib.sessions',
    'django.contrib.messages',
    'django.contrib.staticfiles',

    'rest_framework',
    'rest_framework.authtoken',
    'dj_rest_auth',
]
Add the following code to urls.py of project.
from django.contrib import admin
from django.urls import path,include

urlpatterns = [
    path('admin/', admin.site.urls),
     path('api/v1/', include('Haiku.urls')),
     path('api-auth/',include("rest_framework.urls")),
     path("api/v1/dj-rest-auth/", include("dj_rest_auth.urls")),

]
Run the server and visit http://127.0.0.1:8000/api/v1/dj-rest-auth/login/
Try to login


User registration
Install django-allauth
#terminal
pip install django-allauth
Again update settings.py
INSTALLED_APPS = [
    'Haiku',
    'django.contrib.admin',
    'django.contrib.auth',
    'django.contrib.contenttypes',
    'django.contrib.sessions',
    'django.contrib.messages',
    'django.contrib.staticfiles',
    'django.contrib.sites',

    'rest_framework',
    'rest_framework.authtoken',
    'allauth',
    'allauth.account',
    'dj_rest_auth',
    "dj_rest_auth.registration",
]
.................................................
MIDDLEWARE = [
    'django.middleware.security.SecurityMiddleware',
    'django.contrib.sessions.middleware.SessionMiddleware',
    'django.middleware.common.CommonMiddleware',
    'django.middleware.csrf.CsrfViewMiddleware',
    'django.contrib.auth.middleware.AuthenticationMiddleware',
    'django.contrib.messages.middleware.MessageMiddleware',
    'django.middleware.clickjacking.XFrameOptionsMiddleware',
    'allauth.account.middleware.AccountMiddleware',
]
.................................................
EMAIL_BACKEND = "django.core.mail.backends.console.EmailBackend"
SITE_ID = 1
Edit urls.py of the project.
from django.contrib import admin
from django.urls import path,include

urlpatterns = [
    path('admin/', admin.site.urls),
     path('api/v1/', include('Haiku.urls')),

     path("api/v1/dj-rest-auth/", include("dj_rest_auth.urls")),
     path("api/v1/dj-rest-auth/registration/",include("dj_rest_auth.registration.urls")),

]
Migrate
#terminal
python manage.py migrate
Run the server and visit http://127.0.0.1:8000/api/v1/dj-rest-auth/registration/
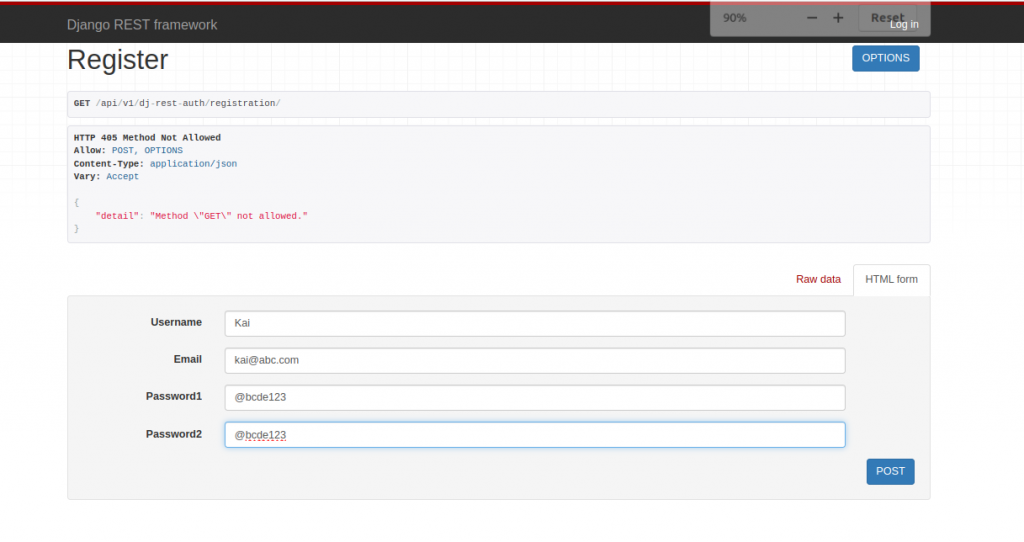
Now visit http://127.0.0.1:8000/api/v1/dj-rest-auth/login/ and log in with the newly registered user.
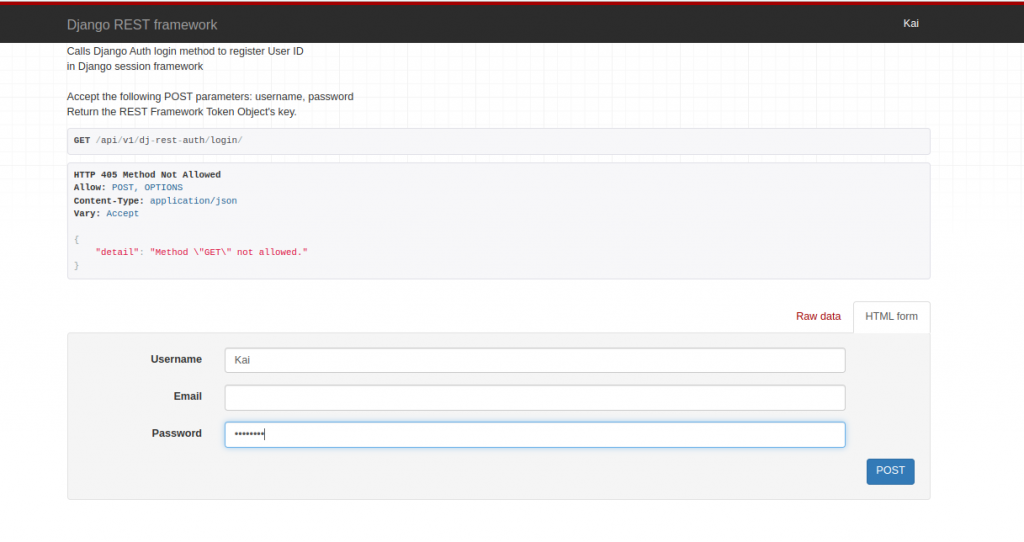
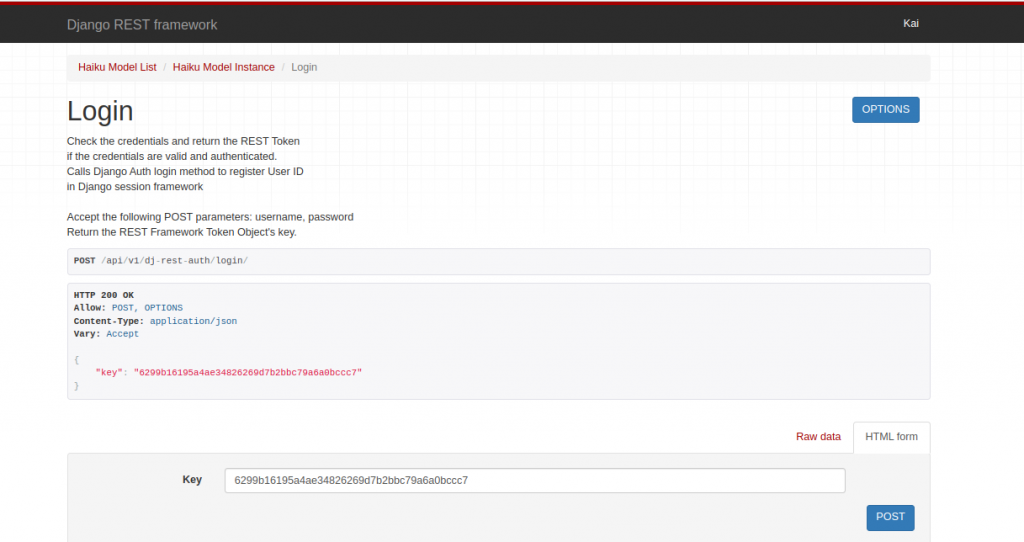
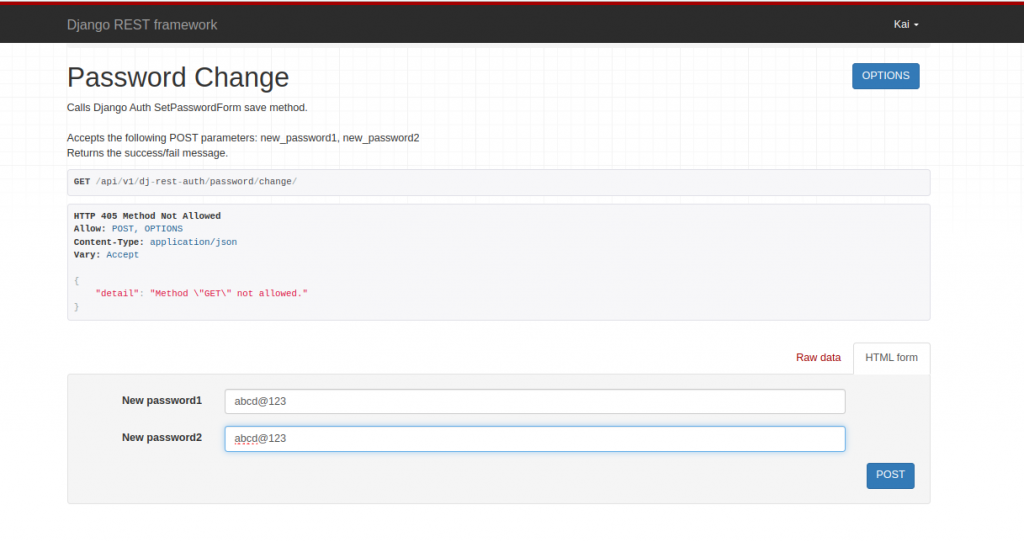
Visit http://127.0.0.1:8000/api/v1/dj-rest-auth/password/change/ to change the password.
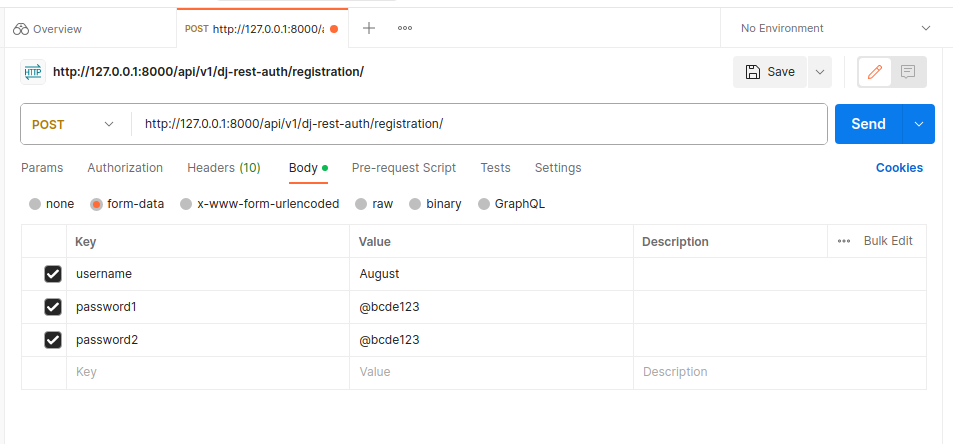
POSTMAN to use our api
New User Registration
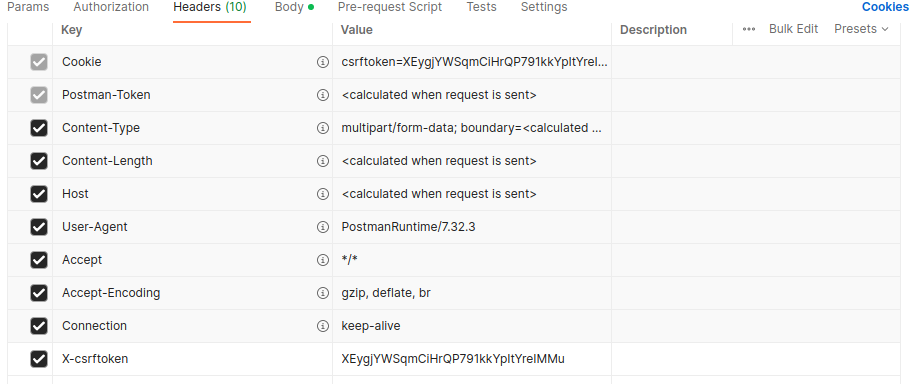
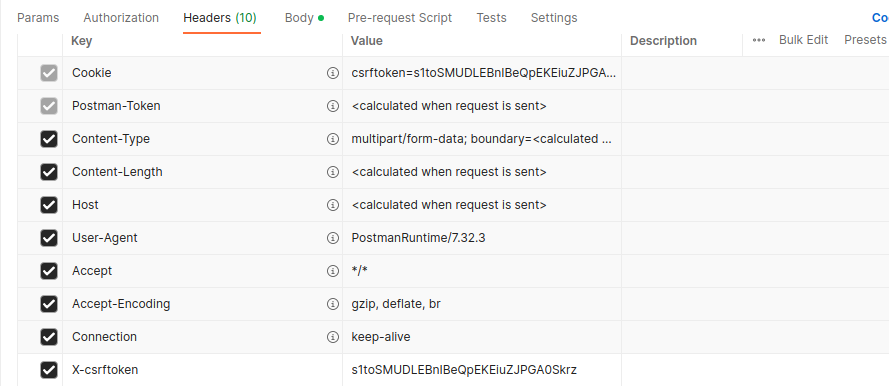
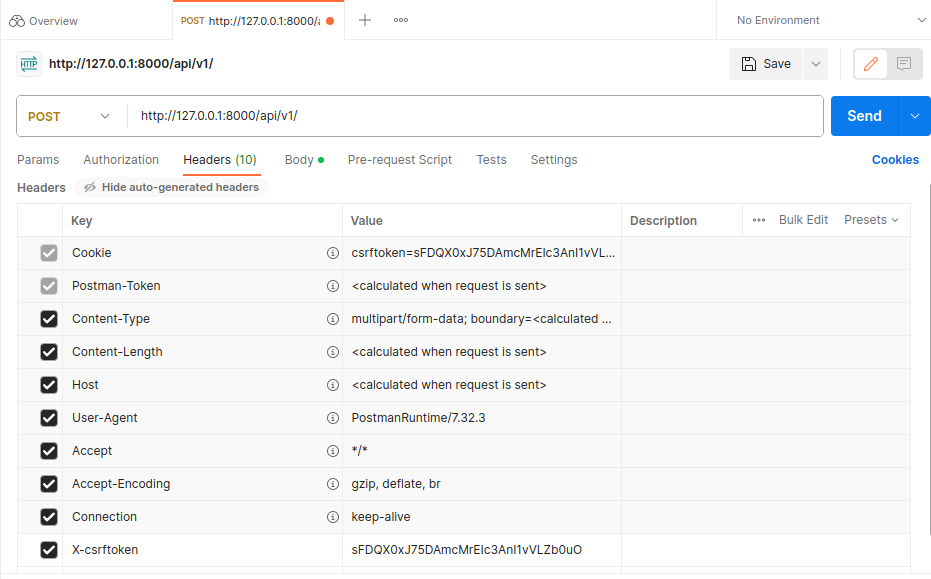
Add X-csrftoken with value of csrftoken within the Cookie
Login
Goto http://127.0.0.1:8000/api/v1/dj-rest-auth/login/
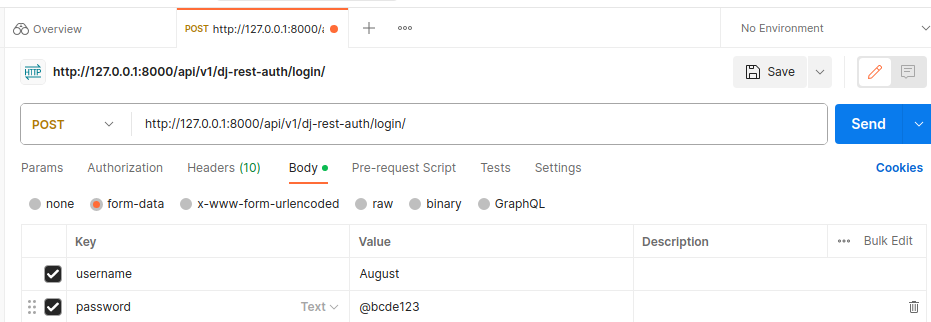
After successful login you will get the token.

Save this key.
Home page
visit http://127.0.0.1:8000/api/v1/
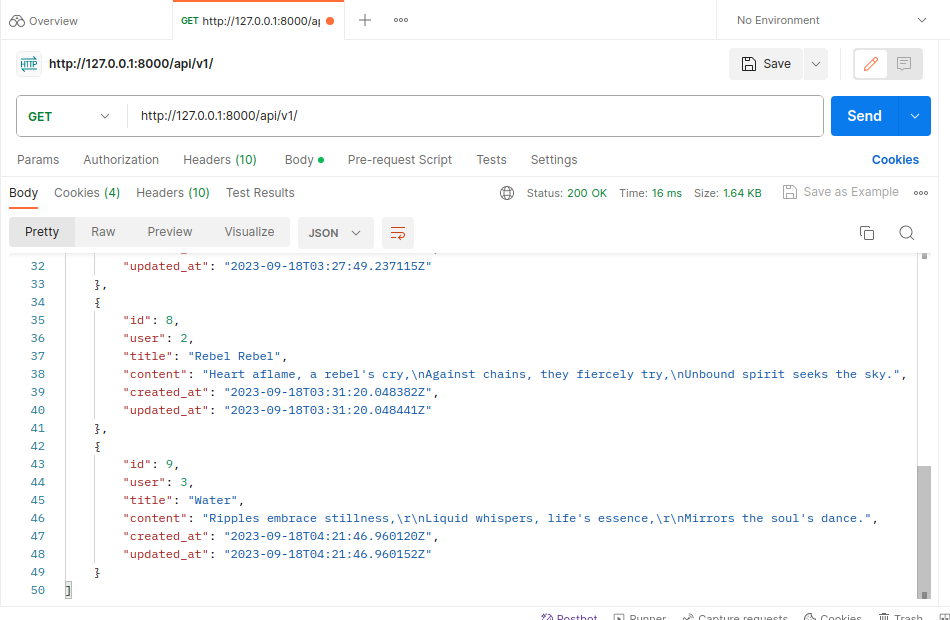
Write a new Haiku
visit http://127.0.0.1:8000/api/v1/ but this time with POST.
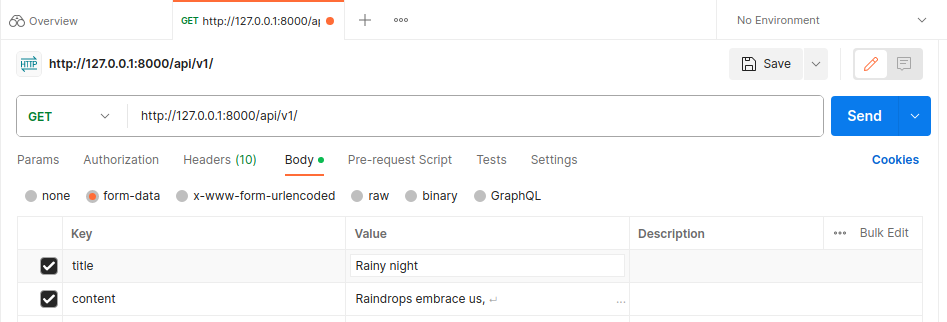
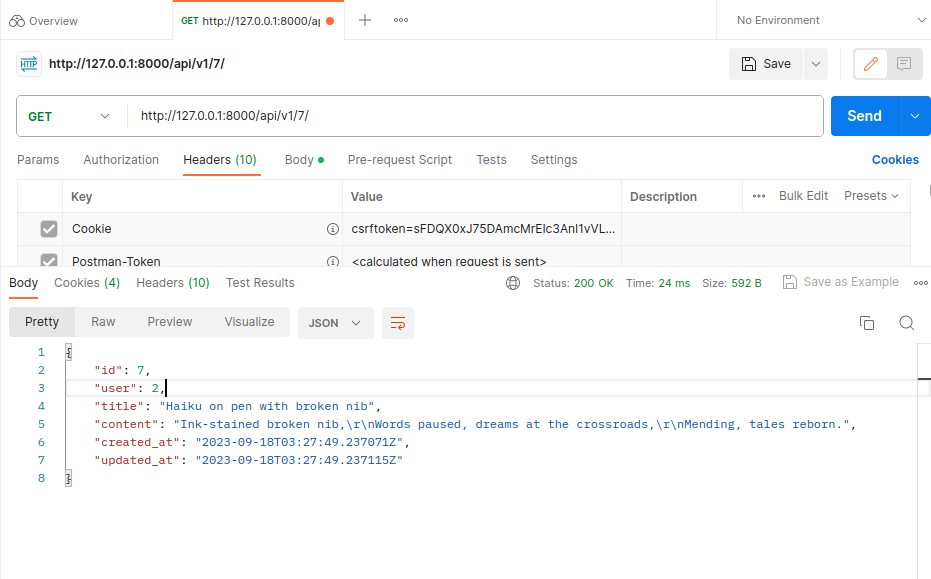
Read other Haiku
http://127.0.0.1:8000/api/v1/7/
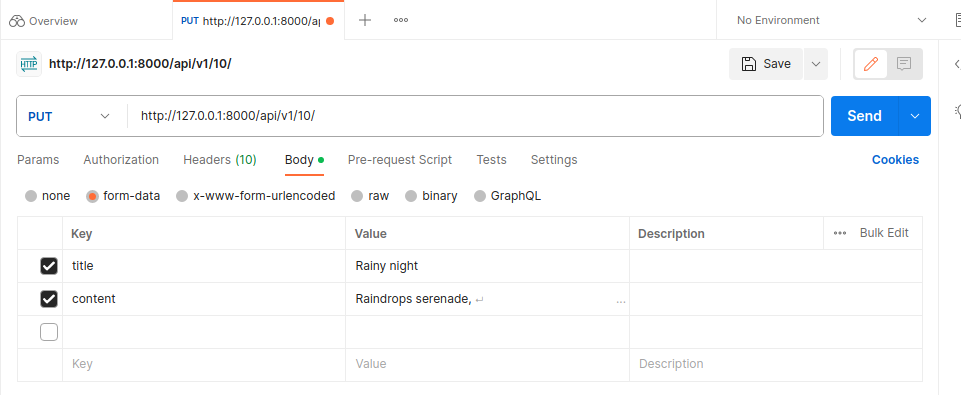
Updating Haiku
Visit http://127.0.0.1:8000/api/v1/10/
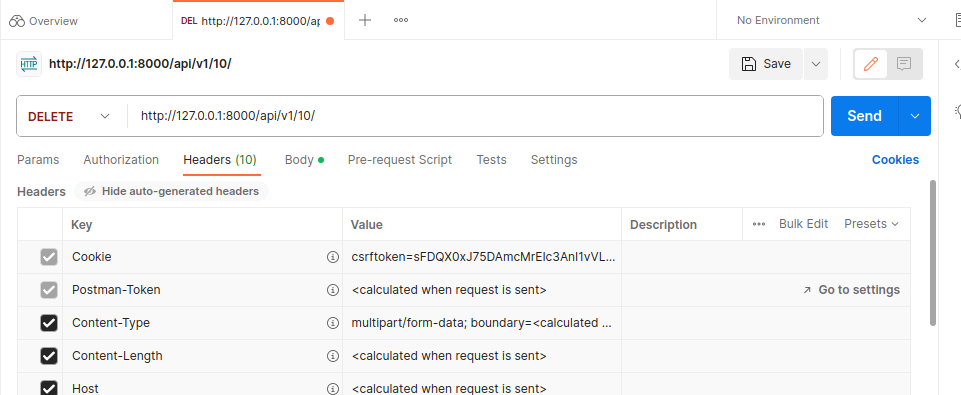
Delete the Haiku
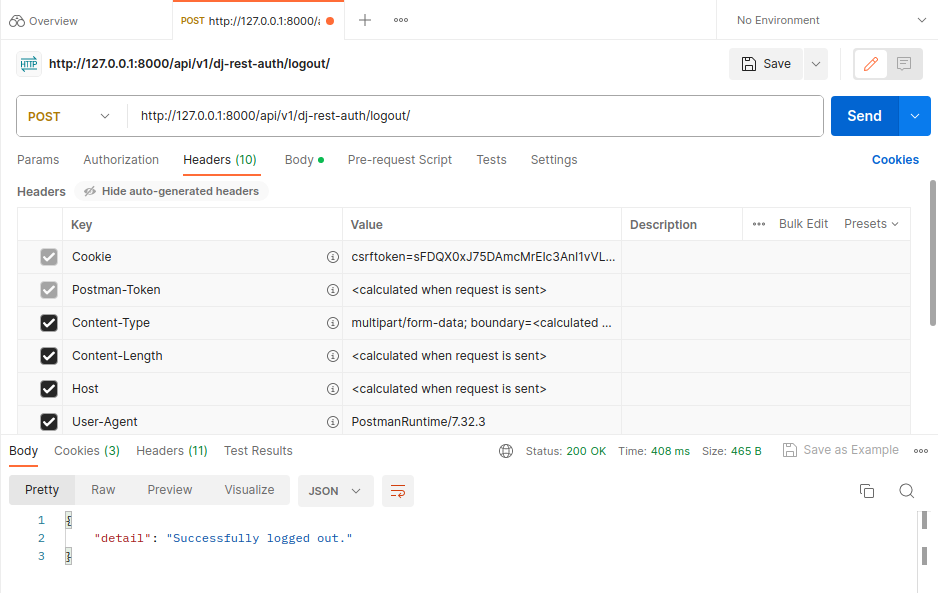
Logout
Documentation
#Terminal
pip install drf-spectacular
Edit settings.py
# Application definition

INSTALLED_APPS = [
    'Haiku',
    'django.contrib.admin',
    'django.contrib.auth',
    'django.contrib.contenttypes',
    'django.contrib.sessions',
    'django.contrib.messages',
    'django.contrib.staticfiles',
    'django.contrib.sites',

    'rest_framework',
    'rest_framework.authtoken',
    'allauth',
    'allauth.account',
    #'dj_rest_auth',
    "dj_rest_auth.registration",
    'drf_spectacular',
]
.......................................................
REST_FRAMEWORK = {
    'DEFAULT_PERMISSION_CLASSES': (
        'rest_framework.permissions.IsAuthenticated',  # Example: Only authenticated users have access
    ),

    "DEFAULT_AUTHENTICATION_CLASSES":[
        "rest_framework.authentication.SessionAuthentication",
    "rest_framework.authentication.TokenAuthentication",
    ],
    "DEFAULT_SCHEMA_CLASS": "drf_spectacular.openapi.AutoSchema",

}
...........................................................
SPECTACULAR_SETTINGS = {
"TITLE": "Blog API Project",
"DESCRIPTION": "A sample blog to learn about DRF",
"VERSION": "1.0.0",

}
Edit urls.py of project as follow.
from django.contrib import admin
from django.urls import path,include
from drf_spectacular.views import SpectacularAPIView,SpectacularSwaggerView

urlpatterns = [
    path('admin/', admin.site.urls),
     path('api/v1/', include('Haiku.urls')),
     #path('api-auth/',include("rest_framework.urls")),
     path("api/v1/dj-rest-auth/", include("dj_rest_auth.urls")),
     path("api/v1/dj-rest-auth/registration/",include("dj_rest_auth.registration.urls")),
     path("api/schema/", SpectacularAPIView.as_view(), name="schema"),
     path("api/schema/swagger-ui/", SpectacularSwaggerView.as_view(url_name="schema"), name="swagger-ui")
]
Run the server and visit: http://127.0.0.1:8000/api/schema
This will download a .yml file.
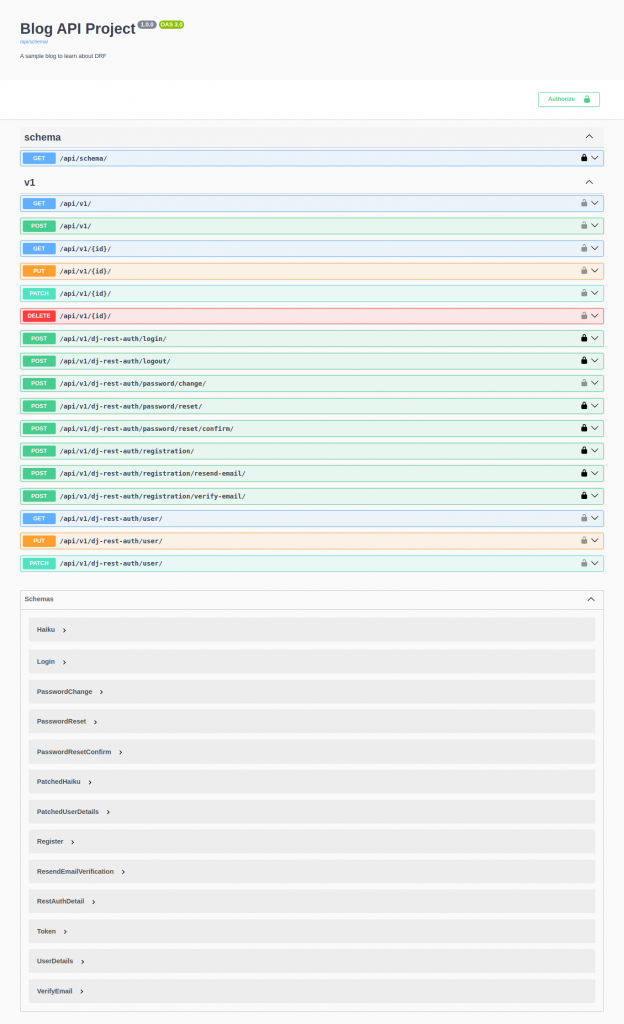
Visit http://127.0.0.1:8000/api/schema/swagger-ui/
