Django News App Part II
In part I of Django News App, we displayed our homepage by including view logic in our urls.py file. Here we will create a dedicated pages app for all our static pages, such as homepage. This will keep our code nice and organized. We will also add password and password functionality to complete the authorization flow of our Newspaper app. Initially we will implement Django’s builtin views and URLs for password change and password reset before customizing them with our own Bootstrap powered templates and email service.
Table of Contents
Pages App
#terminal
python3 manage.py startapp pages
Now, we need to update django_project/settings.py file.
# Application definition

INSTALLED_APPS = [
    'django.contrib.admin',
    'django.contrib.auth',
    'django.contrib.contenttypes',
    'django.contrib.sessions',
    'django.contrib.messages',
    'django.contrib.staticfiles',
    'accounts.apps.AccountsConfig',
    'pages.apps.PagesConfig', #new
]
In our pages/views.py we import TemplateView which is a generic class-based view which means we only need to specify our template_name to use it. Create a sub class of TemplateView named HomePageView.
from django.views.generic import TemplateView

# Create your views here.
class HomePageView(TemplateView):
    template_name = "home.html"
Create pages/urls.py file and import HomePageView. Then set route paths and name the url.
from django.urls import path
from .views import HomePageView

urlpatterns = [
    path("",HomePageView.as_view(),name="home"),
]
Now, edit django_project/urls.py. Add the pages app, remove the import of TemplateView and URL path for our older homepage.
from django.contrib import admin
from django.urls import path,include


urlpatterns = [
    path('admin/', admin.site.urls),
    path("accounts/",include("accounts.urls")),
    path("accounts/",include("django.contrib.auth.urls")),
    path("",include("pages.urls")),
]
Run the server and check if everything is fine.
#terminal
python3 manage.py runserver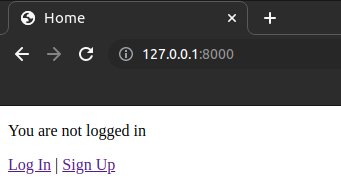
Testing Pages App
Let us add tests to ensure our new homepage works properly. Edit pages/tests.py file as follow.
from django.test import SimpleTestCase
from django.urls import reverse


# Create your tests here.
class HomePageTests(SimpleTestCase):
    def test_url_exists_at_correct_location_homepageview(self):
        response = self.client.get("/")
        self.assertEqual(response.status_code,200)

    def test_homepage_view(self):
        response = self.client.get(reverse("home"))
        self.assertEqual(response.status_code,200)
        self.assertTemplateUsed(response,"home.html")
        self.assertContains(response,"Home")
We import SimpleTestCase since our homepage does not rely on the database. If it did we’d have to use TestCase instead. Our test class, HomePageTests, has two tests that check the homepage URL returns a 200 status code and that it uses our expected URL name, template and contains “Home” in the response.
Run the test.
#terminal
python3 manage.py test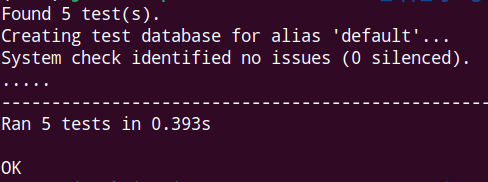
Bootstrap
We will add some style to our application using bootstrap.
We will start by adding bootstrap to our templates/base.html file.
<!DOCTYPE html>
<html>
    <head>
        <meta charset="utf-8">
        <title>{% block title %}Newspaper App{% endblock title %}</title>
        <meta name="viewport" content="width=device-width,
        initial-scale=1, shrink-to-fit=no">

        <!-- Bootstrap CSS -->
        <link href="https://cdn.jsdelivr.net/npm/bootstrap@5.1.3/dist/css/bootstrap.min.css" rel="stylesheet" integrity="sha384-1BmE4kWBq78iYhFldvKuhfTAU6auU8tT94WrHftjDbrCEXSU1oBoqyl2QvZ6jIW3" crossorigin="anonymous">
      </head>
    <body>
        <main>
            {% block content %}
            {% endblock content %}

        </main>
        <!-- Bootstrap JavaScript Bundle -->
  <script src="https://cdn.jsdelivr.net/npm/bootstrap@5.1.3/dist/js/bootstrap.bundle.min.js" integrity="sha384-ka7Sk0Gln4gmtz2MlQnikT1wXgYsOg+OMhuP+IlRH9sENBO0LRn5q+8nbTov4+1p" crossorigin="anonymous"></script>
    </body>
</html>
Let’s add a navigation bar at the top of the page which contains our links for the homepage, log in, log out and sign up.
<!DOCTYPE html>
<html>
<head>
  <meta charset="utf-8">
  <title>{% block title %}Newspaper App{% endblock title %}</title>
  <meta name="viewport" content="width=device-width,
  initial-scale=1, shrink-to-fit=no">

  <!-- Bootstrap CSS -->
  <link href="https://cdn.jsdelivr.net/npm/bootstrap@5.1.3/dist/css/bootstrap.min.css" rel="stylesheet" integrity="sha384-1BmE4kWBq78iYhFldvKuhfTAU6auU8tT94WrHftjDbrCEXSU1oBoqyl2QvZ6jIW3" crossorigin="anonymous">
</head>
<body>
<div class="container">
  <header class="p-3 mb-3 border-bottom">
    <div class="container">
      <div class="d-flex flex-wrap align-items-center justify-content-center justify-content-lg-start">
        <a class="navbar-brand" href="{% url 'home' %}">Newspaper</a>
        <ul class="nav col-12 col-lg-auto me-lg-auto mb-2 justify-content-center mb-md-0">
        {% if user.is_authenticated %}
          <li><a href="#" class="nav-link px-2 link-dark">+ New</a></li>
        </ul>
        <div class="dropdown text-end">
          <a href="#" class="d-block link-dark text-decoration-none dropdown-toggle" id="dropdownUser1" data-bs-toggle="dropdown" aria-expanded="false">
            {{ user.username }}
          </a>
          <ul class="dropdown-menu text-small" aria-labelledby="dropdownUser1">
            <li><a class="dropdown-item" href="{% url 'password_change'%}">Change password</a></li>
            <li><a class="dropdown-item" href="{% url 'logout' %}">Log Out</a></li>
          </ul>
        </div>
        {% else %}
        </ul>
        <div class="text-end">
          <a href="{% url 'login' %}" class="btn btn-outline-primary me-2">Log In</a>
          <a href="{% url 'signup' %}" class="btn btn-primary">Sign Up</a>
        </div>
        {% endif %}
      </div>
    </div>
  </header>
</div>

<main>
  <div class="container">
    {% block content %}
    {% endblock content %}
  </div>
</main>

  <!-- Bootstrap JavaScript Bundle -->
  <script src="https://cdn.jsdelivr.net/npm/bootstrap@5.1.3/dist/js/bootstrap.bundle.min.js" integrity="sha384-ka7Sk0Gln4gmtz2MlQnikT1wXgYsOg+OMhuP+IlRH9sENBO0LRn5q+8nbTov4+1p" crossorigin="anonymous"></script>
</body>
</html>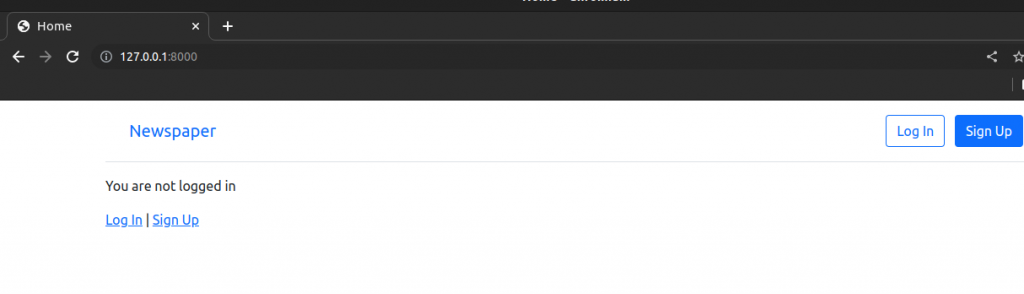
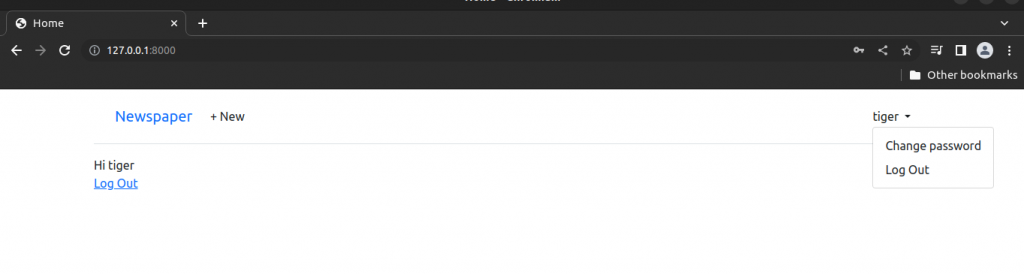
Homepage after login
Let change look of login button. Edit templates/registration/login.html
{% extends "base.html" %}


{% block title %}Log In{% endblock title %}

{% block content %}
<h2>Log In</h2>
<form method="post">
  {% csrf_token %}

  <button class="btn btn-success ml-2" type="submit">Log In</button>
</form>
{% endblock content %}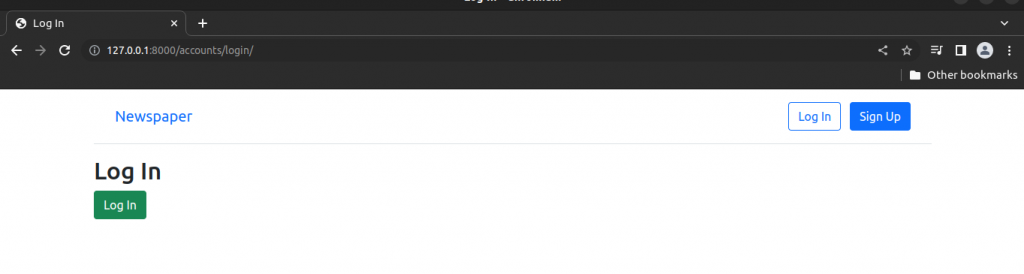
Adding looks to Sign Up Form
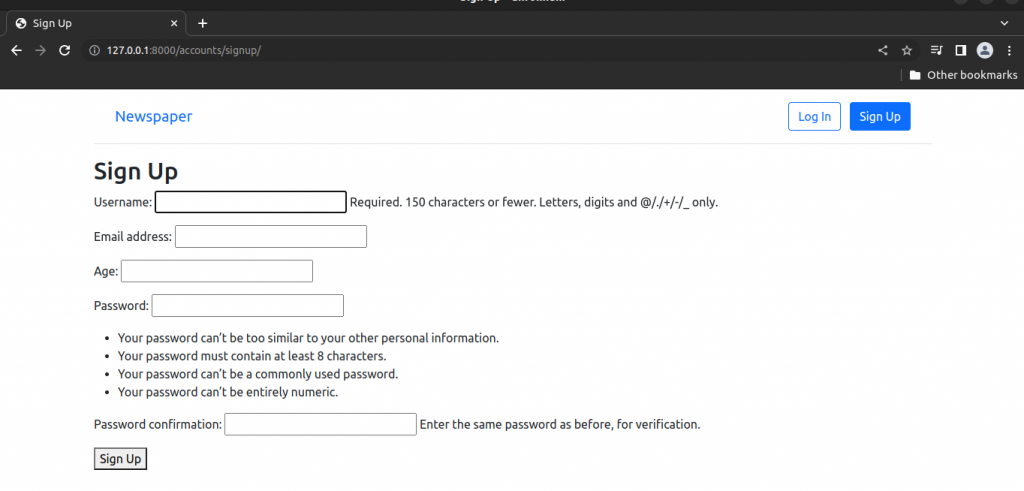
For now our sign up form looks like this.
We will add 3rd party package called django-crispy-forms.
#Terminal
pip3 install django-crispy-forms==1.13.0
pip3 install crispy-bootstrap5==0.6
Edit django_project/settings.py file to add our installed apps.
# Application definition

INSTALLED_APPS = [
    'django.contrib.admin',
    'django.contrib.auth',
    'django.contrib.contenttypes',
    'django.contrib.sessions',
    'django.contrib.messages',
    'django.contrib.staticfiles',
    #3rd party
    'crispy_forms',
    'crispy_bootstrap5',
    #local
    'accounts.apps.AccountsConfig',
    'pages.apps.PagesConfig',
]


..........................
#at the bottom
CRISPY_ALLOWED_TEMPLATE_PACKS = "bootstrap5"
CRISPY_TEMPLATE_PACK = "bootstrap5"
Now in our signup.html template we can quickly use crispy forms. First, we load crispy_forms_tags at the top and then swap our {{ form.as_p }} for {{ form|crispy }}. We will also update the “Sign Up” button to be green with the btn-success styling.
{% extends "base.html" %}
{% load crispy_forms_tags %}
{% block title %}Sign Up {% endblock title %}
    {% block content %}
    <h2>Sign Up</h2>
        <form method="post">
            {% csrf_token %}
            {{ form|crispy }}
            <button class="btn btn-success" type="submit">Sign Up</button>
        </form>
    {% endblock content %}
We can also add crispy forms to our log in page.
Update templates/registration/login.html as follow.
{% extends "base.html" %}
{% load crispy_forms_tags %}
{% block title %}Sign Up {% endblock title %}
{% block content %}
<h2>Sign Up</h2>
<form method="post">
{% csrf_token %}
{{ form|crispy }}
<button class="btn btn-success" type="submit">Sign Up</button>
</form>
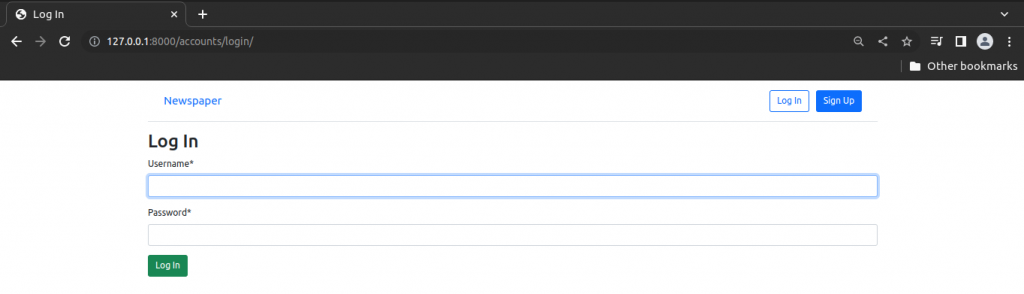
{% endblock content %}Our updated signup and login page.

Password Change
Django provides a default implementation that already works at this stage. Run the server, log in and visit http://127.0.0.1:8000/accounts/password_change/.
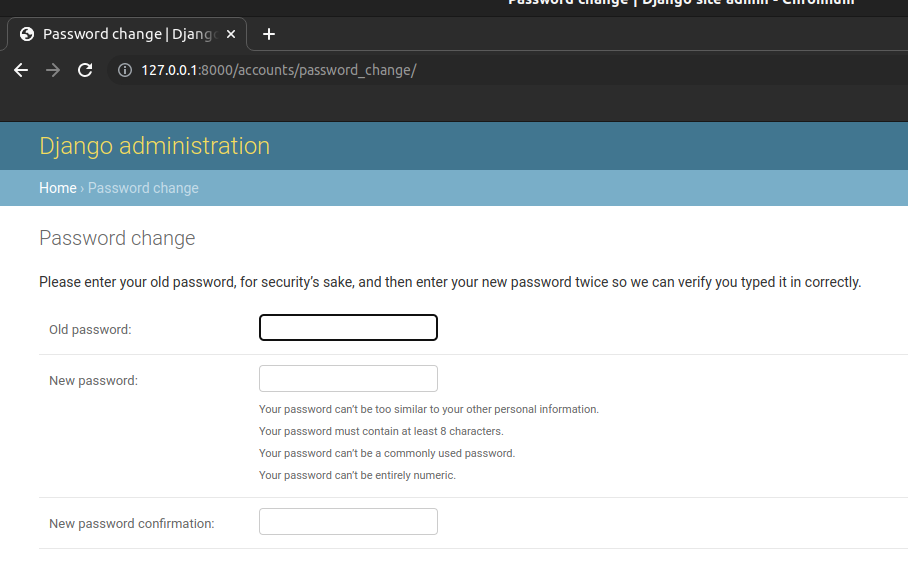
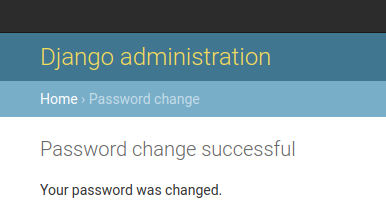
Try to change the password as per instructions. If you are successful you will see following output.
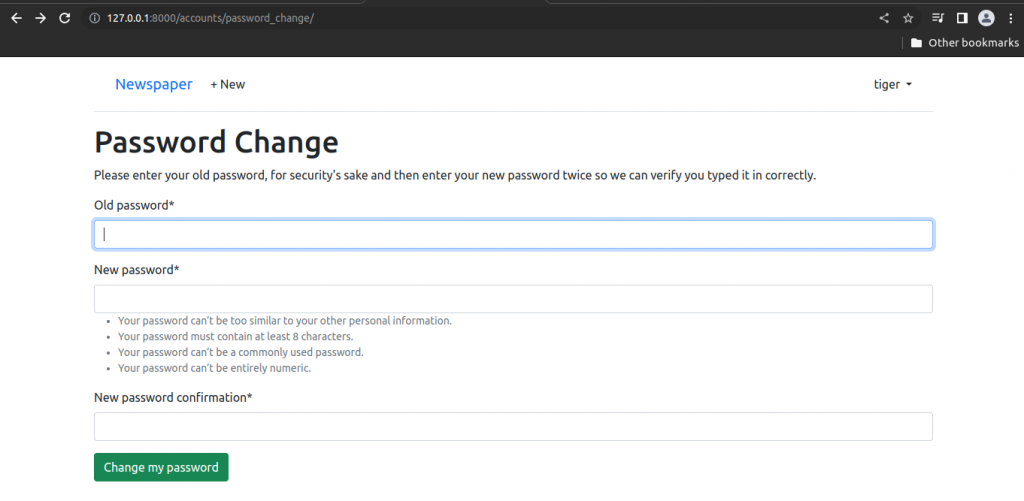
Customizing Password Change
Let’s customize these two password change pages so that they match the look and feel of our Newspaper site. Because Django already has created the views and URLs for us we only need to change the templates. Create templates/registration/password_change_form.html and fill it with following code.
{% extends "base.html" %}
{% load crispy_forms_tags %}
{% block title %}Password Change{% endblock title %}
{% block content %}
<h1>Password Change</h1>
<p>Please enter your old password, for security's sake and then enter your new password twice
    so we can verify you typed it in correctly.
</p>
<form method="POST">
    {% csrf_token %}
    {{ form|crispy }}
    <input class="btn btn-success" type="submit" value="Change my password">

</form>
{% endblock content %}
At the top we extended base.html, load crispy forms, and set our page meta title which will appear in the tab of a web browser but not on the visible webpage itself. The form uses POST since we are sending data, a csrf_token for security reasons and {{ form|crispy }} to use crispy forms styling. We also include a submit button that uses Bootstrap’s btn btn-success styling to make it green.
Create templates/registration/password_change_done.html and fill it with following code.
{% extends "base.html" %}
{% block title %}Password Change Successful {% endblock title %}
{% block content %}
    <h1>Password change Successful</h1>
    <p>Your password was changed</p>
{% endblock content%}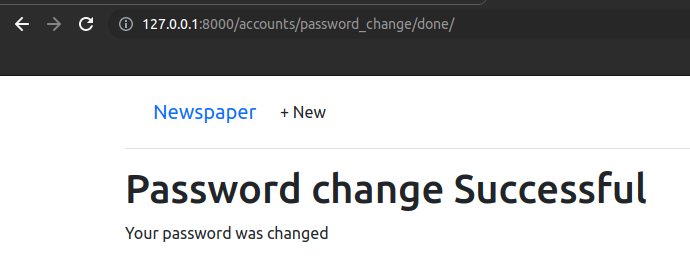
Password Reset
Password reset handles the common case of users forgetting their passwords. Django already provides a default implementation that we will use and then customize the templates so it matches the look and feel of rest of our site.
The only configuration required is telling Django how to send emails. After all, a user can only reset a password if they have access to the email linked to the account. In production, we’ll use the email service SendGrid to actually send the emails but for testing purposes we can rely on Django’s console backend setting which outputs the email text to our command line console instead.
At the bottom of the django_projcet/settings.py file add the following one-line change.
EMAIL_BACKEND = "django.core.mail.backends.console.EmailBackend"Run the server and visit: http://127.0.0.1:8000/accounts/password_reset
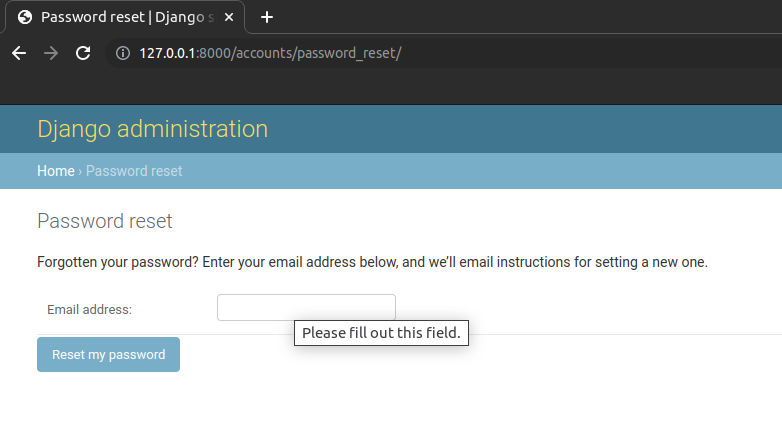
Paste the email of some user account and visit the terminal.
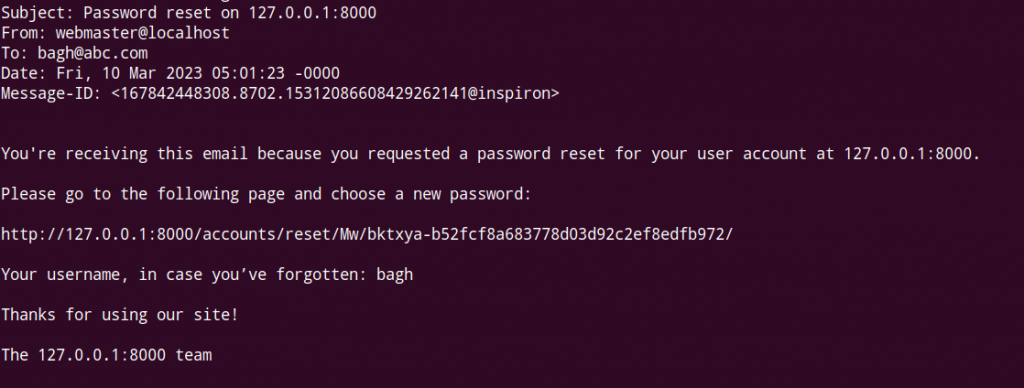
We can see the password reset link. Visit this link to reset password.
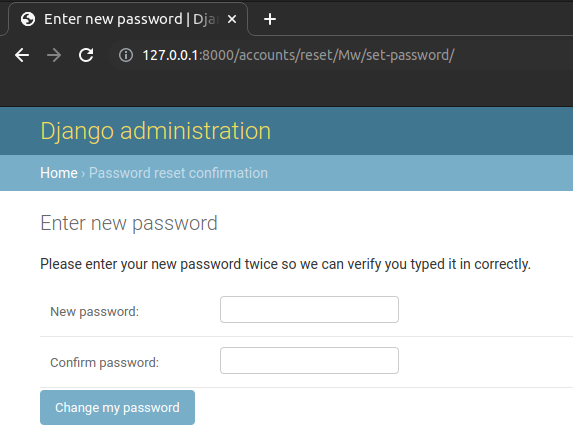
Reset the password and you will be redirected to following page.
Customizing the Password Reset
Create templates/registration/password_reset_form.html and fill it with following code.
{% extends "base.html" %}
{% load crispy_forms_tags %}

{% block title %}Forgot Your Password{% endblock title %}
{% block content %}
<h1>Forgot Your Password</h1>
<p>Enter your email address below, and we will mail instructions for setting new password.</p>
<form method="POST">
    {% csrf_token %}
    {{ form|crispy }}
    <input class="btn btn-success" type="submit" value="Send me instructions!">
</form>
{% endblock content %}
At the top we extended base.html, loaded crispy_forms_tags and set the meta page title. The form uses POST since we are sending data, a csrf_token for security reasons and {{ form|crispy }} for the forms. Finally, we update the submit button to be green.
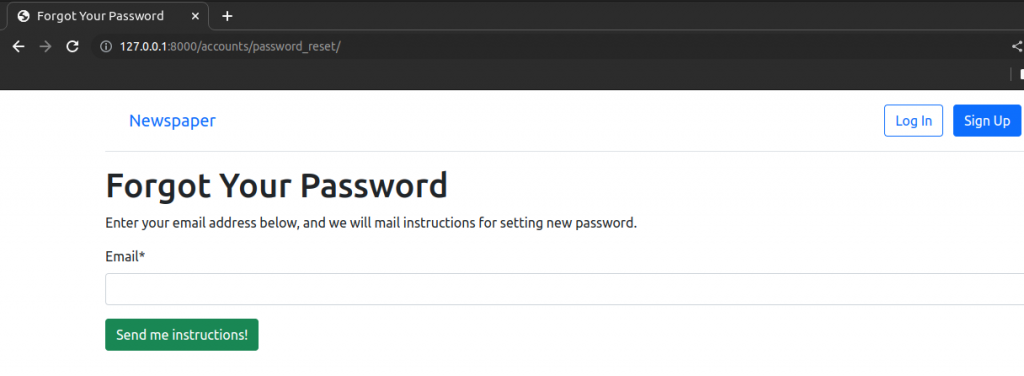
Start the server again and visit http://127.0.0.1:8000/accounts/password_reset/.
The new look of password_reset page.
Now create templates/registration/password_reset_done.html and fill it with following code.
{% extends "base.html" %}
{% block title %}Email Sent{% endblock title %}

{% block content %}
<h1>Check in your inbox</h1>
<p>We have emailed you instructions for setting your password.
    You should receive the email shortly
</p>
{% endblock content %}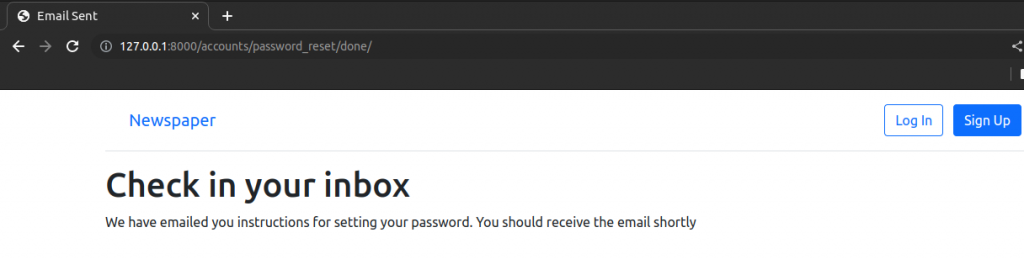
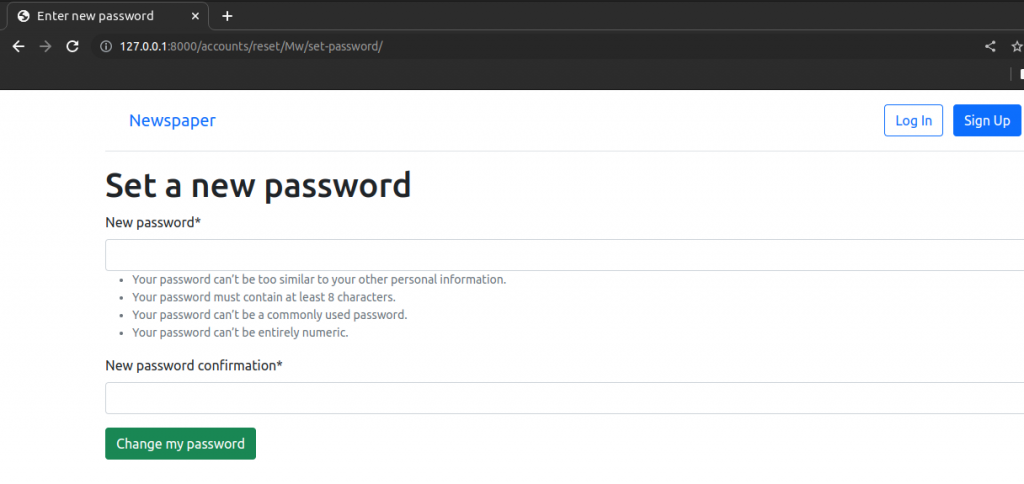
Next create templates/registration/password_reset_confirm.html and fill it with following code.
{% extends "base.html" %}
{% load crispy_forms_tags %}

{% block title %}Enter new password{% endblock title%}

{% block content %}
    <h1>Set a new password</h1>
        <form method="POST">
            {% csrf_token %}
            {{ form|crispy }}
            <input class="btn btn-success" type="submit" value="Change my password">
        </form>

{% endblock content %}
After entering the email Django might have sent you a link in your terminal. Go to that link and you will find the new look.
Create templates/registration/password_reset_complete.html
{% extends "base.html" %}

{% block title %}Password reset complete {% endblock title %}
{% block content %}
    <h1>Password reset complete</h1>
    <p>Your new password has been set</p>
    <p>You can log in now on the
        <a href="{% url "login" %}">Log In Page</a>
    </p>
{% endblock content %}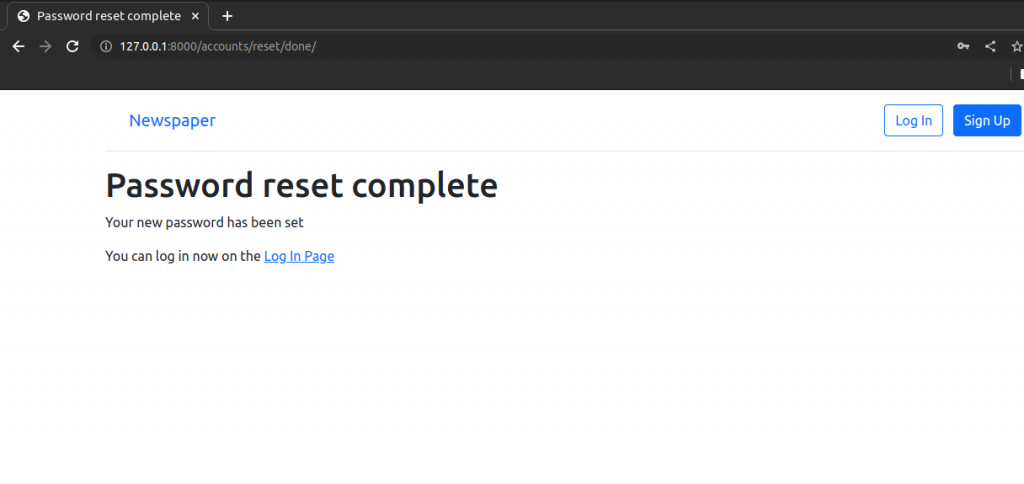
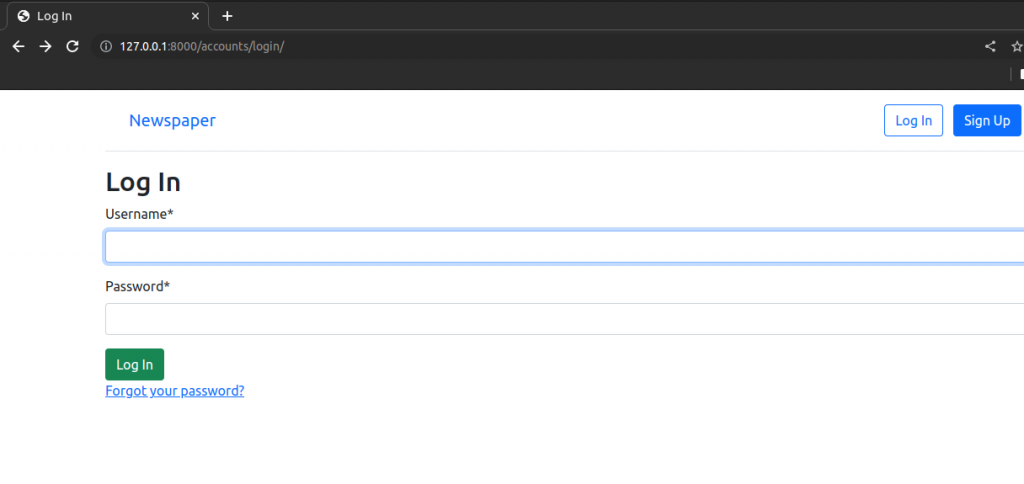
Finally, put link for password reset in our login page so that user can reset password when user forgets the password.
Update templates/registration/login.html.
{% extends "base.html" %}
{% load crispy_forms_tags %}


{% block title %}Log In{% endblock title %}

{% block content %}
<h2>Log In</h2>
<form method="post">
  {% csrf_token %}
  {{ form|crispy }}

  <button class="btn btn-success ml-2" type="submit">Log In</button>
</form>
<p><a href="{% url 'password_reset' %}">
  Forgot your password?
</a></p>
{% endblock content %}