
Django Image Processing Webapp
We are going to build an Django Image Processing Webapp. Here user can upload an image and apply several filters to the image.
In the first part we will learn, how to create a model for image. Then we will create a form to upload an image based on the model created. We will add two functionalities: Rotate and Transpose.
Table Of Contents
- Basic Setup
- Create an ImageEnhance Model
- Create a Form
- Views
- Templates
- Static and Media Settings
- Urls
- Create Admin
- Using form to upload the image
- Adding button to rotate the image
- The result so far
- Adding Transpose Feature
- Final Output of Part I
- Push to Github
Basic Setup
#terminal
mkdir Django_ImageProcessing

cd Django_ImageProcessing
python3 -m venv venv
source venv/bin/activate
gh repo create
#create repo name "Django-Image-Processing"
cd Django-Image-Processing
Install Django
#terminal
pip3 install django==4.2
django-admin startproject image_project
cd image_project
python manage.py runserver
ImageProcess App
python3 manage.py startapp Image
Register the app. Open image_project/settings.py
# Application definition

INSTALLED_APPS = [
    'django.contrib.admin',
    'django.contrib.auth',
    'django.contrib.contenttypes',
    'django.contrib.sessions',
    'django.contrib.messages',
    'django.contrib.staticfiles',
    'Image',#new
]
Create an ImageEnhance Model
Since we are using image in our model we need to install the PIL.
#Terminal
pip install pillow
Inside Image/models.py
from django.db import models
from django.core.files import File

from io import BytesIO

from PIL import ImageFilter
from PIL import Image

def imageRotate(image,deg=90):
    im = Image.open(image).convert('L')

    out = im.rotate(deg)
    out_io = BytesIO()
    out.save(out_io,'PNG',quality=85)
    out_final = File(out_io,name=image.name)
    return out_final


# Create your models here.
class ImageEnhance(models.Model):
    title = models.CharField(max_length=50)
    image = models.ImageField(upload_to="",blank=True,null=True)
    image_enhanced = models.ImageField(upload_to="",blank=True,null=True)
    created_at = models.DateTimeField(auto_now_add=True)
    updated_at = models.DateTimeField(auto_now_add=True)

    def rotateMe(self,deg=90,*args,**kwargs):
        self.image_enhanced = imageRotate(self.image,deg)
        super().save(*args,**kwargs)

    def __str__(self):
        return self.title
We have created a model name ImageEnhance, with attributes title, image, image_enhanced, created_at, updated_at.
def __str__(self):
        return self.title
Above function is used to store the ImageEnhance objects by its title.
def imageRotate(image,deg=90):
    im = Image.open(image).convert('L')

    out = im.rotate(deg)
    out_io = BytesIO()
    out.save(out_io,'PNG',quality=85)
    out_final = File(out_io,name=image.name)
    return out_final
Above function will take the object.image and deg as input. Rotate the image by given degree, saves it and return the saved image.
def rotateMe(self,deg=90,*args,**kwargs):
        self.image_enhanced = imageRotate(self.image,deg)
        super().save(*args,**kwargs)
This method of our class ImageEnhance will send the object.image and deg to the imageRotate function defined above and save the object.
Register the model
Open Image/admin.py and register your model.
from django.contrib import admin
from .models import ImageEnhance

# Register your models here.

admin.site.register(ImageEnhance)
Create a Form
Create Image/forms.py to create the form as per our ImageEnhance model
from django import forms
from .models import ImageEnhance


class ImageForm(forms.ModelForm):
    class Meta:
        model = ImageEnhance
        fields = ['title','image']
Above form will only ask user to enter ‘title’ and ‘image’. ‘create_at’ and ‘updated_at’ will be added automatically, while image_enhance will be added as per user selection.
Views
Edit Image/views as follow to create our first view.
from django.shortcuts import render
from django.http import HttpResponse
from .models import ImageEnhance

# Create your views here.


# Create your views here.
def imageHome(request):

    try:
        images = ImageEnhance.objects.all()
        return render(request,'image_home.html',{'images':images})
    except:
        return HttpResponse("We do not have any images to show you")
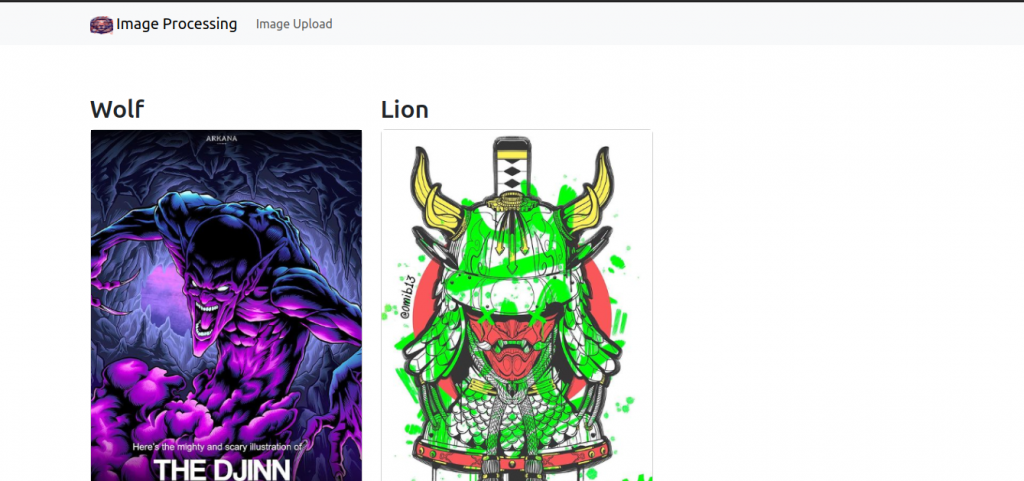
We want to display all the images and their enhanced versions when user visits ‘image_home.html’
Templates
Create a folder named ‘templates’ inside Image app. Within the same folder create ‘base.html’ and ‘image_home.html’.
Edit Image/templates/base.html as follow to include the basic structure of our web pages.
<!DOCTYPE html>
<html>
<head>
<title>Image Processing App</title>
<link href="https://cdn.jsdelivr.net/npm/bootstrap@5.3.0-alpha3/dist/css/bootstrap.min.css" rel="stylesheet" integrity="sha384-KK94CHFLLe+nY2dmCWGMq91rCGa5gtU4mk92HdvYe+M/SXH301p5ILy+dN9+nJOZ" crossorigin="anonymous">
<script src="https://cdn.jsdelivr.net/npm/bootstrap@5.3.0-alpha3/dist/js/bootstrap.bundle.min.js" integrity="sha384-ENjdO4Dr2bkBIFxQpeoTz1HIcje39Wm4jDKdf19U8gI4ddQ3GYNS7NTKfAdVQSZe" crossorigin="anonymous"></script>
<meta name="viewpot" content="width=device-width, initial-scale=1"/>
</head>
<body>
<nav class="navbar navbar-expand-lg navbar-light bg-light mb-3">
<div class="container">
<a class="navbar-brand" href="{% url 'imageHome' %}">
{% load static%}
<img src="{% static 'images/icon.png' %}"
alt="" width="30" height="24"
class="d-inline-block algn-text-top"/>
Image Processing
</a>
<button class="navbar-toggler" type="button"
data-bs-toggle="collapse"
data-bs-target="#navbarNavAltMarkup"
aria-controls="navbarNavAltMarkup"
aria-expanded="false"
aria-label="Toggle navigation">
<span class="navbar-toggler-icon">
</span>
</button>
<div class="collapse navbar-collapse"
id="navbarNavAltMarkup">
<div class="navbar-nav ms=auto">
<a class="nav-link" href="#">Image Upload</a>
</div>
</div>
</div>
</nav>
<div class="container">
{% block content %}
{% endblock content %}
</div>
<footer class="text-center text-lg-start bg-light text-muted mt-4">
<div class="text-center p-4">
© Copyright -
<a class="text-reset fw-bold text-decoration-none"
target="_blank"
href="https://twitter.com/chrmanning">
Garg
</a>
</div>
</footer>
</body>
</html>Edit Image/templates/image_home.html as follow to load all the ImageEnhance object.
{% extends "base.html" %}
{% block content %}

            <br/>
            <br/>
            <div class="row row-cols-1 row-cols-md-3 g-4">
                {% for im in images %}


                <div v-for="im in images" class="col">
                    {% if im.image%}

                    <div class="card-title">
                        <h2>{{ im.title }}</h2>
                    </div>
                    <div class="card">
                        <img src="{{ im.image.url }}">

                    </div>
                    {% endif %}

                    <div class="card">
                        {% if im.image_enhanced %}

                        <img src="{{ im.image_enhanced.url }}">

                        {% endif %}

                    </div>

                    <div class="card-text">
                        <p>{{ im.update_at }}</p>
                    </div>


                </div>


                {% endfor %}

            </div>


        </div>

{% endblock content %}
Static and Media Settings
To load the image and static files edit the settings.py inside our image_project as follow.
import os

#Configuring for images

MEDIA_ROOT = os.path.join(BASE_DIR,"media")
MEDIA_URL = "/media/"

STATIC_URL = "static/"

STATICFILES_DIRS = [
    BASE_DIR / 'image_project/static/',
]
We are using an icon for our website which we load in base.html as follow. Create a static folder inside our iimage_project. Then create images folder within static folder and paste icon.png there.
...............
<a class="navbar-brand" href="{% url 'home' %}">
                    {% load static%}
                    <img src="{% static 'images/icon.png' %}"
                    alt="" width="30" height="24"
                    class="d-inline-block algn-text-top"/>


                    Image Processing
                </a>
.................................
Urls
Create Image/urls.py add the following lines of code to call the imageHome function of views.py file.
from django.urls import path
from .views import imageHome


urlpatterns = [
    path("",imageHome,name='imageHome'),
]
Now, edit image_project/urls.py to tell the project to look inside the Image/urls.py.
from django.contrib import admin
from django.urls import path,include

from django.conf.urls.static import static
from django.conf import settings

urlpatterns = [
    path('admin/', admin.site.urls),
    path("",include("Image.urls")),

]


urlpatterns += static(settings.MEDIA_URL,
                      document_root=settings.MEDIA_ROOT)
Create Admin and add Few images
#terminal
python manage.py makemigrations
python manage.py migrate
python manage.py createsuperuser
Run the server and visit http://127.0.0.1:8000/admin
Enter your credentials.
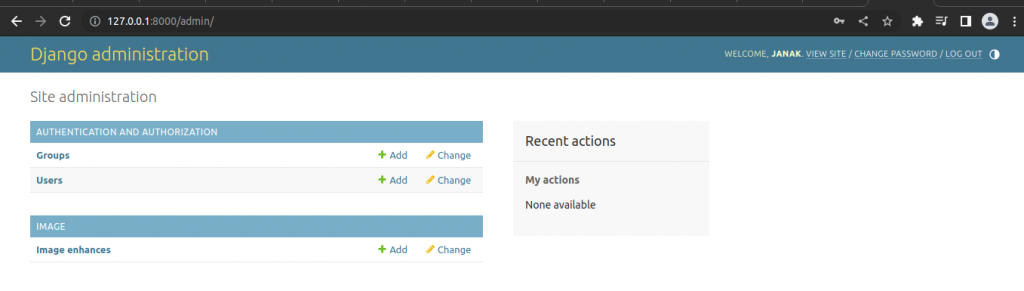
Click Image enhances.
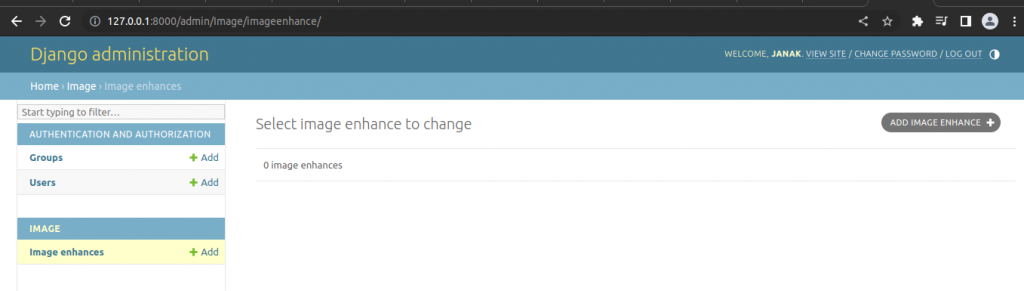
Click “ADD IMAGE ENHANCE”
Now add few images.
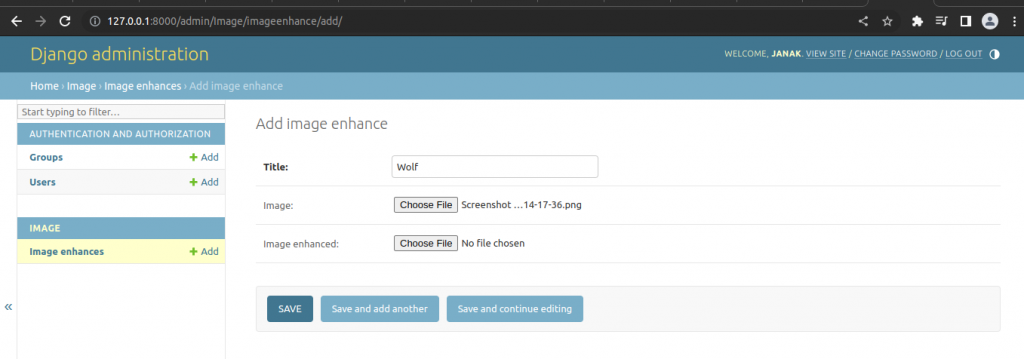
The Image enhanced will be added by the program after doing some processing so we do not add it for now.
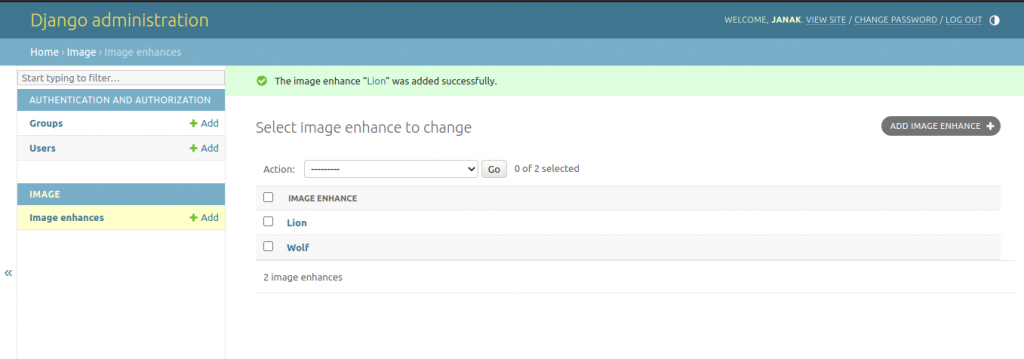
Visit http://127.0.0.1:8000/ to see our images.
Using The form to upload the image
We need to add a function in Image/views.py to load and handle the form.
......................................................
from .forms import ImageForm
......................................................

def imageForm(request):
    if request.method == 'POST':
        form = ImageForm(request.POST,request.FILES)
        if form.is_valid():
            #save the model instance
            instance = form.save(commit=False)

            instance.save()

            return render(request,"image_process.html",{"form":form,'object':instance})

    else:
        form = ImageForm()

    return render(request,"image_form.html",{'form':form})
Above method will pass the instance of ImageForm to the “image_form.html” file if the request method is not POST.
When we submit the form, our function will check if the form is valid and then save the instance for data from form. It will then pass this data to “image_process.html”.
Creating the templates
Create Image/templates/image_form.html.
{% extends "base.html" %}
{% block content %}

<h1>Upload an Image </h1>
<form method="post" enctype="multipart/form-data">
    {% csrf_token %}
    {{ form.as_p }}
    <input type="submit" value="Upload">
</form>
{% endblock content %}
Create Image/templates/image_process.html
{% extends "base.html" %}
{% block content %}
{% load static %}

{% if object%}
<h1>Image uploaded</h1>
<img src="{{ object.image.url }}">
    {% if object.image_enhanced %}
    <img src="{{ object.image_enhanced.url }}">
    {% endif %}
{% endif %}

{% endblock content %}
Now update Image/urls.py to call the imageForm of Image/views.py.
from django.urls import path
from .views import imageHome, imageForm
urlpatterns = [
path("",imageHome,name='imageHome'),
path("upload/",imageForm,name="imageform"),
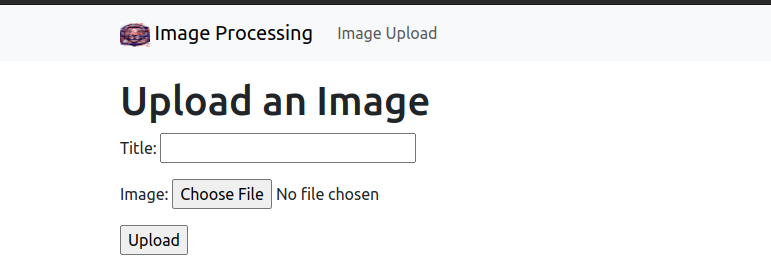
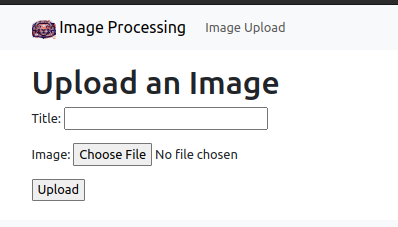
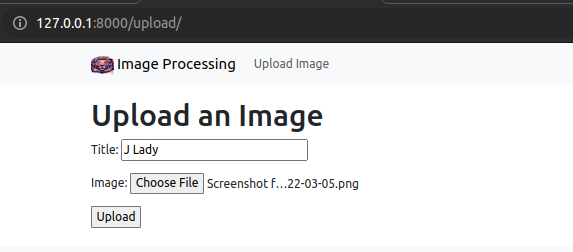
]Now when we call the http://127.0.0.1:8000/upload/ imageform function of Image/views.py will be called. It will render “image_form.html” and we will be see a form as follow.
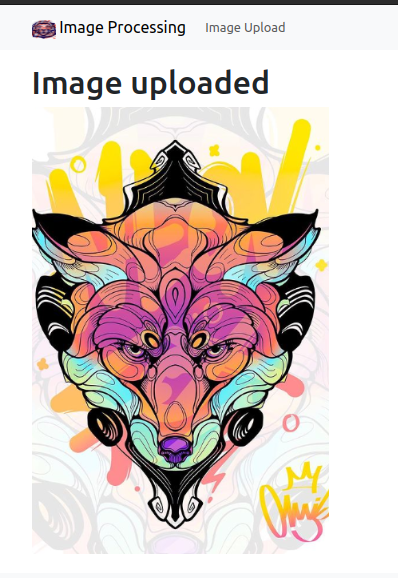
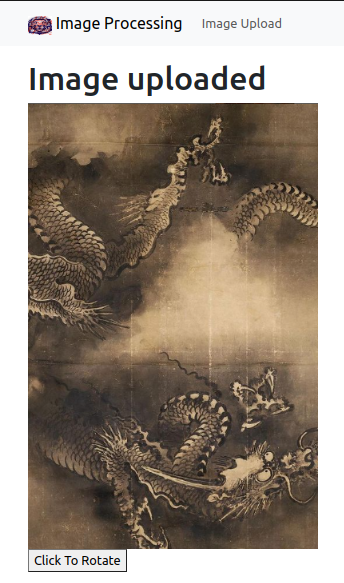
Fill the form then click upload.

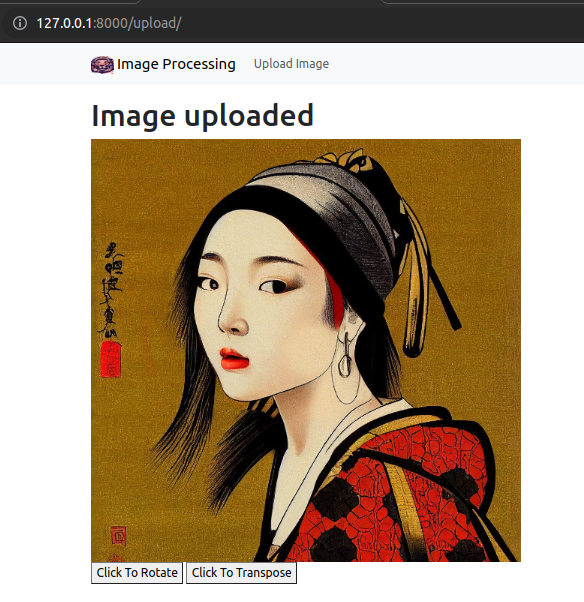
You will see the uploaded image.
Adding A Button To Rotate the Image
Edit Image/templates/image_process.html to add the button.
{% extends "base.html" %}
{% block content %}
{% load static %}

{% if object%}
<h1>Image uploaded</h1>
<img src="{{ object.image.url }}">
    {% if object.image_enhanced %}
    <img src="{{ object.image_enhanced.url }}">
    {% endif %}
{% endif %}

<form id="dropdown-form" method="post" url="">
    {% csrf_token %}


<button name="Rotate" id="submit-button">Click To Rotate</button>
</form>

{% endblock content %}
Now, edit Image/views.py to handle the condition after the button has been clicked.
..................................................................
def imageForm(request):
if request.method == 'POST':
form = ImageForm(request.POST,request.FILES)
if form.is_valid():
#save the model instance
instance = form.save(commit=False)
instance.save()
return render(request,"image_process.html",{"form":form,'object':instance})
else:#new
latest_object = ImageEnhance.objects.latest('id')#new
latest_object.rotateMe()#new
return render(request,"image_process.html",{"form":form,'object':latest_object})#new
else:
form = ImageForm()
return render(request,"image_form.html",{'form':form})
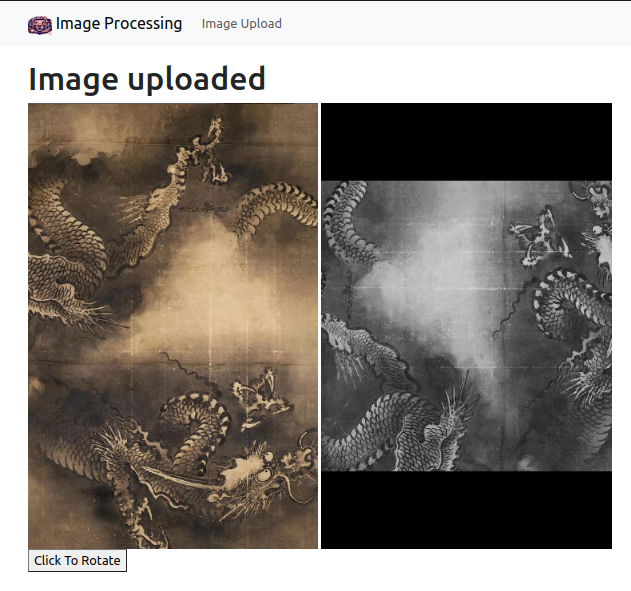
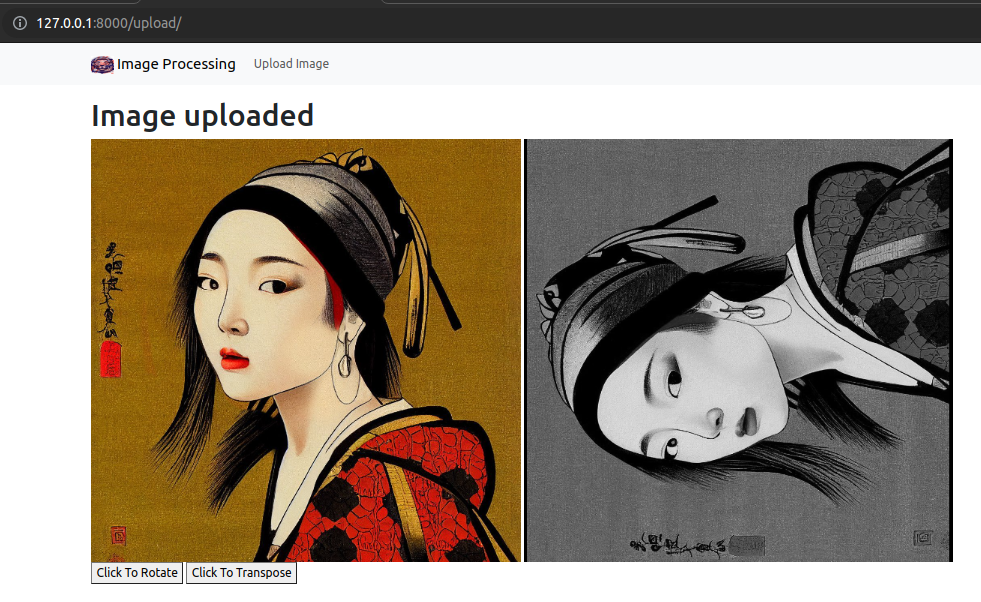
....................................................................The added code marked by #new, will check if the request method is “POST” but the form has not been submitted. In this case it will take the latest object of ‘ImageEnhance’ class (i.e last uploaded image) call method which will rotate it by 90 and display both images.
The Result So Far
The upload form
Adding Transpose Feature
Edit Image/templates/image_process.html as follow to add the button for Transpose.
{% extends "base.html" %}
{% block content %}
{% load static %}

{% if object%}
<h1>Image uploaded</h1>
<img src="{{ object.image.url }}">
    {% if object.image_enhanced %}
    <img src="{{ object.image_enhanced.url }}">
    {% endif %}
{% endif %}

<form id="dropdown-form" method="post" url="">
    {% csrf_token %}


<button name="Rotate" id="submit-button">Click To Rotate</button>
<button name="Transpose" id="submit-button">Click To Transpose</button>
</form>

{% endblock content %}
Add function to transpose image in Image/models.py.
def imageTranspose(image):
    im = Image.open(image).convert('L')

    out = im.transpose(Image.FLIP_LEFT_RIGHT)
    out_io = BytesIO()
    out.save(out_io,'PNG',quality=85)
    out_final = File(out_io,name=image.name)
    return out_final
Also add the “transposeMe()” method inside ImageEnhance class.
#Create your models here.
class ImageEnhance(models.Model):
    title = models.CharField(max_length=50)
    image = models.ImageField(upload_to="",blank=True,null=True)
    image_enhanced = models.ImageField(upload_to="",blank=True,null=True)
    created_at = models.DateTimeField(auto_now_add=True)
    updated_at = models.DateTimeField(auto_now_add=True)

    def rotateMe(self,deg=90,*args,**kwargs):
        self.image_enhanced = imageRotate(self.image,deg)
        super().save(*args,**kwargs)

    def transposeMe(self,*args,**kwargs):
        self.image_enhanced = imageTranspose(self.image)
        super().save(*args,**kwargs)

    def __str__(self):
        return self.title
Now, we need to handle the request from both buttons in Image/views.py.
def imageForm(request):
    if request.method == 'POST':
        form = ImageForm(request.POST,request.FILES)
        if form.is_valid():
            #save the model instance
            instance = form.save(commit=False)

            instance.save()

            return render(request,"image_process.html",{"form":form,'object':instance})
        elif 'Rotate' in request.POST:
            latest_object = ImageEnhance.objects.latest('id')
            latest_object.rotateMe()
            return render(request,"image_process.html",{"form":form,'object':latest_object})
        elif 'Transpose' in request.POST:
            latest_object = ImageEnhance.objects.latest('id')
            latest_object.transposeMe()
            return render(request,"image_process.html",{"form":form,'object':latest_object})


    else:
        form = ImageForm()

    return render(request,"image_form.html",{'form':form})
Finally, we also want to add link to upload image in our navigation bar. For this purpose, open base.html and edit it.
...............................
<div class="navbar-nav ms=auto">


                <a class="nav-link" href="{% url 'imageform' %}">Upload Image</a>

</div>
..........................
Final Output of Part I
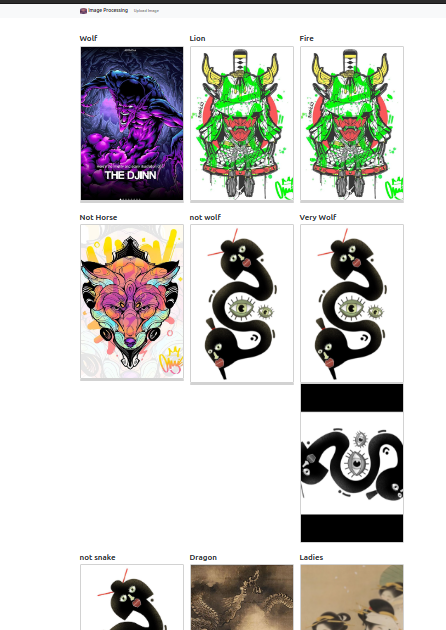
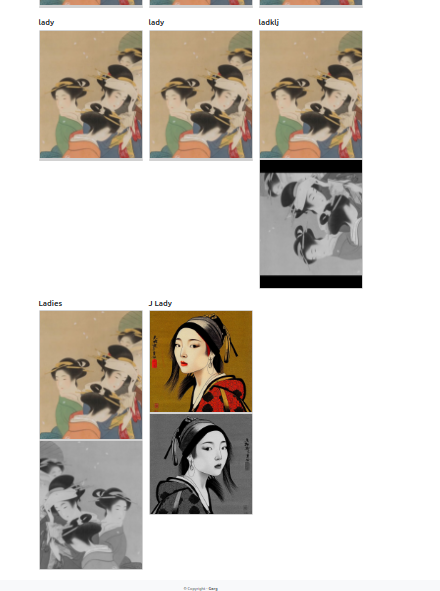
Run the server and visit http://127.0.0.1:8000/
You will see all the images along with their processed versions, if any.
Click Upload Image in the navigation bar to upload the image.
After Upload
After Rotation
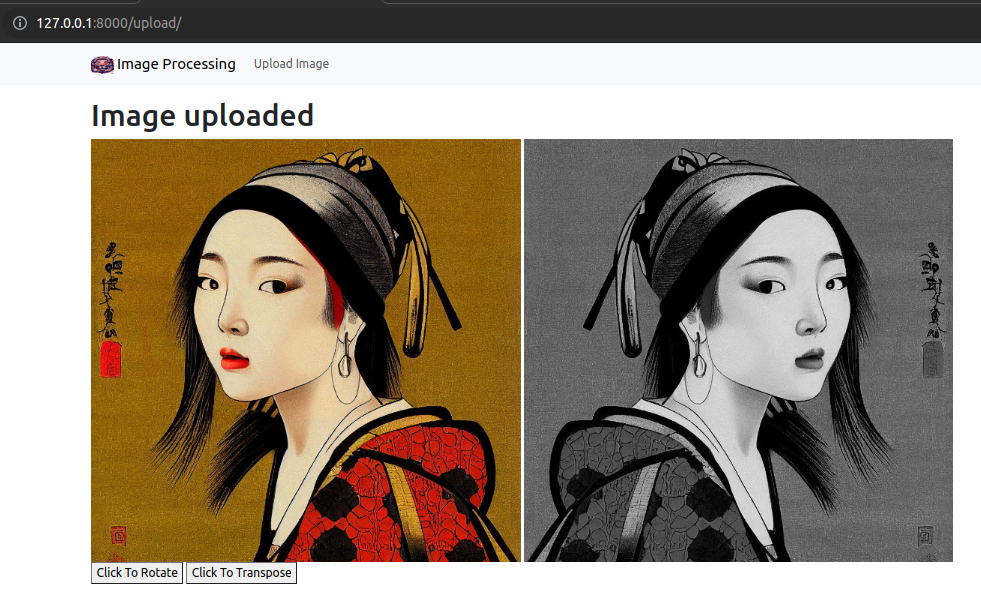
After transposing the image
Going Back to Home Page
That’s all for this part. In next part we will create multiple options dynamically with the help of javascript, so that user can choose between different filters.
Push to github
#Terminal
git add .
git commit -m "upload, rotate and transpose complete"
git push