Blog for Poems in Django Part II
In this post we will learn to get the url of the page using reverse(). Then we will also look at how to create customized urls according to the date and slug of the post. After that we will learn to add pagination and use the class based views. Finally, we will create a comment system, so that one can post the comments and see previous comments.
Table of Contents:
- Reverse
- Post detail urls according to date and slug
- Adding Pagination
- Class Based Views
- Creating a Comment System
Reverse
Edit blog/models.py as follow.
from django.db import models
from django.db.models.query import QuerySet
from django.utils import timezone
from django.contrib.auth.models import User
from django.urls import reverse

# Create your models here.
class PublishedManager(models.Manager):
    def get_queryset(self):
        return super().get_queryset().filter(status=Post.Status.PUBLISHED)


class Post(models.Model):

    class Status(models.TextChoices):
        DRAFT = "DF","DRAFT"
        PUBLISHED = "PB","PUBLISHED"


    title = models.CharField(max_length=250)
    slug = models.SlugField(max_length=250)
    author = models.ForeignKey(User,on_delete=models.CASCADE,
                               related_name='blog_posts')
    body = models.TextField()
    publish = models.DateTimeField(default=timezone.now)
    created = models.DateTimeField(auto_now_add=True)
    updated = models.DateTimeField(auto_now=True)
    status = models.CharField(max_length=2,choices=Status.choices,default=Status.DRAFT)

    objects = models.Manager()#the default manage
    published = PublishedManager() #out custom manager

    class Meta:
        ordering = ['-publish']
        indexes = [models.Index(fields=['-publish']),
                   ]

    def __str__(self):
        return self.title

    def get_absolute_url(self):
        return reverse("blog:post_detail",args=[self.id])
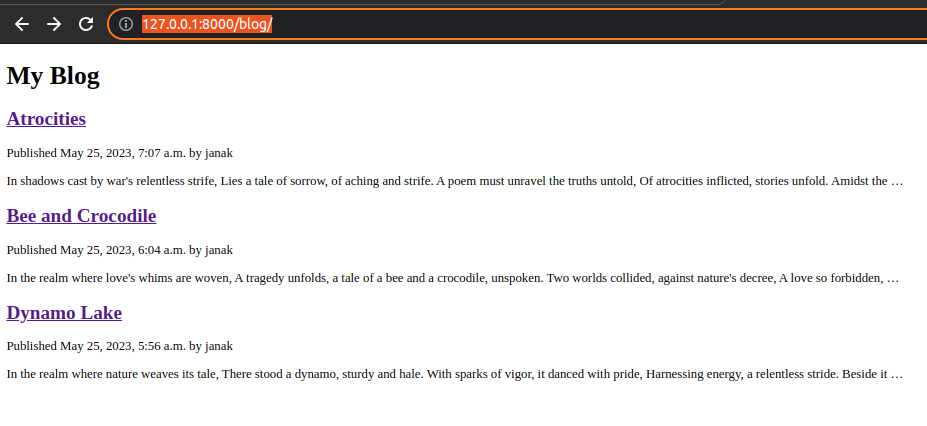
Now, edit blog/post/list.html as follow.
{% extends "blog/base.html" %}
{% block title %}My Blog {% endblock %}

{% block content %}
<h1>My Blog</h1>
    {% for post in posts %}
        <h2>
            <a href="{{ post.get_absolute_url}}">
                {{ post.title }}
            </a>
        </h2>
        <p class="date">
            Published {{ post.publish }} by {{ post.author }}
        </p>
        {{ post.body|truncatewords:30|linebreaks }}
    {% endfor %}

{% endblock %}
Here, we used the post_detail URL defined in the URL patterns of the application to build the canonical URL for Post objects. The reverse() function will build the URL dynamically using the URL name defined in the URL patterns. We have used the blog namespace followed by a colon and the URL name post_detail. This URL has a required parameter that is the id of the blog post to retrieve. We have included the id of the Post object as a positional argument by using args=[self.id].
Run the server and visit: http://127.0.0.1:8000/blog/
Click on the title of any poem to read the poem in detail. The url ofr post_detail will remain unchanged.
Post detail urls according to date and slug
We will change the URL pattern to create SEO-friendly URLs for posts. We will be using both the publish date and slug values to build the URLs for single post.
Edit the blog/models.py file as follow.
from django.db import models
.........................................
class Post(models.Model):

    class Status(models.TextChoices):
        DRAFT = "DF","DRAFT"
        PUBLISHED = "PB","PUBLISHED"


    title = models.CharField(max_length=250)
    slug = models.SlugField(max_length=250,unique_for_date='publish')
 .........................................
By using unique_for_date, the slug field is now required to be unique for the date stored in the publish field. Note that the publish field is an instance of the DateTimeField, but the check for unique values will be done only against the date (not the time). Django will prevent from saving a new post with the same slug as an existing post for a given publication date.
Apply migrations as we have changed our model.
#Terminal
python manage.py makemigrations blog
#Terminal
python manage.py migrateNow, modify the urls.py
from django.urls import path
from . import views

app_name = "blog"

urlpatterns = [
    #post views
    path("",views.post_list,name="post_list"),
    path("<int:year>/<int:month>/<int:day>/<slug:post>",views.post_detail,name="post_detail"),
]
Now, the URL pattern for the post_detail view takes the following arguments:
- year: Requires an integer
- month: Requires an integer
- day: Requires an integer
- post: Requires a slug (a string that contains only letters, numbers, underscores or hyphens)
The int path converter is used for the year, month and day parameters, whereas the slug path converter is used for the post parameter.
Edit blog/views.py as follow.
from django.shortcuts import render,get_object_or_404
from .models import Post
# Create your views here.
def post_detail(request,year,month,day,post):
post = get_object_or_404(Post,
status=Post.Status.PUBLISHED,
slug = post,
publish__year =year,
publish__month=month,
publish__day=day)
print("***************",post)
return render(request,'blog/post/detail.html',{'post':post})
def post_list(request):
posts = Post.published.all()
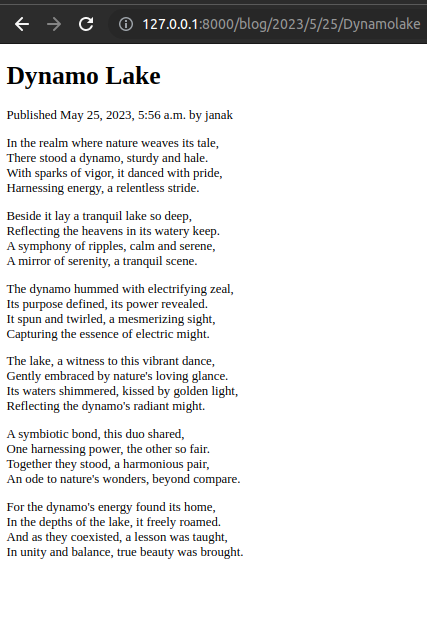
return render(request,'blog/post/list.html',{'posts':posts})Now, visit blog/models.py file and edit it as follows.
from django.db import models
...............................................
    def get_absolute_url(self):
        return reverse("blog:post_detail",args=[self.publish.year,
                                                self.publish.month,
                                                self.publish.day,
                                                self.slug])
Run the server and visit: http://127.0.0.1:8000/blog/
Click on title of any poem. To see the change in url.
Adding Pagination
Edit blog/views.py as follows.
from django.shortcuts import render,get_object_or_404
from django.core.paginator import Paginator

from .models import Post


....................................................
def post_list(request):
    posts = Post.published.all()
    #Pagination with 3 post per page
    paginator = Paginator(posts,3)
    page_number = request.GET.get('page',1)
    posts = paginator.page(page_number)
    return render(request,'blog/post/list.html',{'posts':posts})
In above code, we instantiated the Paginator class with the number of objects to return per page. We will display three posts page. Then we retrieve the page GET HTTP parameter and store it in the page_number variable. This parameter contains the requested page number. If the page parameter is not in the GET parameters of the request, we use the default value 1 to load the first page of results. Then we obtained the objects for the desired page by calling the page() method of Paginator. This method returns a Page object that we store in the posts variable.
Creating a pagination template
In the templates directory, create a new file and name it pagination.html and the following code.
<div class="pagination">
    <span class="step-links">
        {% if page.has_previous %}
            <a href="?page={{ page.previous_page_number }}">
                Previous
            </a>
        {% endif %}
        <span class="current">
            Page {{ page.number }} of {{ page.paginator.num_pages }}
        </span>
        {% if page.has_next %}
            <a href="?page={{ page.next_page_number }}">
                Next
            </a>
        {% endif %}
    </span>
</div>
This is the generic pagination template. The template expects to have a Page object in the context to render the previous and next link and to display the current page and total pages of results.
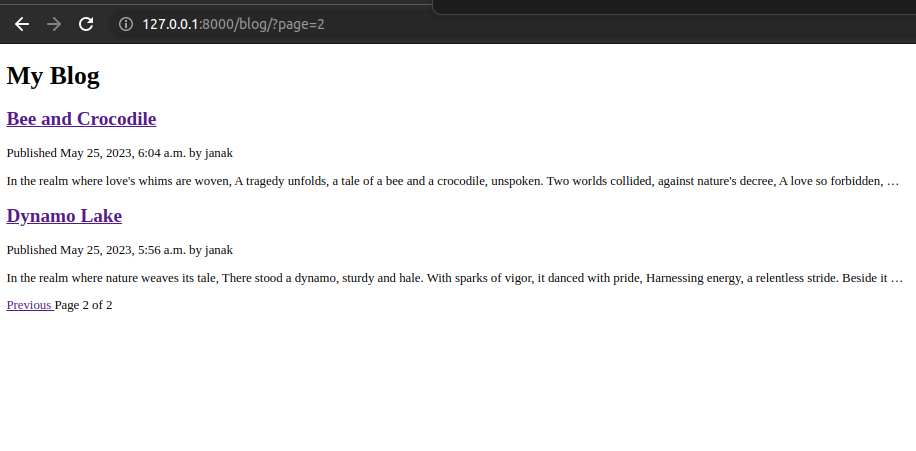
Now, edit the blog/post/list.html template and include the pagination.html.
{% extends "blog/base.html" %}
{% block title %}My Blog {% endblock %}
{% block content %}
<h1>My Blog</h1>
{% for post in posts %}
<h2>
<a href="{{ post.get_absolute_url}}">
{{ post.title }}
</a>
</h2>
<p class="date">
Published {{ post.publish }} by {{ post.author }}
</p>
{{ post.body|truncatewords:30|linebreaks }}
{% endfor %}
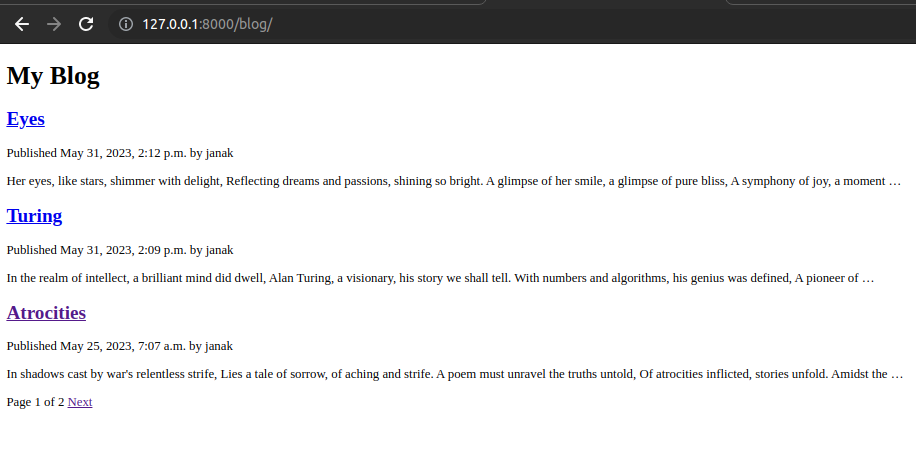
{% include "pagination.html" with page=posts %}
{% endblock %}
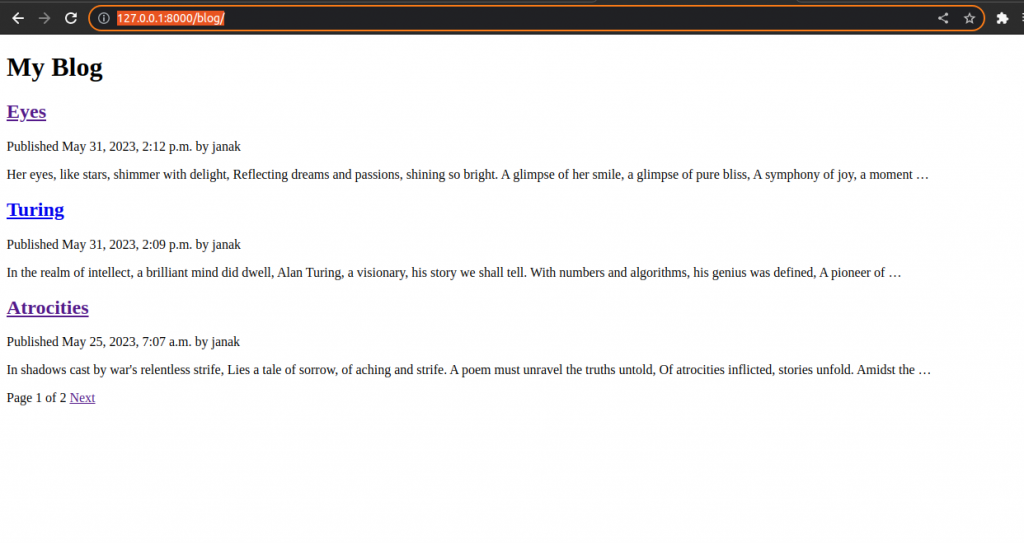
Run the server and visit http://127.0.0.1:8000/blog/
Handling pagination errors
In above example, we have only 2 pages. What happen when we want to access
http://127.0.0.1:8000/blog/?page=5
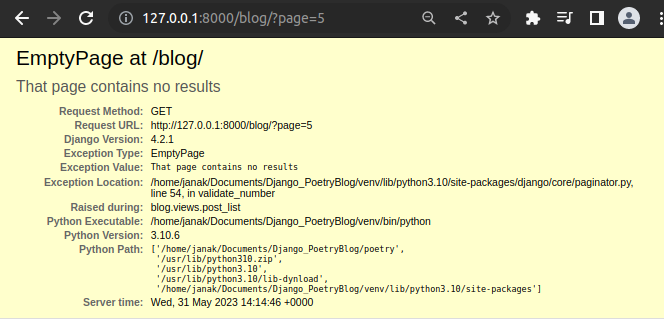
Edit the blog/views.py to add the code to handle above errors.
from django.shortcuts import render,get_object_or_404
from django.core.paginator import Paginator,EmptyPage
from .models import Post
..............................................................
def post_list(request):
posts = Post.published.all()
#Pagination with 3 post per page
paginator = Paginator(posts,3)
page_number = request.GET.get('page',1)
try:
posts = paginator.page(page_number)
except EmptyPage:
#if page_number is out of range deliver last page of results
posts = paginator.page(paginator.num_pages)
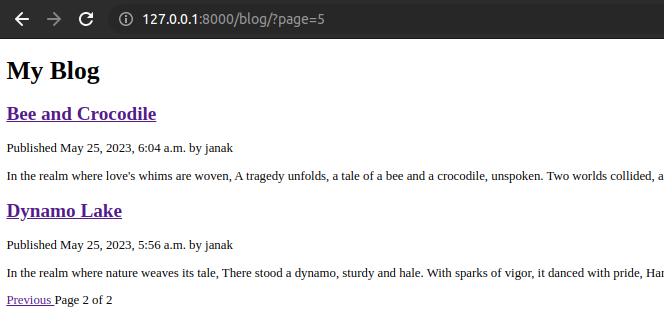
return render(request,'blog/post/list.html',{'posts':posts})Now, visit http://127.0.0.1:8000/blog/?page=5 to be redirected to last page.
Class Based Views
Class-based views are an alternative way to implement views as Python objects instead of functions. Since a view is a function that takes a web request and returns a web response, we can also define our views as class methods. Django provides base view classes that we can use to implement our own views. All of them inherit from the View class, which handles HTTP method dispatching and other common functionalities.
Class based views offer some advantages over function-based views that are useful for specific use cases. Class-based views allow us to:
- Organize code related to HTTP methods, such as GET, POST or PUT, in separate methods, instead of using conditional branching.
- Use multiple inheritance to create reusable view classes (also known as mixins)
To implement class based view to list post edit blog/views.py as follows.
from django.shortcuts import render,get_object_or_404
from django.core.paginator import Paginator,EmptyPage
from django.views.generic import ListView

from .models import Post


# Create your views here.
class PostListView(ListView):
    """
    Alternative post list view
    """
    queryset = Post.published.all()
    context_object_name = 'posts'
    paginate_by = 3
    template_name = 'blog/post/list.html'


def post_detail(request,year,month,day,post):
    post = get_object_or_404(Post,
                             status=Post.Status.PUBLISHED,
                             slug = post,
                             publish__year =year,
                             publish__month=month,
                             publish__day=day)
    print("***************",post)


    return render(request,'blog/post/detail.html',{'post':post})
Now to use this class based view edit blog/urls.py as follow.
from django.urls import path
from . import views

app_name = "blog"

urlpatterns = [
    #post views   path("",views.PostListView.as_view(),name="post_list"),
    path("<int:year>/<int:month>/<int:day>/<slug:post>",views.post_detail,name="post_detail"),
]
In order to keep pagination working, we have to use the right page object that is passed to the template. Django’s ListViewgeneric view passes the page requested in a variable called page_obj. We have to edit the post/list.html template accordingly.
{% extends "blog/base.html" %}
{% block title %}My Blog {% endblock %}

{% block content %}
<h1>My Blog</h1>
    {% for post in posts %}
        <h2>
            <a href="{{ post.get_absolute_url}}">
                {{ post.title }}
            </a>
        </h2>
        <p class="date">
            Published {{ post.publish }} by {{ post.author }}
        </p>
        {{ post.body|truncatewords:30|linebreaks }}
    {% endfor %}
{% include "pagination.html" with page=page_obj %}
{% endblock %}
The webapp runs as it was even with these changes.
Creating a comment system
Creating a model for comments
Edit blog/models.py to add the following code.
from django.db import models
from django.db.models.query import QuerySet
from django.utils import timezone
from django.contrib.auth.models import User
from django.urls import reverse
......................................................................


class Comment(models.Model):
    post = models.ForeignKey(Post,on_delete=models.CASCADE,related_name='comments')
    name = models.CharField(max_length=80)
    email = models.EmailField()
    body = models.TextField()
    created = models.DateTimeField(auto_now_add=True)
    updated = models.DateTimeField(auto_now=True)
    active = models.BooleanField(default=True)

    class Meta:
        ordering = ['created']
        indexes = [models.Index(fields=['created']),]

    def __str__(self):
        return f'Comment by {self.name} on {self.post}'
Here we created Comment model. We have added a ForeignKey field to associate each comment with a single post. This many-to-one relationship is defined in the Comment model because each comment will be made on one post and each post may have multiple comments.
The related_name attribute allows us to name the attribute that we use for the relationship from the related object back to this one. We can retrieve the post of comment object using comment.post and retrieve all comments associated with a post object using post.comments.all().
We need to make migrations as we have added a new model.
#terminal
python manage.py makemigrations blog
python manage.py migrate
Adding comments to the administration site
from django.contrib import admin
from .models import Post, Comment

......................................
@admin.register(Comment)
class CommentAdmin(admin.ModelAdmin):
    list_display = ['name','email','post','created','active']
    list_filter = ['active','created','updated']
    search_fields = ['name','email','body']
Run the server and visit http://127.0.0.1:8000/admin/
Login with superuser credentials.
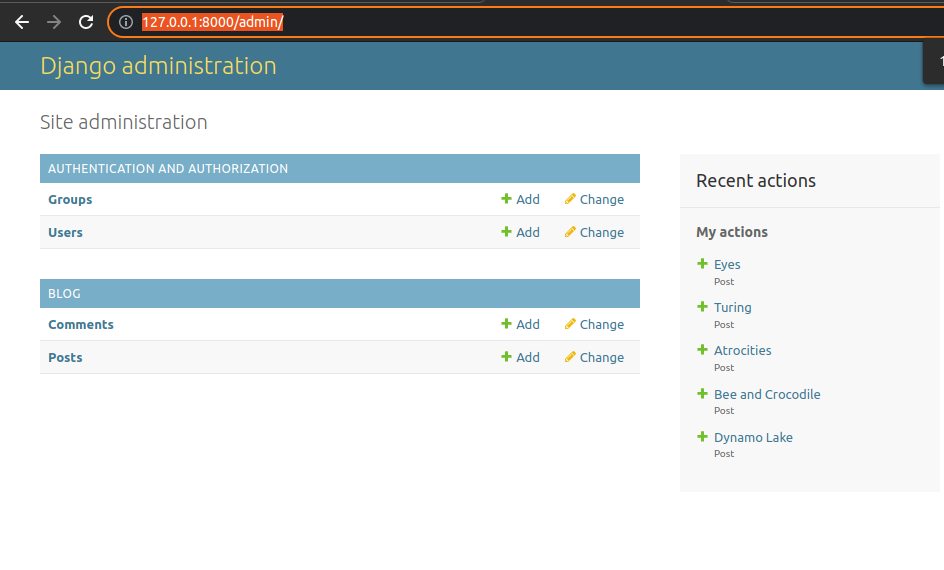
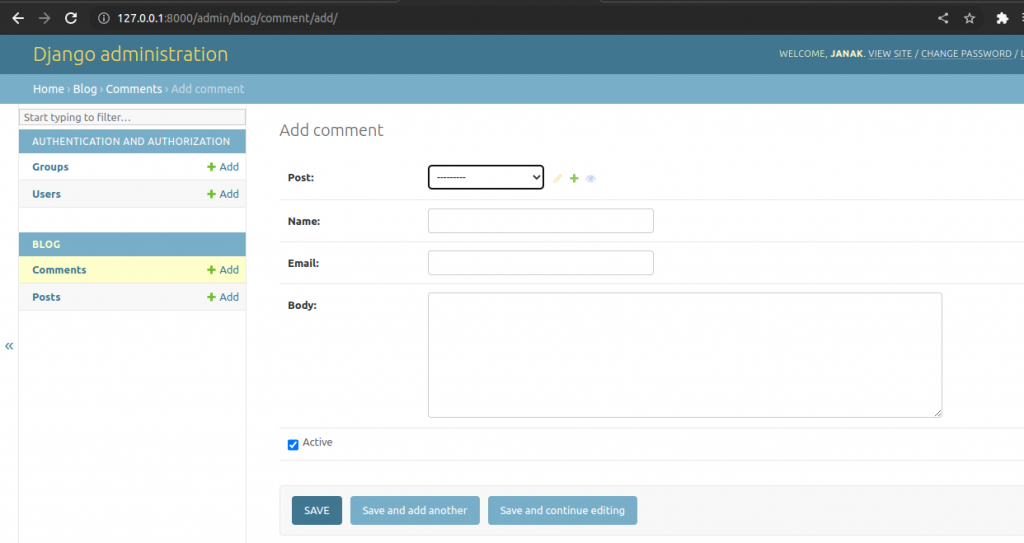
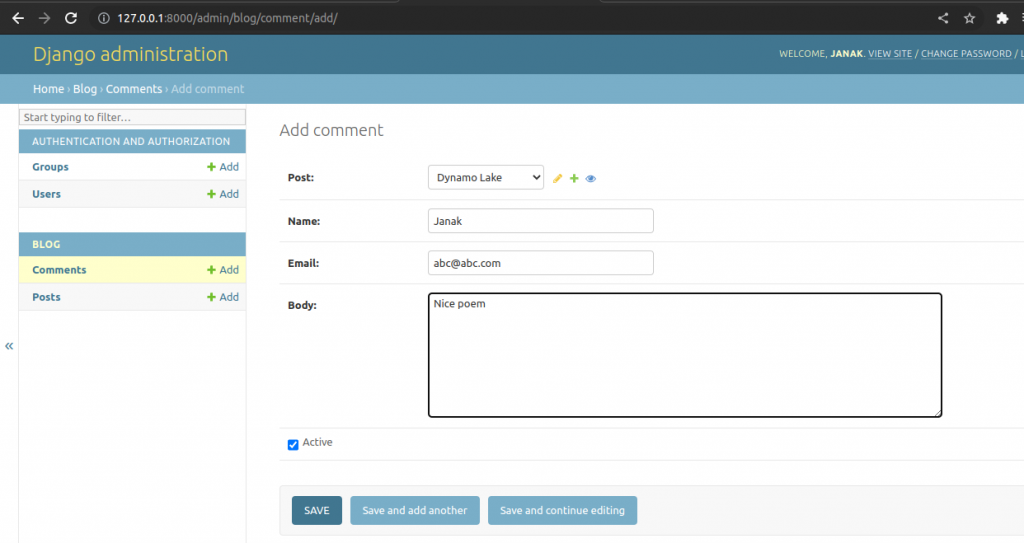
Choose a post and enter a comment.
Creating forms from models
We need to build a form to let users comment on blog posts. Remember that Django has two base cases that can be used to create forms: Form and ModelForm. We will use ModelForm to take advantage of the existing Comment model and build a form dynamically for it.
Create blog/forms.py and add following lines of codes.
from django import forms

from .models import Comment


class CommentForm(forms.ModelForm):
    class Meta:
        model = Comment
        fields = ['name','email','body']
To create a form from a model, we just indicate which model to build the form for in the Meta class of the form. Django will introspect the model and build the corresponding form dynamically.
Each model field type has a corresponding default form field type. The attributes of model fields are taken into account for form validation. By default, Django creates a form field for each field contained in the model. However, we can explicitly tell Django which fields to include in the form using the fields attribute or define which fields to exclude using the exclude attribute. In the CommentForm form, we have explicitly included the name, email and body fields. These are the only fields that will be included in the form.
Handling ModelForms in views
We will add the comment form to the post detail page, and we will build a separate view to handle the form submission. The new view the processes the form will allow the user to return to the post detail view once the comment has been stored in the database.
Edit the blog/views.py file of the blog application and add the following code:
from django.shortcuts import render,get_object_or_404
from django.core.paginator import Paginator,EmptyPage
from django.views.generic import ListView
from .models import Post,Comment
from .forms import CommentForm
from django.views.decorators.http import require_POST
....................................................................
@require_POST
def post_comment(request,post_id):
    post = get_object_or_404(Post,id=post_id,status=Post.Status.PUBLISHED)
    comment = None
    #a comment was posted
    form = CommentForm(data=request.POST)
    if form.is_valid():
        #Create a comment object without saving it to the database
        comment = form.save(commit=False)
        #Assign the post to the comment
        comment.post = post
        #Save the comment to the database
        comment.save()
    return render(request,'blog/post/comment.html',
                  {'post':post,
                   'form':form,
                   'comment':comment})
We have defined the post_comment view that takes the request object and the post_id variable as parameters. We will be using this view to manage the post submission. We except the form to be submitted using the HTTP POST method. We use the require_POST decorator provided by Django to only allow POST requests for this view. Django allows us to restrict the HTTP methods allowed for views. Django will throw an HTTP 405 (method not allowed) error if you try to access the view with any other HTTP method.
Create URL pattern for this view.
from django.urls import path
from . import views

app_name = "blog"

urlpatterns = [
    #post views

    path("",views.PostListView.as_view(),name="post_list"),
    path("<int:year>/<int:month>/<int:day>/<slug:post>",views.post_detail,name="post_detail"),
    path("<int:post_id>/comment/",views.post_comment,name='post_comment'),
]
Create templates for the comment form
Create a new directory name includes in the templates/blog/post/. Create comment_form.html inside includes.
<h2>Add a new comment</h2>
<form action="{% url "blog:post_comment" post.id %}" method="post">
    {{ form.as_p }}
    {% csrf_token %}
    <p>
        <input type="submit" value="Add comment">
    </p>
</form>
Create blog/post/comment.html template and add the following code.
{% extends "blog/base.html" %}
{% block title %}Add Comment{% endblock %}
{% block content %}
    {% if comment %}
        <h2>Your comment has been added.</h2>
        <p>
            <a href="{{ post.get_absolute_url }}">
                Back to the post
            </a>
        </p>
    {% else %}
        {% include "blog/post/includes/commment_form.html" %}
    {% endif %}
{% endblock %}
This is the template for the post comment view. In this view, we except the form to be submitted via the POST method. The template covers two different scenarios:
- If the form data submitted is valid, the comment variable will contain the comment object that was created and a success message will be displayed.
- If the form data submitted is not valid, the comment variable will be None. In this case, we will display the comment form. We use the {% include %} template tag to include the comment_form.html template that we have previously created.
Adding comment to the post detail view
Edit the views.py file of the blog application and edit the post_detail view as follows.
def post_detail(request,year,month,day,post):
    post = get_object_or_404(Post,
                             status=Post.Status.PUBLISHED,
                             slug = post,
                             publish__year =year,
                             publish__month=month,
                             publish__day=day)
    print("***************",post)

    #List of active comments for this post
    comments = post.comments.filter(active=True)
    #form for users to comment
    form = CommentForm()


    return render(request,'blog/post/detail.html',{'post':post,
                                                   'comments':comments,
                                                   'form':form})
Adding comment to the post detail template
We need to edit the blog/post/detail.html template to implement the following.
- Display the total number of comments for a post
- Display the list of comments
- Display the form for uses to add a new comment.
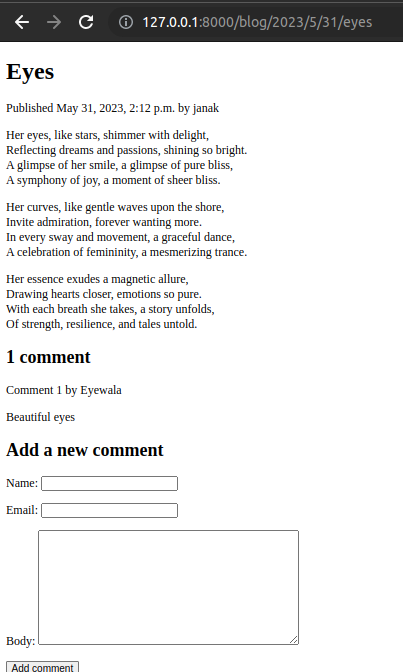
{% extends "blog/base.html" %}
{% block title %}{{ post.title }}{% endblock %}
{% block content %}
<h1>
    {{post.title}}
</h1>
<p class="date">
    Published {{ post.publish }} by {{ post.author }}
</p>
{{ post.body|linebreaks }}

{% with comments.count as total_comments %}
<h2>
    {{ total_comments }} comment {{ total_comments|pluralize }}
</h2>
{% endwith %}

{% for comment in comments %}
<div class="comment">
    <p class="info">
        Comment {{ forloop.counter }} by {{ comment.name}}
    </p>
    {{ comment.body|linebreaks}}
</div>
{% empty %}
<p> There are no comments. </p>
{% endfor %}
{% include "blog/post/includes/comment_form.html" %}
{% endblock %}
Run the server and visit http://127.0.0.1:8000/blog/
Visit the detail page of any poem.
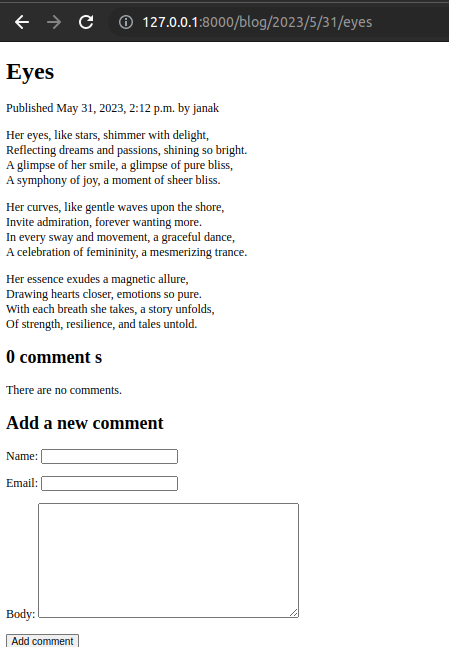
Post a comment.
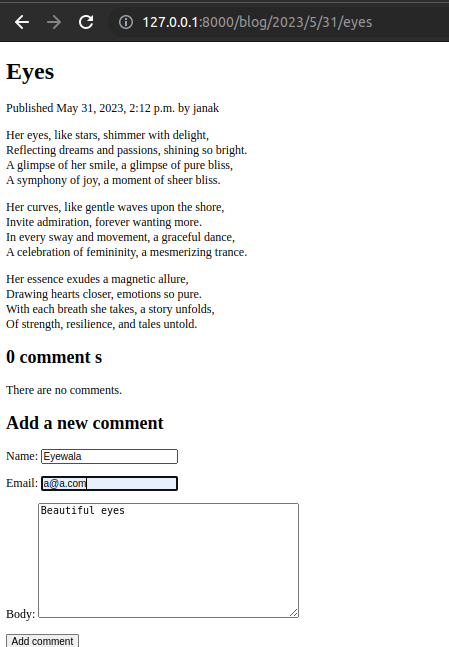

Go back to post to see your comment