Blog for Poems in Django Part I
In this blog post, we will learn how to create a basic blog application with Django. This blog post includes, creation of models, views, urls and templates along with the creation of super user.
Table of contents
- Creating a Python virtual environment
- Install Django
- Create the Django project
- Apply initial database migrations
- Running the development server
- Running on the custom server
- Create an Django application
- Create the Post model
- Adding the datetime fields
- Defining a default sort order
- Adding a database index
- Adding a status field
- Adding a many-to-one relationship
- Activating the application
- Creating and Applying migrations
- The superuser
- Add model to administration site
- Customizing how models are displayed
- Creating model managers
- Building list and detail views
- Creating list and detail views
- Adding URL patterns for our views
- Creating templates for our views
- Create base template
- Creating the post list template
- Creating the post detail template
- Output
Creating a Python virtual environment
#terminal
python3 -m venv venv
Install Django
#terminal
pip install Django~=4.2
Create the project
#terminal
django-admin startproject poetry
Applying initial database migrations
#terminal
cd poetry
python manage.py migrate
Running the Development Server
#terminal
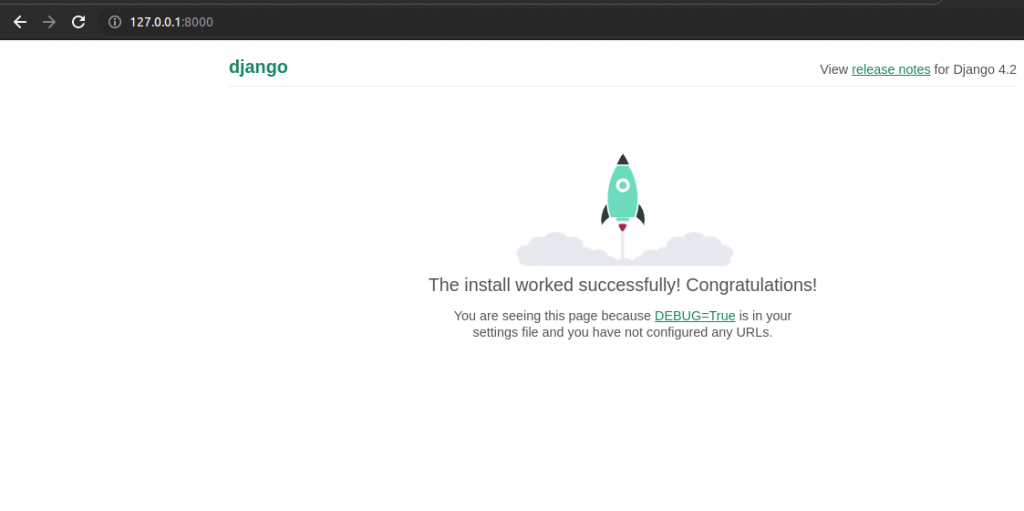
python manage.py runserverVisit http://127.0.0.1:8000/
Running on custom server
#terminal
python manage.py runserver 127.0.0.1:5555
Create an application
#Terminal
python manage.py startapp blog
Create the Post model
Create the post model by adding the following lines to blog/models.py
from django.db import models

# Create your models here.
class Post(models.Model):
    title = models.CharField(max_length=250)
    slug = models.SlugField(max_length=250)
    body = models.TextField()


    def __str__(self):
        return self.title
Adding the datetime fields
from django.db import models
from django.utils import timezone

# Create your models here.
class Post(models.Model):
    title = models.CharField(max_length=250)
    slug = models.SlugField(max_length=250)
    body = models.TextField()
    publish = models.DateTimeField(default=timezone.now)
    created = models.DateTimeField(auto_now_add=True)
    updated = models.DateTimeField(auto_now=True)


    def __str__(self):
        return self.title
Defining a default sort order
from django.db import models
from django.utils import timezone

# Create your models here.
class Post(models.Model):
    title = models.CharField(max_length=250)
    slug = models.SlugField(max_length=250)
    body = models.TextField()
    publish = models.DateTimeField(default=timezone.now)
    created = models.DateTimeField(auto_now_add=True)
    updated = models.DateTimeField(auto_now=True)


    class Meta:
        ordering = ['-publish']

    def __str__(self):
        return self.title
We have added a Meta class inside the model. This class defines metadata for the model. We use the ordering attribute to tell Django that it should sort results by the publish field. This ordering will apply by default for database queries when no specific order is provided in the query. We indicate descending order by using a hyphen before the field name, -publish. Posts will be returned in reverse chronological order by default.
Adding a database index
from django.db import models
from django.utils import timezone

# Create your models here.
class Post(models.Model):
    title = models.CharField(max_length=250)
    slug = models.SlugField(max_length=250)
    body = models.TextField()
    publish = models.DateTimeField(default=timezone.now)
    created = models.DateTimeField(auto_now_add=True)
    updated = models.DateTimeField(auto_now=True)


    class Meta:
        ordering = ['-publish']
        indexes = [models.Index(fields=['-publish']),
                   ]

    def __str__(self):
        return self.title
We have added the indexes option to the model’s Meta class. This option allows us to define database indexes for your model, which comprise one or multiple fields, in ascending or descending order, or functional expressions and database functions. We have added an index for the publish field. We use a hyphen before the field name to define the index in descending order. The creation of this index will be included in the database migrations.
Adding a status filed
A common functionality for blogs is to save posts as a draft until ready for publication. We will add a status field to out model that will allow us to manage the status of blog posts. We will be using Draft and Published statuses for posts.
from django.db import models
from django.utils import timezone

# Create your models here.
class Post(models.Model):

    class Status(models.TextChoices):
        DRAFT = "DF","DRAFT"
        PUBLISHED = "PB","PUBLISHED"


    title = models.CharField(max_length=250)
    slug = models.SlugField(max_length=250)
    body = models.TextField()
    publish = models.DateTimeField(default=timezone.now)
    created = models.DateTimeField(auto_now_add=True)
    updated = models.DateTimeField(auto_now=True)
    status = models.CharField(max_length=2,choices=Status.choices,default=Status.DRAFT)


    class Meta:
        ordering = ['-publish']
        indexes = [models.Index(fields=['-publish']),
                   ]

    def __str__(self):
        return self.title
Adding a many-to-one relationship
Posts are always written by an author. We will create a relationship between users and posts that will indicate which user wrote which posts. Django comes with an authentication framework that handles user accounts. The Django authentication framework comes in the django.contrib.auth package and contains a User model. We will use the User model from the Django authentication framework to create a relationship between users and posts.
from django.db import models
from django.utils import timezone
from django.contrib.auth.models import User

# Create your models here.
class Post(models.Model):

    class Status(models.TextChoices):
        DRAFT = "DF","DRAFT"
        PUBLISHED = "PB","PUBLISHED"


    title = models.CharField(max_length=250)
    slug = models.SlugField(max_length=250)
    author = models.ForeignKey(User,on_delete=models.CASCADE,
                               related_name='blog_posts')
    body = models.TextField()
    publish = models.DateTimeField(default=timezone.now)
    created = models.DateTimeField(auto_now_add=True)
    updated = models.DateTimeField(auto_now=True)
    status = models.CharField(max_length=2,choices=Status.choices,default=Status.DRAFT)


    class Meta:
        ordering = ['-publish']
        indexes = [models.Index(fields=['-publish']),
                   ]

    def __str__(self):
        return self.title
We have imported User model from the django.contrib.auth.models module and we have added an author field to the Post model. This field defines a many-to-one relationship, meaning that each post is written by a user, and a user can write any number of posts. For this field, Django will create a foreign key in the database using the primary key of the related model.
The on_delete parameter specifies the behavior to adopt when the referenced object is deleted. This is not specific to Django; it is an SQL standard. Using CASCADE, you specify that when the referenced user is deleted the database will also delete all related blog posts.
We use related_name to specify the name of the reverse relationship, from User to Post. This will allow us to access related objects easily from a user object by using the user.blog_posts notations.
Activating the application
Edit the settings.py as follow.
..............................

# Application definition

INSTALLED_APPS = [
    'django.contrib.admin',
    'django.contrib.auth',
    'django.contrib.contenttypes',
    'django.contrib.sessions',
    'django.contrib.messages',
    'django.contrib.staticfiles',
    'blog',
]
................................
Creating and Applying migrations
Now that we have a data model for blog posts, we need to create the corresponding database table. Django comes with a migration system that tracks the changes made to models and enables them to propagate into the database.
The migrate command applies migrations for all applications listed in INSTALLED_APPS. It synchronizes the database with the current models and existing migrations.
First, we need to create an initial migration for our Post model.
#terminal
python manage.py makemigrations blog
Then execute the following command in the shell prompt to apply existing migrations.
#terminal
python manage.py migrate
The superuser
#terminal
python manage.py createsuperuser
Run the server and visit http://127.0.0.1:8000/admin/
Login to see

Add your model to administration site
Goto blog/admin.py and edit it.
from django.contrib import admin
from .models import Post

# Register your models here.
admin.site.register(Post)
Now, reload the administration site.
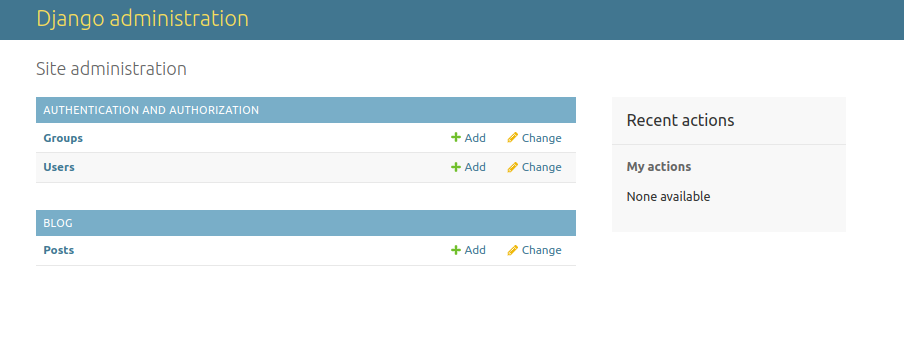
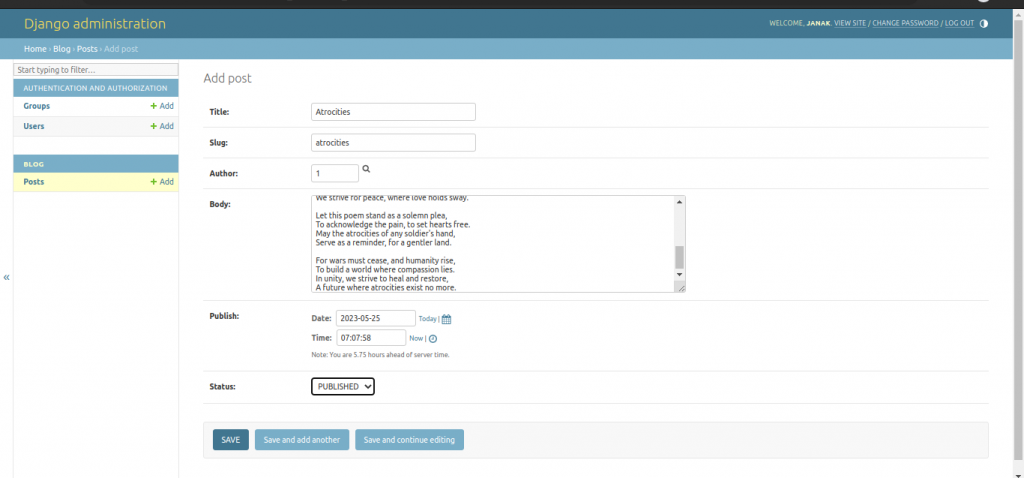
Click on Posts and add a new post.

Customizing how models are displayed
Edit the blog/admin.py file of your blog application and change it, as follows.
from django.contrib import admin
from .models import Post

# Register your models here.
@admin.register(Post)
class PostAdmin(admin.ModelAdmin):
    list_display = ['title','slug','author','publish','status']
    list_filter = ['status','created','publish','author']
    search_fields = ['title','body']
    prepopulated_fields = {'slug':('title',)}
    raw_id_fields = ['author']
    date_hierarchy = 'publish'
    ordering = ['status','publish']
Visit the admin page again and load the post list page
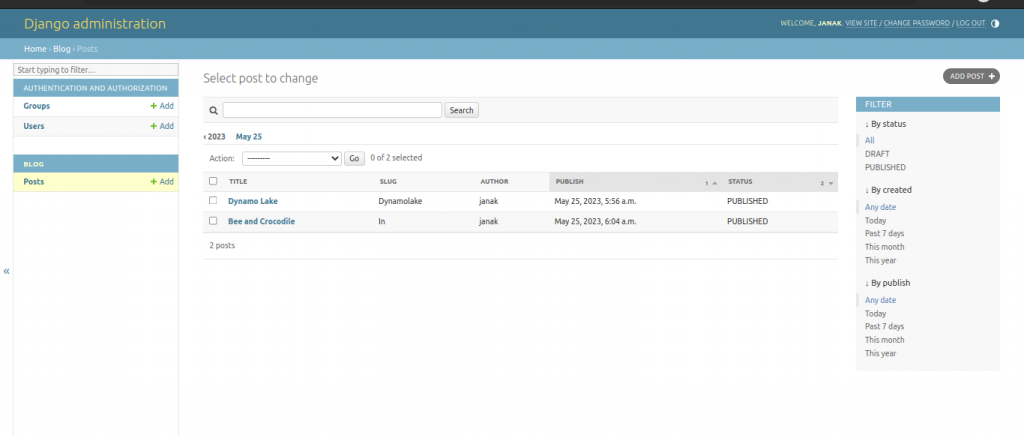
You can see the input fields displayed on the post list page are the ones we specified in the list_display attribute. The list page now includes a right sidebar that allows us to filter the results by the fields included in the list_filter attribute.
A search bar has appeared on the page. This is because we have defined a list of searchable fields using the search_fields attribute. Just below the search bar, there are navigation links to navigate through a data hierarchy this has been defined by the date_hierarchy attribute. We can also see that the posts are ordered by STATUS and PUBLISH columns by default. We have specified the default sorting criteria using the ordered attribute.
Next, click on the ADD POST link. Here, as we type the title of a new poem, the slug field is filled in automatically. The author filed is now displayed with a lookup widget, which can be much better than a drop-down select input when you have thousand of users. This is achieved with the raw_id_fields attribute.
Creating model managers
The default manager for every model is the object manager. This manager retrieves all the objects in the database. However, we can define custom managers for models.
Let’s create a custom manager to retrieve all posts that have a PUBLISHED status.
There are two ways to add or customize managers for our models: we can add extra manager methods to an existing manger or to create a new manager by modifying the initial QuerySet that the manager returns. The first method provides us with a QuerySet notation like Post.objects.my_manager(), and the latter provides us with a QuerySet notation like Post.my_manager.all().
We will use the second method to implement a manager that will allow us to retrieve posts using the notation Post.published.all().
Edit blog/models.py file to add the custom manager as follows.
from django.db import models
from django.db.models.query import QuerySet
from django.utils import timezone
from django.contrib.auth.models import User

# Create your models here.
class PublishedManager(models.Manager):
    def get_queryset(self):
        return super().get_queryset().filter(status=Post.Status.PUBLISHED)


class Post(models.Model):

    class Status(models.TextChoices):
        DRAFT = "DF","DRAFT"
        PUBLISHED = "PB","PUBLISHED"


    title = models.CharField(max_length=250)
    slug = models.SlugField(max_length=250)
    author = models.ForeignKey(User,on_delete=models.CASCADE,
                               related_name='blog_posts')
    body = models.TextField()
    publish = models.DateTimeField(default=timezone.now)
    created = models.DateTimeField(auto_now_add=True)
    updated = models.DateTimeField(auto_now=True)
    status = models.CharField(max_length=2,choices=Status.choices,default=Status.DRAFT)

    objects = models.Manager()#the default manage
    published = PublishedManager() #out custom manager

    class Meta:
        ordering = ['-publish']
        indexes = [models.Index(fields=['-publish']),
                   ]

    def __str__(self):
        return self.title
Building list and detail views
First, you will create our application views, then we will define a URL pattern for each view, and finally, you will create HTML templates to render the data generated by the views. Each view will render a template, passing variables to it, and will return an HTTP response with the rendered output.
Creating list and detail views
Edit the blog/views.py file of eh blog application and make it look like this.
from django.shortcuts import render
from .models import Post

# Create your views here.
def post_list(request):
    posts = Post.publish.all()
    return render(request,'blog/post/list.html',{'posts':posts})
The post_list view takes the request object as the only parameter. This parameter is required by all views.
In this view, we retrieve all the posts with the PUBLISHED status using the published manager that we created previously. Finally, we use the render() shortcut provided by the Django to render the list of posts with the given template. This function takes the request object, the template path and the context variables to render the given template. It returns an HttpResponse object with the rendered text (normally HTML code).
The render() shortcut takes the request context into account, so any variable set by the template context processors is accessible by the given template. Template context processors are just callables that set variables into context.
Edit blog/views.py to add the second view to display the single post.
from django.shortcuts import render,get_object_or_404


from .models import Post


# Create your views here.
def post_detail(request,id):
    post = get_object_or_404(Post,id=id,status=Post.Status.PUBLISHED)


    return render(request,'blog/post/detail.html',{'post':post})


def post_list(request):
    posts = Post.publish.all()
    return render(request,'blog/post/list.html',{'posts':posts})
Adding URL patterns for our views
URL patterns allow you to map URLs to views. A URL pattern is composed of a string pattern, a view, and optionally, a name that allows us to name the URL project-wide. Django runs through each URL patterns and stops at the first one that matches the requested URL. Then, Django imports the view of the matching URL pattern and executes it, passing an instance of the HttpRequest class and the keyword or positional arguments.
Create blog/urls.py and add following lines of code.
from django.urls import path
from . import views

app_name = "blog"

urlpatterns = [
    #post views
    path("",views.post_list,name="post_list"),
    path("<int:id>/",views.post_detail,name="post_detail"),
]
We defined an application namespace with the app_name variable. This allows you to organize URLs by application and use the name when referring to them. You define two different patterns using the path() function. The first URL pattern does not take any arguments and is mapped to the post_list view. The second pattern is mapped to the post_detail view and takes only one argument id, which matches an integer, set by the path converter int.
We used angle brackets to capture the values from the URL. Any value specified in the URL pattern as <parameter> is captured as a string. We use path converters, such as <int:year>,to specifically match and return an integer.
To include the URL patterns of the blog application in the main URL patterns of the project, edit urls.py as follows.
from django.contrib import admin
from django.urls import path,include

urlpatterns = [
    path('admin/', admin.site.urls),
    path("blog/",include('blog.urls',namespace='blog')),
]
The new URL pattern defined with include refers to the URL patterns defined in the blog application so that they are included under the blog/path. We include these patterns under the namespace blog. Namespaces have to be unique across your entire project. Later, we will refer to our blog URLs easily by using the namespace followed by a colon and the URL name, for example blog:post_list and blog:post_detail.
Creating templates for our views
URL patterns map URLs to views, and views decide which data gets returned to the user. Templates define how the data is displayed; they are usually written in HTML in combination with the Django template language.
Create following directories and files inside the blog application.
#terminal
cd blog
mkdir templates
mkdir templates/blog
mkdir templates/blog/post
touch templates/blog/base.html
touch templates/blog/post/{list.html,detail.html}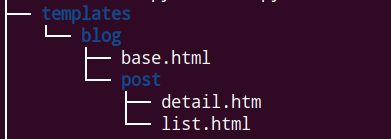
Create a base template
Edit the base.html as follows.
{% load static %}
<!DOCTYPE html>
<html>
    <head>
        <title>
            {% block title %}{% endblock %}
        </title>
        <link href="{% static "css/blog.css"%}" rel="stylesheet">

    </head>
    <body>
        <div id="content">
            {% block content %}
            {% endblock %}
        </div>


    </body>
</html>
{% load static %} tells Django to load the static template tags that are provided by the django.
Creating the post list template
Add the following code to blog/templates/post/list.html
{% extends "blog/base.html" %}
{% block title %}My Blog {% endblock %}

{% block content %}
<h1>My Blog</h1>
    {% for post in posts %}
        <h2>
            <a href="{% url 'blog:post_detail' post.id %}">
                {{ post.title }}
            </a>
        </h2>
        <p class="date">
            Published {{ post.publish }} by {{ post.author }}
        </p>
        {{ post.body|truncatewords:30|linebreaks }}
    {% endfor %}

{% endblock %}
With the {% extends %} template tag, we tell Django to inherit form the blog blog/base.html template. Then, we fill the title and content blocks of the base template with content. We iterate through the posts and display their title, date, author and body, including a link in the title to the detail URL of the post. We build the URL using the {% url %} template tag provided by Django.
This template tag allows us to build URLs dynamically by their name. We use blog:post_detail to refer to the post_detail URL in the blog namespace. We pass the required post.id parameter to build the URL for each post.
In the body of the post, we apply two template filters: truncatewords truncates the value to the number of words specifies and linebreaks converts the output into HTML line breaks.
Creating the post detail template
Edit the blog/templates/post/detail.html
{% extends "blog/base.html" %}
{% block title %}{{ post.title }}{% endblock %}
{% block content %}
<h1>
    {{post.title}}
</h1>
<p class="date">
    Published {{ post.publish }} by {{ post.author }}
</p>
{{ post.body|linebreaks }}
{% endblock %}
Output
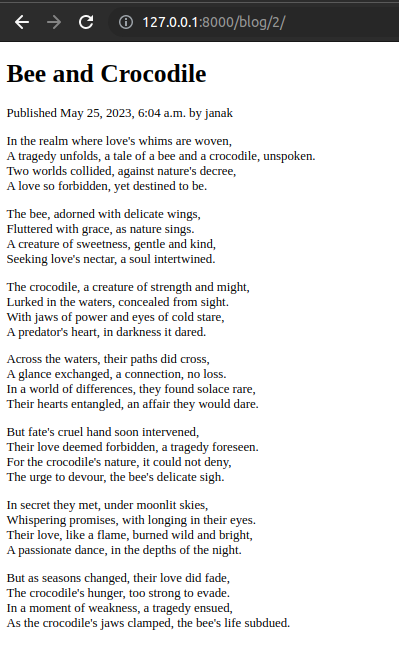
Run the server and visit http://127.0.0.1:8000/blog/
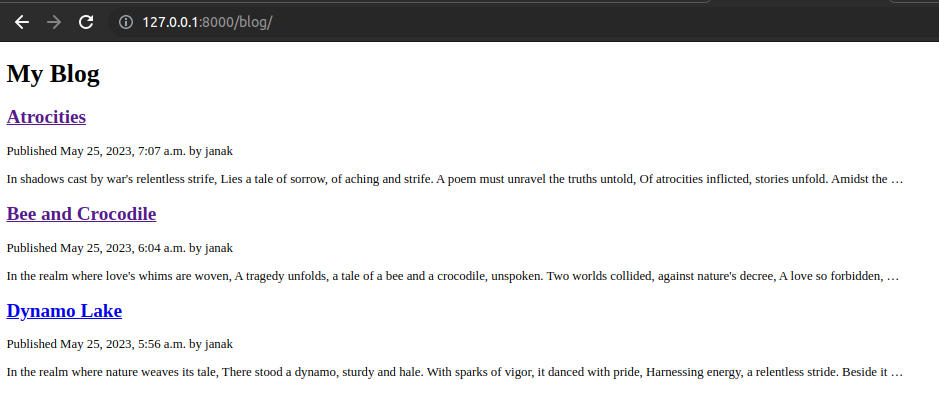
Click on title of any blog to go to its details.