Learn Basic of Django with Message Board App
In this tutorial we will learn Basic of Django with Message Board Application where users can post and read short messages. We will use database for this purpose. We will also explore Django built-in admin interface which provides a visual way to make changes to our data. Towards end we will add few tests.
Table of Contents
Start a new Django Project
#In terminal
django-admin startproject django_message_board
cd django_message_board
python3 manage.py startapp MessageBoard
Open django_message_board/settings.py in your text editor and add the app
# Application definition

# Application definition

INSTALLED_APPS = [
    'django.contrib.admin',
    'django.contrib.auth',
    'django.contrib.contenttypes',
    'django.contrib.sessions',
    'django.contrib.messages',
    'django.contrib.staticfiles',
    'MessageBoard.apps.MessageboardConfig',#new
]
Run migration
#In terminal
python3 manage.py migrate
python3 manage.py runserver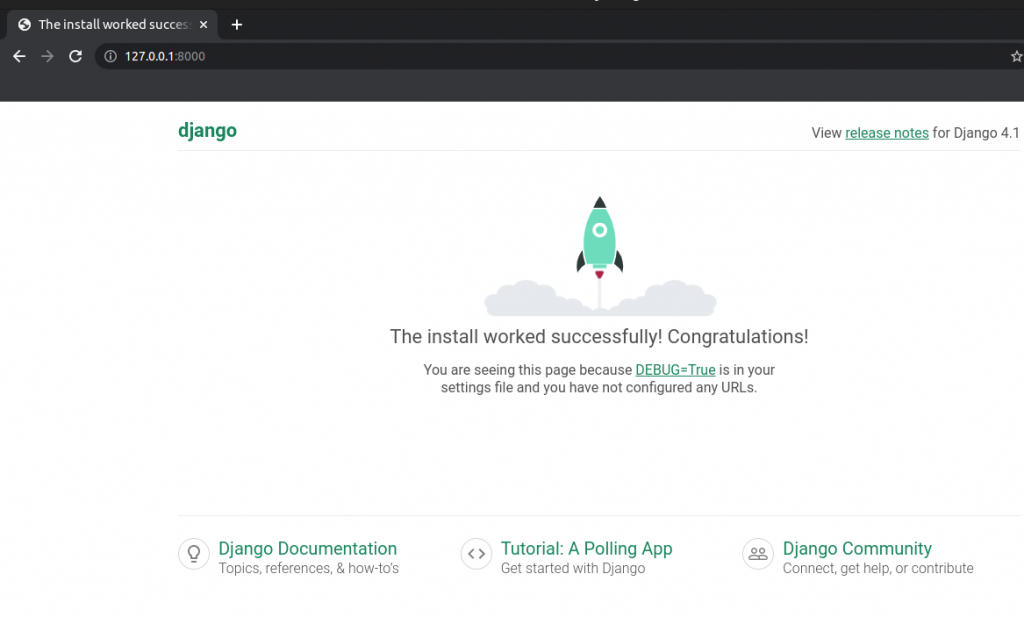
Create a Database Model
Our first task is to create a database model where we can store and display posts from our users. Django’s ORM will automatically turn this model into a database table for us.
Open the MessageBoard/models.py file and edit it as follow.
#MessageBoard/models.py
from django.db import models

class Post(models.Model):
   text = models.TextField()
Django imports a module, models, to help us build new database models which will “model” the characteristics of the data in our database. We have created a new database model called Post which has the database field text. We have also specified the type of the content it will hold, Textfield(). Django provides many model fields supporting common types of content such as characters, dates, integers, emails and so on.
Whenever we create or modify an existing model we will need to update Django in two-step process:
- First, we need to create migrations file with the makemigrations command. Migration files create a reference of any changes to the database models which means we can track changes and debug error as necessary over time.
- Second, we build the actual database with the migrate command which executes the instructions in our migrations file.
Stop the local server and run following commands in the terminal.
#terminal
python3 manage.py makemigrations MessageBoard
#Terminal
python3 manage.py migrate
Django Admin
Django has admin interface that provides a visual way to interact with data.
To use the Django admin, we first need to create a superuser who can log in.
#Terminal
python3 manage.py createsuperuser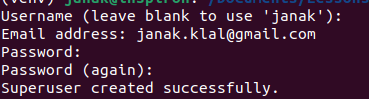
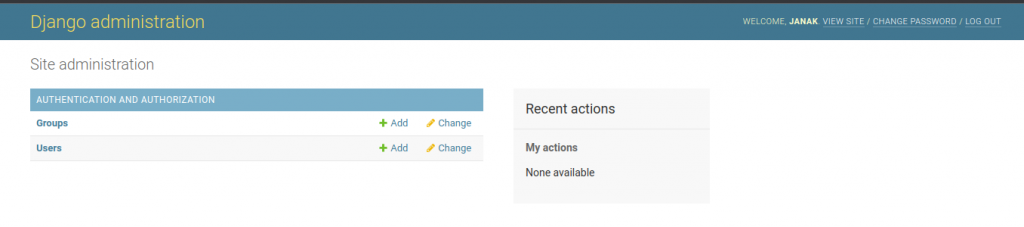
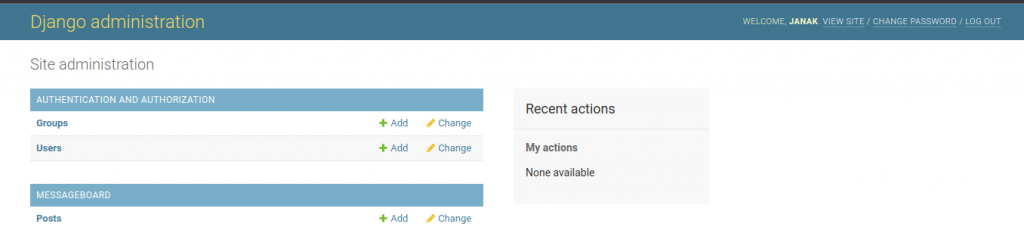
Run the server and visit http://127.0.0.1:8000/admin/

Login with your username and password
Edit MessageBoard/admin.py and add the following code to display Post model
#MessageBoard/admin.py
from django.contrib import admin

from .models import Post

admin.site.register(Post)
Django now knows that it should display our MessageBoard app and its database model Post on the admin page. Refresh your browser.
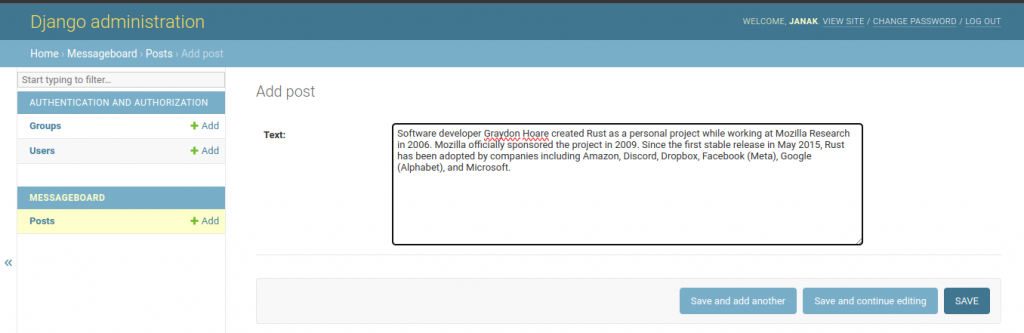
Let’s create our first message board post for our database. Click on the +Add button opposite Posts and enter your own content in the Text form Field.
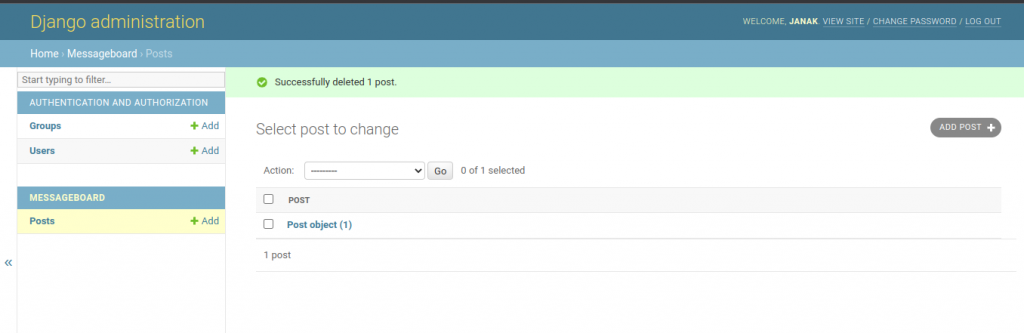
Then click the “Save” button, which will redirect you to the main Post page. However, if you look closely, there’s a problem: or new entry is called “Post object (1)” which is not very descriptive.
Edit MessageBoard/models.py as follow with __str__ function.
from django.db import models

# Create your models here.
class Post(models.Model):
    text = models.TextField()

    #new
    def __str__(self):
        return self.text[:50]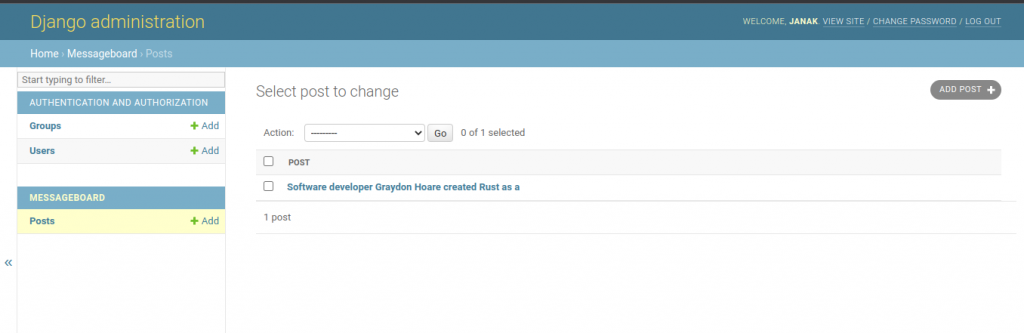
Views
We will list the contents of our database model the ListView.
Edit MessageBoard/views.py as follow
from django.views.generic import ListView
from .models import Post


# Create your views here.
class HomePageView(ListView):
    model = Post
    template_name = "home.html"
We imported ListView and Post. In the view, HomePageView, we subclass ListView and specify the correct model and template.
Templates
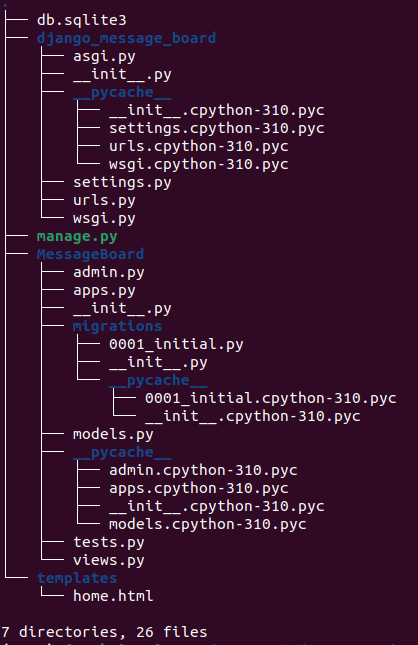
Create a new directory named templates and create home.html file within templates directory.
Edit django_message_board/setting.py as follow
TEMPLATES = [
    {
        'BACKEND': 'django.template.backends.django.DjangoTemplates',
        'DIRS': [],
        'APP_DIRS': True,
        'OPTIONS': {
            'context_processors': [
                'django.template.context_processors.debug',
                'django.template.context_processors.request',
                'django.contrib.auth.context_processors.auth',
                'django.contrib.messages.context_processors.messages',
            ],
        },
        "DIRS": [BASE_DIR / "templates"], #new
    },
]
Now, edit templates/home.html file as follow.
<!DOCTYPE html>
<h1>Message Board Homepage</h1>
<ul>
    {% for post in post_list %}
    <li>{{ post.text }}</li>
    {% endfor %}
</ul>
ListView automatically returns to us a context variable called <model>_list, where <model> is our model name, that we can loop over via the built-in for template tag.
We created our own variable called post and can then access the desired filed we want to be displayed, text, as post.text
URLs
In django_message_board/urls.py we will include our MessageBoard app.
from django.contrib import admin
from django.urls import path,include

urlpatterns = [
    path('admin/', admin.site.urls),
    path("",include("MessageBoard.urls")),
]
Create a urls.py in MessageBoard app and write down following code.
from django.urls import path
from .views import HomePageView
urlpatterns = [
path("",HomePageView.as_view(),name="home"),
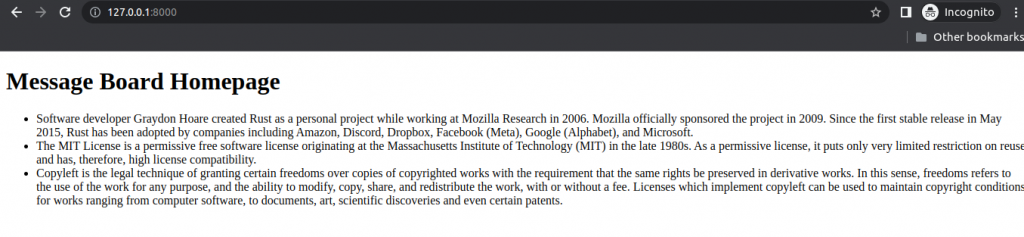
]Run server again and visit http://127.0.0.1:8000/

Go back to admin and create few posts
Test
Our Post model contains only one field, text, so let’s set up our data and then check that it is stored correctly in the database. All test methods must start with the phrase test* so that Django knows to test them.
#MessageBoard/tests.py
from django.test import TestCase
from .models import Post

# Create your tests here.
class PostTests(TestCase):
    @classmethod
    def setUpTestData(cls):
        cls.post = Post.objects.create(text="This is a test!")

    def test_model_content(self):
        self.assertEqual(self.post.text,"This is a test!")
At the top we imported TestCase and our Post model. Then we create a test class, PostTests, that extends TestCase and uses the built-in method setUpTestData to create initial data. In this instance, we only have one item stored as cls.post that can then be referred to in any subsequent tests within the class as self.post. Our first test, test_model_content, uses assertEqual to check that the content of the text field matches what we except.
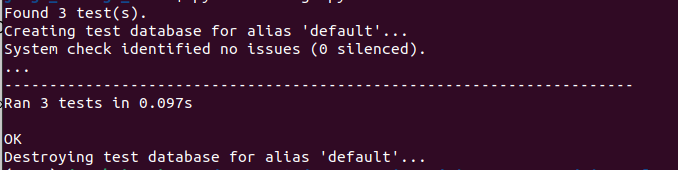
#terminal
python3 manage.py test
We also want to check following four things for our message board page:
- URL exists at / and returns a 200 HTTP status code
- URL is available by its name of “home”
- Correct template is used called “home.html”
- Homepage content matches what we except in the database.
from django.test import TestCase

#new
from django.urls import reverse

from .models import Post

# Create your tests here.
class PostTests(TestCase):
    @classmethod
    def setUpTestData(cls):
        cls.post = Post.objects.create(text="This is a test!")

    def test_model_content(self):
        self.assertEqual(self.post.text,"This is a test!")

    #new
    def test_url_exists_at_correct_location(self):
        response = self.client.get("/")
        self.assertEqual(response.status_code,200)

    #new
    def test_homepage(self):
        response = self.client.get(reverse("home"))
        self.assertEqual(response.status_code,200)
        self.assertTemplateUsed(response,"home.html")
        self.assertContains(response,"This is a test!")
#terminal
python3 manage.py test