
Django News App Part IV
In this tutorial we will limit access to articles list page to only logged-in users and add additional restrictions so that only the author of an article can edit or delete it. Users will also be able to add comments to any existing article. Finally we host it on pythonanywhere.com.
Link to this app on pythonanywhere.com.
Table of Contents
Improved CreateView
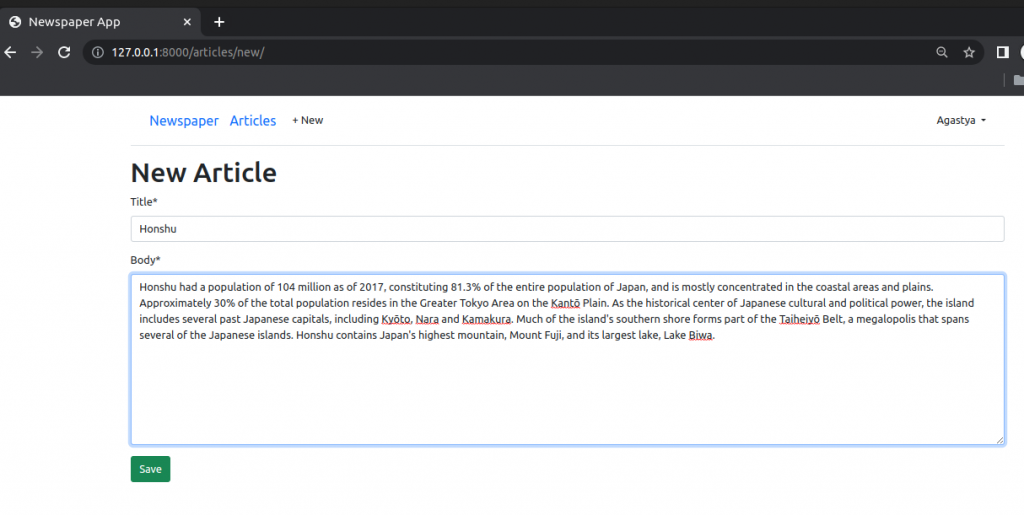
At present the author on a new article can be set to any existing user. Instead it should be automatically set to the current logged-in user. We can modify Django’s CreateView to achieve this by removing author from the fields and setting it automatically via the form_valid method instead.
Edit articles/views.py
...............................
class ArticleCreateView(CreateView):
model = Article
template_name = "article_new.html"
fields = (
"title",
"body",
)
def form_valid(self,form):
form.instance.author = self.request.user
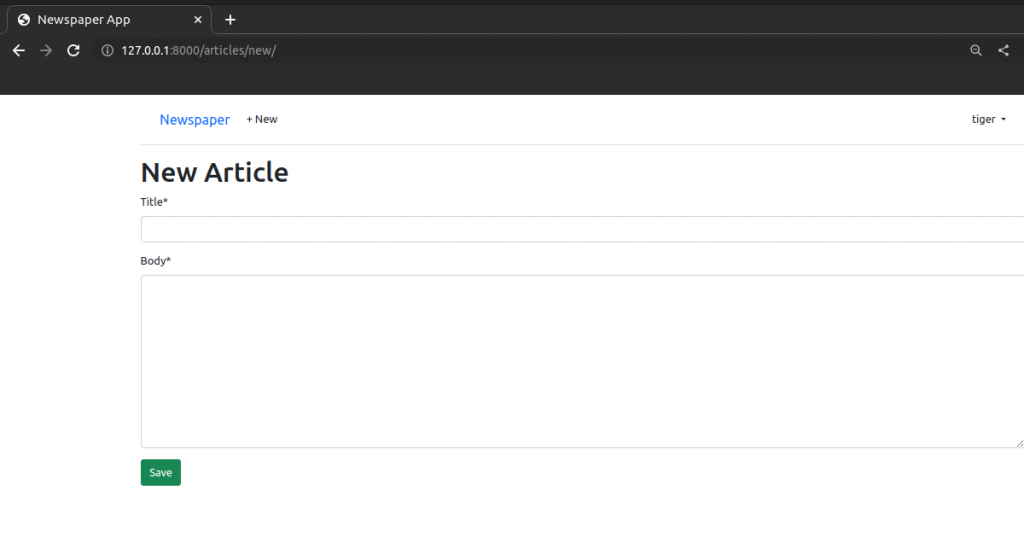
return super().form_valid(form)Now run the server, log in and try clicking on the “+ New” link in the top nav. It will redirect to the updated create page where author is no longer a field.
Visit http://127.0.0.1:8000/articles/ after creating new article. You can see the author of new article is one that was logged in during the creation of the article.

Mixins
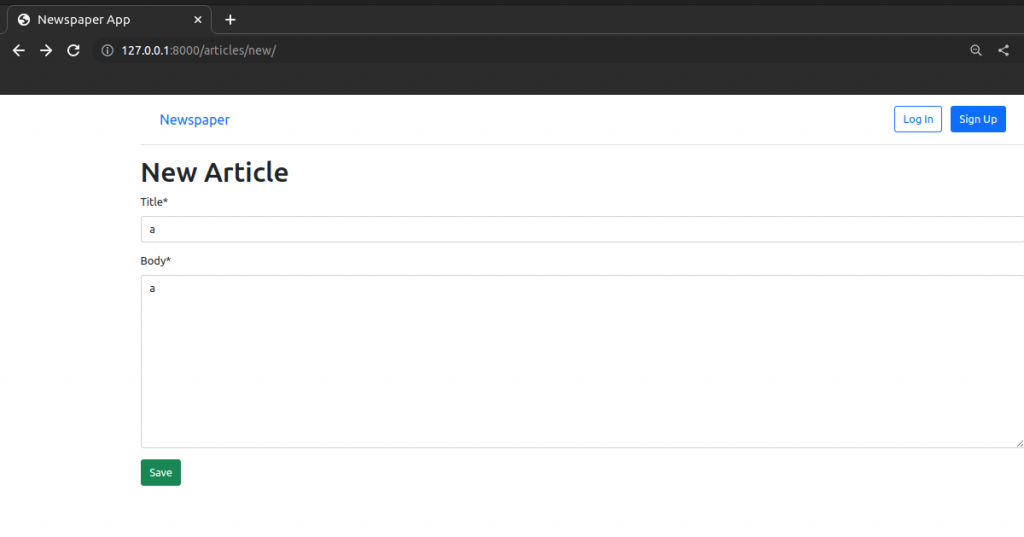
Log out and visit http://127.0.0.1:8000/articles/new/ you can create a new article but you will encounter problem when you want to save it.
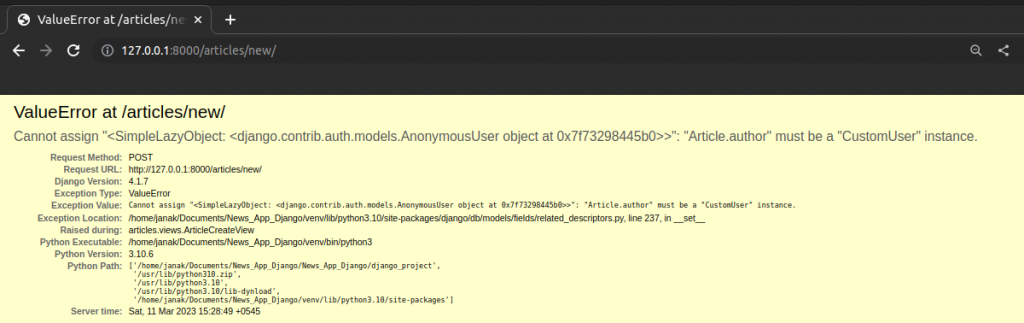
We get this error because our model excepts an author field which is linked to the current logged-in user. But since we are not logged in, there is no author and therefore submission fails.
We want to set some authorizations so only logged-in users can access certain URLs. To do this we use a mixin, which is a special kind of multiple inheritance that Django uses to avoid duplicate code and still allow customization.
To restrict view access to only logged in users, Django has a LoginRequiredMixin.
In the articles/views.py file, import LoginRequiredMixin at the top and then it add to the ArticleCreateView. Make sure that the mixin is to the left of CreateView so it will be read first. We want the CreateView to already know we intend to restrict access.
from django.contrib.auth.mixins import LoginRequiredMixin

........................................................
class ArticleCreateView(LoginRequiredMixin,CreateView):
    model = Article
    template_name = "article_new.html"
    fields = (
        "title",
        "body",
    )

    def form_valid(self,form):
        form.instance.author = self.request.user
        return super().form_valid(form)
Now visit http://127.0.0.1:8000/articles/new/.
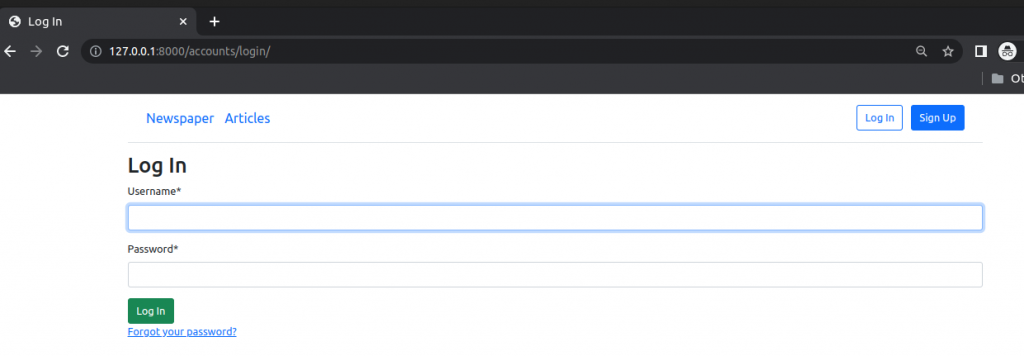
You will be redirected to login page if you are not logged in.
We also do not want to user to be able to update and delete article if they are not logged in.
Again edit article/views.py as follow.
from django.contrib.auth.mixins import LoginRequiredMixin

from django.views.generic import ListView, DetailView
from django.views.generic.edit import (
    UpdateView,
    DeleteView,
    CreateView
)
from django.urls import reverse_lazy

from .models import Article

# Create your views here.
class ArticleListView(ListView):
    model = Article
    template_name = "article_list.html"

class ArticleDetailView(DetailView):
    model = Article
    template_name = "article_detail.html"

class ArticleUpdateView(LoginRequiredMixin,UpdateView):
    model = Article
    fields = {
        "title",
        "body",
    }
    template_name = "article_edit.html"

class ArticleDeleteView(LoginRequiredMixin,DeleteView):
    model = Article
    template_name = "article_delete.html"
    success_url = reverse_lazy("article_list")


class ArticleCreateView(LoginRequiredMixin,CreateView):
    model = Article
    template_name = "article_new.html"
    fields = (
        "title",
        "body",
    )

    def form_valid(self,form):
        form.instance.author = self.request.user
        return super().form_valid(form)
With this update, one can visit article list and article detail but they cannot create, edit and delete article.
UserPassesTestMixin
Any logged in user can make changes to any article but we want to restrict this access so that only the author of an article has this permission.
Django ships with a built-in mixin, UserPassesTestMixin, just for this purpose.
To use UserPassesTestMixin, first import it at the top of articles/views.py file and then add it to both the update and delete views where we want this restriction. The test_func method is used by UserPassesTestMixin for our logic. We need to override it. In this case we set the variable obj to the current object returned by the view using get_object(). Then we say, if the author on the current object matches the current user on the webpage, then allow it. If false, an error will automatically be thrown.
from django.contrib.auth.mixins import LoginRequiredMixin,UserPassesTestMixin

..........................
class ArticleUpdateView(LoginRequiredMixin,UserPassesTestMixin,UpdateView):
    model = Article
    fields = {
        "title",
        "body",
    }
    template_name = "article_edit.html"

    def test_func(self):
        obj = self.get_object()
        return obj.author == self.request.user


class ArticleDeleteView(LoginRequiredMixin,UserPassesTestMixin,DeleteView):
    model = Article
    template_name = "article_delete.html"
    success_url = reverse_lazy("article_list")

    def test_func(self):
        obj = self.get_object()
        return obj.author == self.request.user

.....................................................
When using mixins with class-based views the order is very important. LoginRequiredTestMixin comes first so that we force log in, then we add UserPassesTestMixin for an additional layer of functionality on top of it and finally either UpdateView or DeleteView.
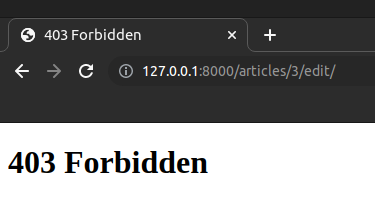
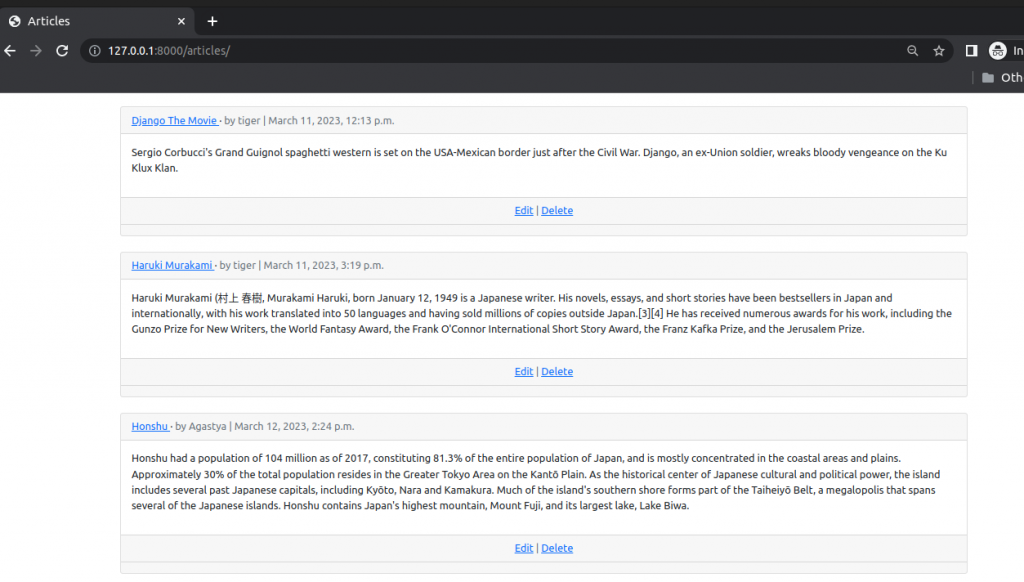
Run the server and visit http://127.0.0.1:8000/articles/
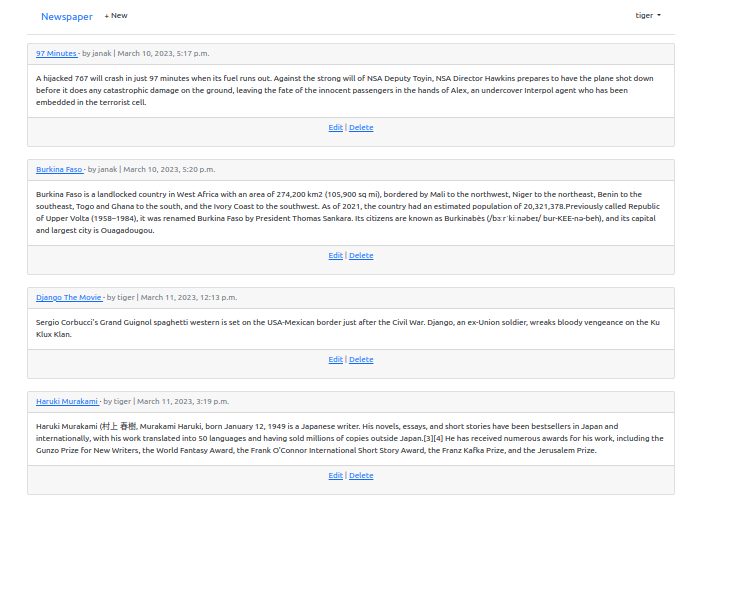
In the above image we can see “tiger” has logged in. There are two articles written by “janak” and two by “tiger”. Now, if tiger tries to edit/delete “Burkina Faso” , written by “janak”, the app will show error.
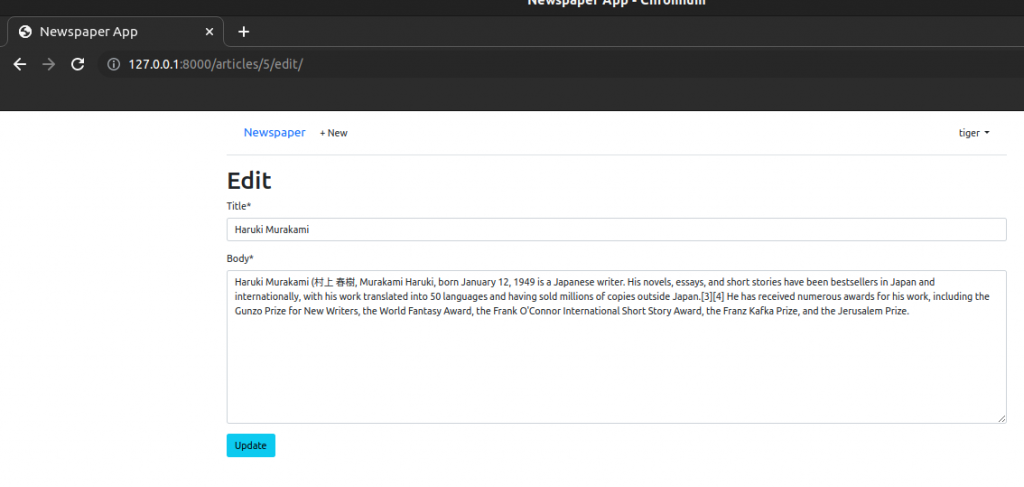
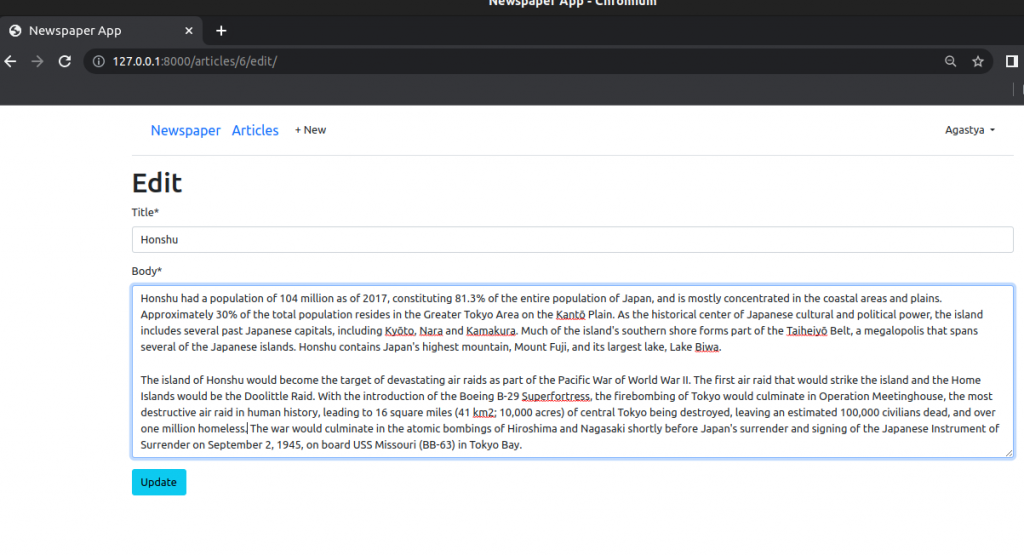
But “tiger” can successfully edit or delete “Harkuri Murakami” written by “tiger”.
Comments
We can add an additional model called Comment to our articles app and link it to the Article model through a foreign key.
Model
Let’s begin by adding another table to our existing database called Comment. This model will have a many-to-one foreign key relationship to Article: one article can have many comments but not the other way around. Traditionally the name of the foreign key field is simply the model it links to, so this field will be called article. The other two fields will be comment and author.
Open up the file articles/models.py and underneath the existing code add the following. Note that we are including both a __str__ and get_absolute_url method as a best practice.
......................................................
class Comment(models.Model):
    article = models.ForeignKey(Article,on_delete=models.CASCADE)
    comment = models.CharField(max_length=140)
    author = models.ForeignKey(
        settings.AUTH_USER_MODEL,
        on_delete=models.CASCADE,
    )

    def __str__(self):
        return self.comment

    def get_absolute_url(self):
        return reverse("article_list")
Since we have updated our models, we need to make a new migration file and then apply it. Note that by adding articles at the end of the makemigrations command-which is optional – we are specifying we want to use just the articles app here. This is a good habit to use. For example, what if we made changes to models in two different app? If we did not specify an app, then both app’s changes would be incorporated in the same migrations file which makes it harder, in the future, to debug errors. Keep each migration as small and contained as possible.
#terminal
python3 manage.py makemigrations articles
python3 manage.py migrate
Admin
Add Comment to our articles/admin.py file so it will be visible.
from django.contrib import admin
from .models import Article,Comment #new

# Register your models here.
admin.site.register(Article)
#new
admin.site.register(Comment)
Run the server and navigate http://127.0.0.1:8000/admin
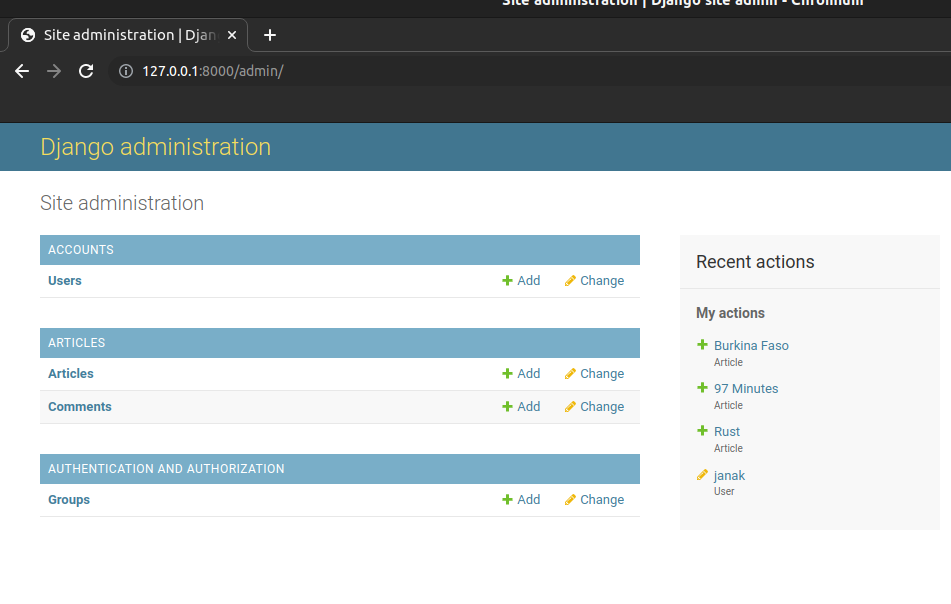
Under our app “Articles” we can see two tables: Articles and Comments.
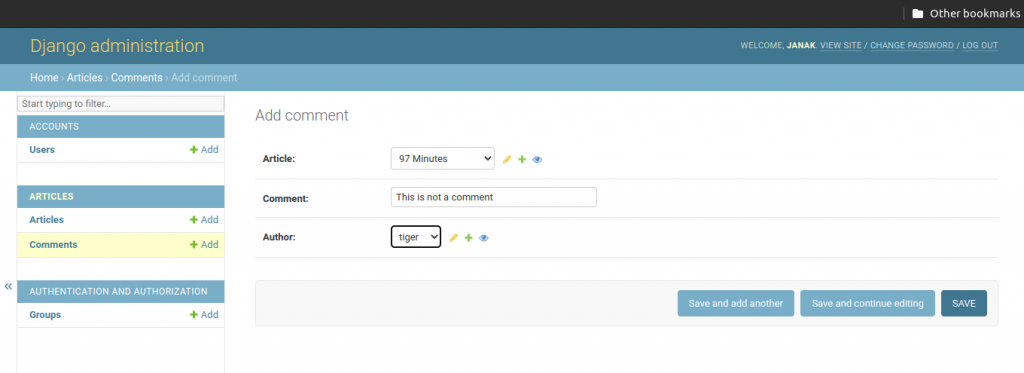
Click on the “+ Add” next to Comments. There are dropdowns for Article, Author and a text field next to Comment.
Select an Article, write a comment and then choose an author. Then click on the “Save” button.
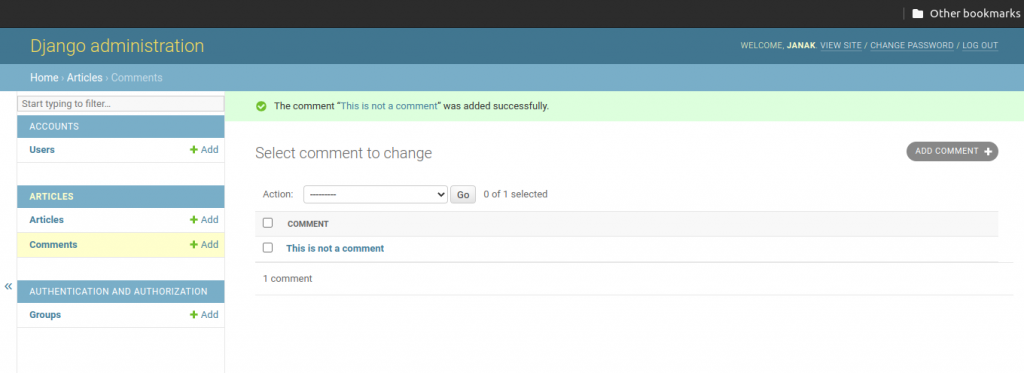
Here we have our comment. But wouldn’t it be better to just see all Comment models related to a single Article model? Django admin feature called inlines help us to display foreign key relationships in a visual way.
There are two main inline views used: TabularInline and StackedInline. We will be using TabularInline here.
Update articles/admin.py as follows.
from django.contrib import admin
from .models import Article,Comment

# Register your models here.
class CommentInline(admin.TabularInline):
    model = Comment

class ArticleAdmin(admin.ModelAdmin):
    inlines = [
        CommentInline
    ]
#new
admin.site.register(Article,ArticleAdmin)
admin.site.register(Comment)
Refresh the current admin page for Articles and go to that article where you had made comment.
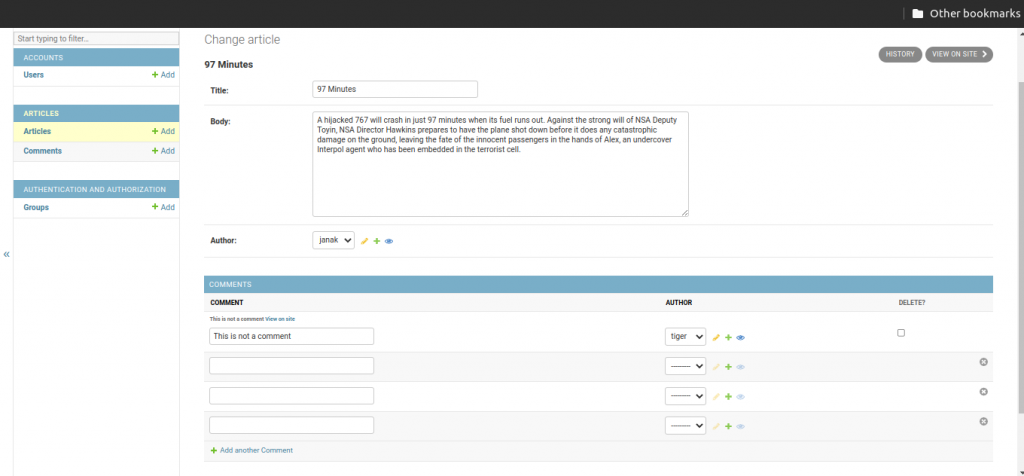
Django admin will display 3 empty rows here. Add following code in articles/admin.py to remove them.
....................................
class CommentInline(admin.TabularInline):
    model = Comment
    extra = 0
...............................
Template
We want comments to appear on the articles list page and allow logged-in users to add a comment on the detail page of the article, so we should update article_list.html and article_detail.html.
To display all comments related to a specific article we will follow the relationship backward via a “query”, which is a way to ask the database for a specific bit of information. Django has a built-in syntax for this known ad F00_set where F00 is the lowercased source model name. So for our Article model, in order to view all related comments, we use the syntax {% for comment in article.comment_set.all %}. And then within this for loop we can specify what to display such as the comment itself and the author.
Edit templates/article_list.html as follow.
<div class="card-footer text-center text-muted">
<a href="{% url 'article_edit' article.pk %}">Edit</a> |
<a href="{% url 'article_delete' article.pk %}">Delete</a>
</div>
#new
<div class="card-footer">
{% for comment in article.comment_set.all %}
<p>
<span class="font-weight-bold">
{{ comment.author }} ·
</span>
{{ comment }}
</p>
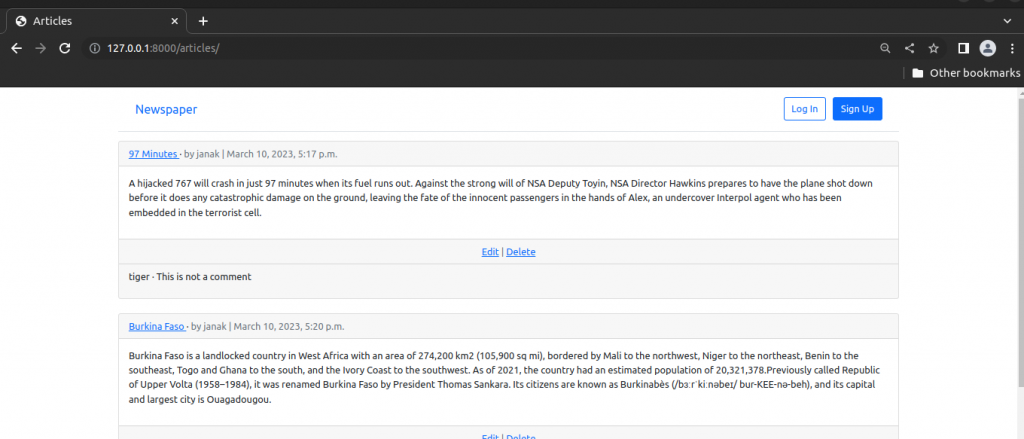
{% endfor %}
</div>Run the server and visit http://127.0.0.1:8000/articles/
Now edit templates/articles_detail.html
<div class="article-entry">
<h2>{{ object.title }}</h2>
<p>by {{ object.author }} | {{ object.date }}</p>
<p> {{ object.body }}</p>
</div>
#changes from here
<hr>
<h4>Comments</h4>
{% for comment in article.comment_set.all %}
<p>{{ comment.author }}· {{ comment }}</p>
{% endfor %}
<hr>
#changes end here
<p>
<a href="{% url 'article_edit' article.pk %}">Edit</a> |
<a href="{% url 'article_delete' article.pk %}">Delete</a>
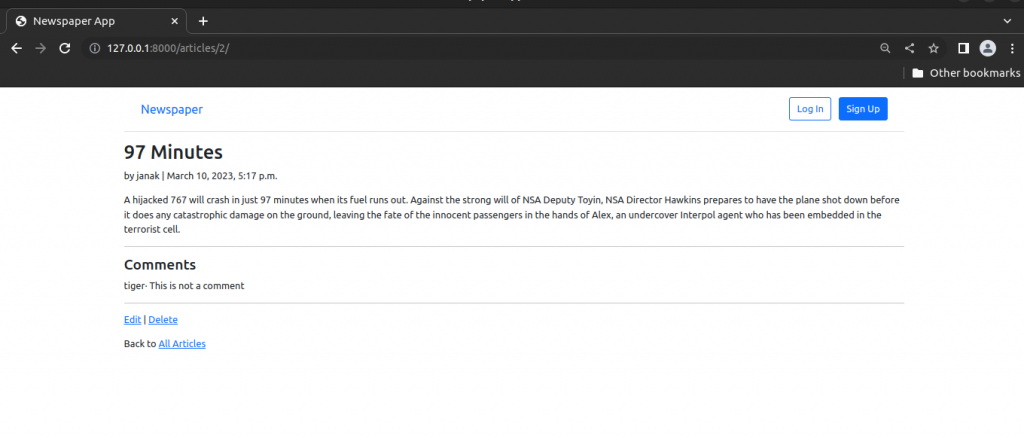
</p>
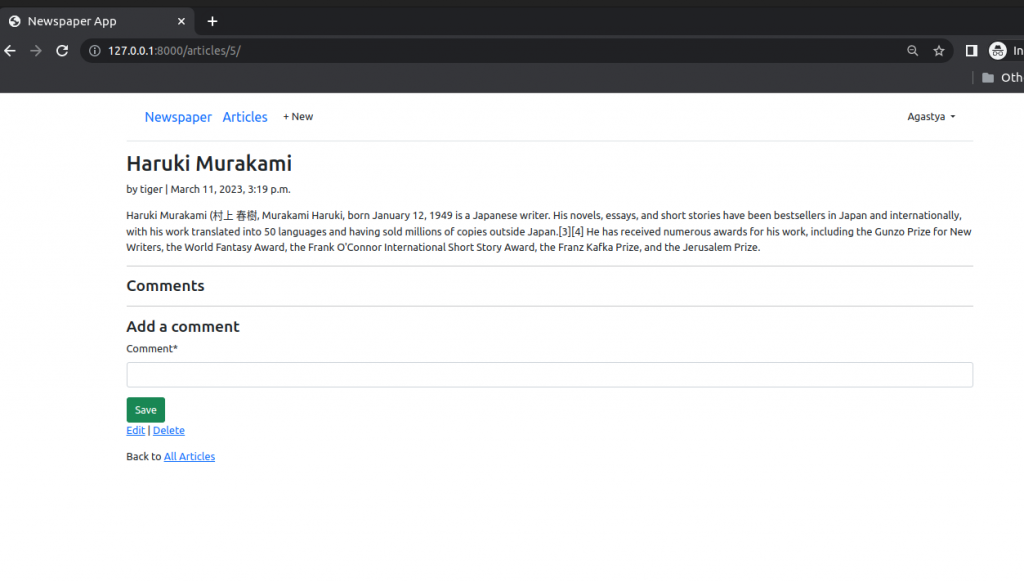
Now go to detail page to see the comment.
Comment Form
The comments are now visible but we need to add a form so users can add them in the website itself. ModelForm is a helper class designed to translate database models into forms. We can use it to create a form called CommentForm.
With your text editor create a new file called articles/forms.py. At the top import forms which has ModelForm as a module. Then import our model, Comment, as well since we will need to add that. Finally create the class CommentForm specifying both the underlying model and specific fields we wish to expose, which will be comment and author.
from django import forms
from .models import Comment

class Commentform(forms.ModelForm):
    class Meta:
        model = Comment
        fields = ("comment","author")
Comment View
In our articles/views.py file we need to override get_context_data() method. I is used to add information to a template by updating the context, a dictionary object containing all the variable names and values available in our the template.
from .forms import Commentform
..............................................
class ArticleDetailView(DetailView):
    model = Article
    template_name = "article_detail.html"

    def get_context_data(self, **kwargs):
        context = super().get_context_data(**kwargs)
        context['form'] = Commentform()
        return context
........................................
We imported line CommentForm and then updated the module for get_context_data(). First we pulled all existing information into the context by using super(), then we added the variable name form with the value of CommentForm(), and finally we returned the updated context.
Comment Template
To display the form in our article_detail.html template file we will rely on the form variable and also crispy forms. At the top load crispy_form_tags, create a standard-looking post form which uses a csrf_token for security, and display our form fields via {{ form|crispy }}.
<hr>
<h4>Comments</h4>
{% for comment in article.comment_set.all %}
<p>{{ comment.author }}· {{ comment }}</p>
{% endfor %}
<hr>
#changes from here
<h4>
Add a comment
</h4>
<form action="" method="post">
{% csrf_token %}
{{ form|crispy }}
<button class="btn btn-success ml-2" type="submit">Save</button>
</form>
#To here
<p>
<a href="{% url 'article_edit' article.pk %}">Edit</a> |
<a href="{% url 'article_delete' article.pk %}">Delete</a>
</p>
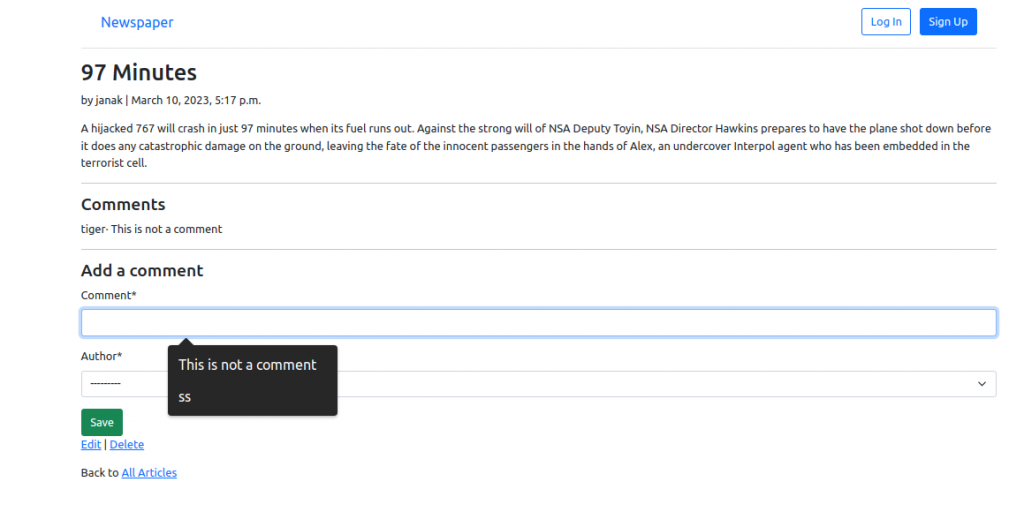
We have the comment form but we get an error when we want to save it.
Comment Post View
Let’s start by renaming ArticleDetailView into CommentGet since it handles GET reuests but not POST requests. We will then create a new CommentPost. And we can combine both view into a new ArticleDetailView that subclass View, the master class-based view upon which all other classes are built.
FormView is a built-in view that displays a form, any validation errors, and redirects to a new URL. We will use it in combination with SingleObjectMixin which helps us associate the current article with our form. In other words, if you have a comment at articles/2/, your comments will be saved to the article with a pk of 2.
At the top import FormView, SingleObjectMixin and reverse. FormViews relies on form_class to set the name of the form we are using, CommentForm. First up is post(): we use get_object() from SingleObjectMixin that lets us grap the article pk from the URL.
Next is form_valid(), which is called when form validation has succeeded. Before we save our comment to the database we have to specify the article it belongs. Initially we save the form but set commit to False because in the next line we associate the correct article with the form object. Then in the following line we save the form. Finally we return it as part of form_valid(). The final module is get_success_url() which is called after the form data is saved. We just redirect the user to the current page in this case.
Final version of articles/views.py
from django.contrib.auth.mixins import LoginRequiredMixin,UserPassesTestMixin

from django.views.generic import ListView, DetailView,FormView
from django.views.generic.detail import SingleObjectMixin

from django.views.generic.edit import (
    UpdateView,
    DeleteView,
    CreateView
)
from django.urls import reverse_lazy,reverse
from django.views import View

from .models import Article
from .forms import Commentform

# Create your views here.


class ArticleListView(ListView):
    model = Article
    template_name = "article_list.html"

class CommentGet(DetailView):
    model = Article
    template_name = "article_detail.html"

    def get_context_data(self, **kwargs):
        context = super().get_context_data(**kwargs)
        context['form'] = Commentform()
        return context

class CommentPost(SingleObjectMixin,FormView):
    model = Article
    form_class = Commentform
    template_name = "article_detail.html"

    def post(self,request,*args,**kwargs):
        self.object = self.get_object()
        return super().post(request,*args,**kwargs)

    def form_valid(self,form):
        comment = form.save(commit=False)
        comment.article = self.object
        comment.author = self.request.user
        comment.save()
        return super().form_valid(form)

    def get_success_url(self):
        article = self.get_object()
        return reverse("article_detail",kwargs={"pk":article.pk})


class ArticleDetailView(LoginRequiredMixin,View):
    def get(self,request,*args,**kwargs):
        view = CommentGet.as_view()
        return view(request,*args,**kwargs)

    def post(self,request,*args,**kwargs):
        view = CommentPost.as_view()
        return view(request,*args,**kwargs)


class ArticleUpdateView(LoginRequiredMixin,UserPassesTestMixin,UpdateView):
    model = Article
    fields = {
        "title",
        "body",
    }
    template_name = "article_edit.html"

    def test_func(self):
        obj = self.get_object()
        return obj.author == self.request.user


class ArticleDeleteView(LoginRequiredMixin,UserPassesTestMixin,DeleteView):
    model = Article
    template_name = "article_delete.html"
    success_url = reverse_lazy("article_list")

    def test_func(self):
        obj = self.get_object()
        return obj.author == self.request.user


class ArticleCreateView(LoginRequiredMixin,CreateView):
    model = Article
    template_name = "article_new.html"
    fields = (
        "title",
        "body",
    )

    def form_valid(self,form):
        form.instance.author = self.request.user
        return super().form_valid(form)
A little edit in articles/form.py so that the author of comment will be logged in user.
from django import forms
from .models import Comment

class Commentform(forms.ModelForm):
    class Meta:
        model = Comment
        fields = ("comment",)
We are done.
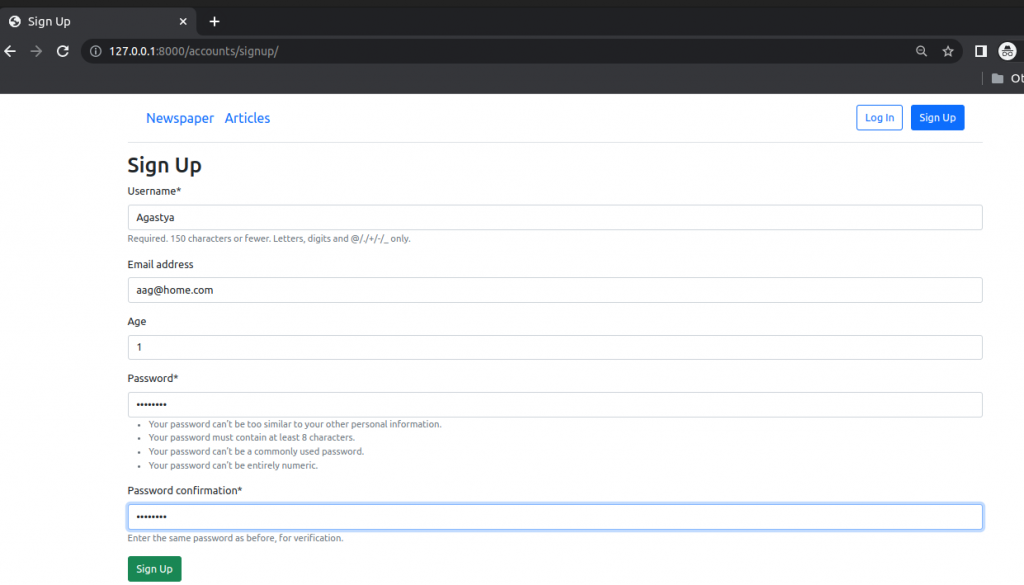
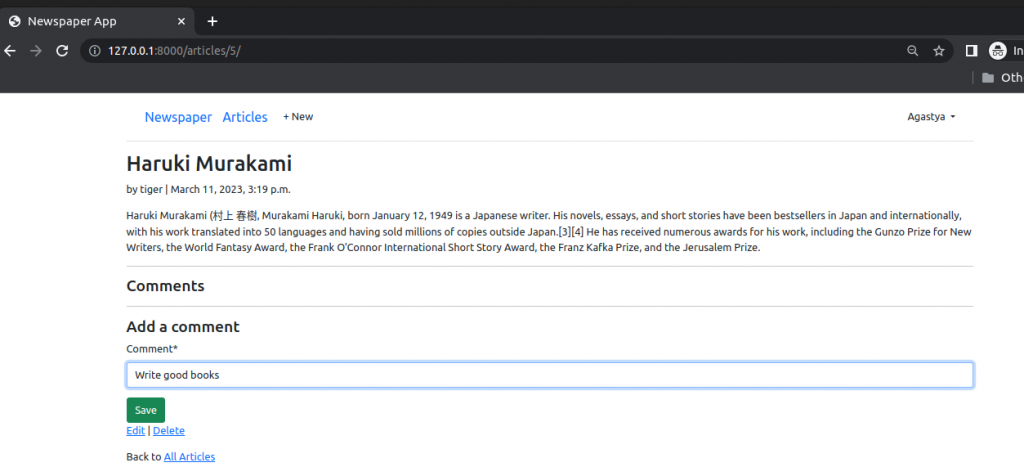
Run the server, sign up, login in, create a new article and add a comment in someone’s article.


Host on Pythonanywhere.com
Create requirements.txt with the following code.
#terminal
pip3 freeze > requirements.txt
Now push it to github.
Follow the instructions on this video to host django site on pythonanywhere.com. And now its supports python 3.10 too.