
Blog App in Django Part II
In Blog App in Django Part I user can only create, edit or delete blogs through admin panel. In this tutorial, we will add functionalities and pages so that user can create, edit and delete blog posts without using Django admin panel. We will add codes to previous project.
Table of Contents
Create
Let us update blog/views.py by creating a new class named BlogCreateView which is subclass of generic class called CreateView.
from django.views.generic import ListView, DetailView
from django.views.generic.edit import CreateView #new

from .models import Post

# Create your views here.
class BlogListView(ListView):
    model = Post
    template_name = "home.html"

class BlogDetailView(DetailView):
    model = Post
    template_name = "post_detail.html"

#new
class BlogCreateView(CreateView):
    model = Post
    template_name = "post_new.html"
    fields = ["title","author","body"]
Within BlogCreateView we specify our database model, Post ,the name of our template, post_new.html, and explicitly set the database fields we want to expose which are title, author and body.
Let’s add a new URL for post_new. We will import BlogCreateView and then add a URL path for post/new/. We will give it the URL name of post_new so it can be referred to later in our templates.
from django.urls import path
from .views import BlogListView, BlogDetailView, BlogCreateView #new

urlpatterns = [
    path("post/new/",BlogCreateView.as_view(),name="post_new"), #new
    path("post/<int:pk>/",BlogDetailView.as_view(),
         name="post_detail"),
    path("",BlogListView.as_view(),name="home"),

]
Update templates/base.html to include line for post_new
<!DOCTYPE html>
{% load static %}
<html>
    <head>
        <title>
            Django Blog
        </title>
        <link href="https://fonts.googleapis.com/css?family=\
Source+Sans+Pro:400" rel="stylesheet">
        <link rel="stylesheet" href="{% static 'css/base.css' %}">

    </head>
    <body>
        <header>
            <div class="nav-left">
                <h1><a href="{% url 'home' %}">Django Blog</a></h1>
            </div>
            <div class="nav-right">
                <a href="{% url "post_new" %}">+ Create New Blog Post</a>
            </div>

        </header>
        <div>
            {% block content %}
            {% endblock content %}
        </div>
    </body>
</html>
Now create post_new.html within templates folder.
{% extends "base.html" %}
{% block content %}

<h1>New Post</h1>
<form action="" method="post">{% csrf_token %}</form>
{{ form.as_p }}
<input type="submit" value="Save">
</form>
{% endblock content %}
We inherit our base template. We used HTML <form> tags with the POST method since we’re sending data. If we were receiving data from a form, for example in a search box, we would use GET. We added {% csrf_token%} which Django provides to protect our form from cross-stir request forgery. Then to output our form data we use {{ form.as_p }} which renders the specified fields within paragraph <p> tags. Finally, we specified an input type of submit and assign it the value “Save”.
Run server and visit http://127.0.0.1:8000/
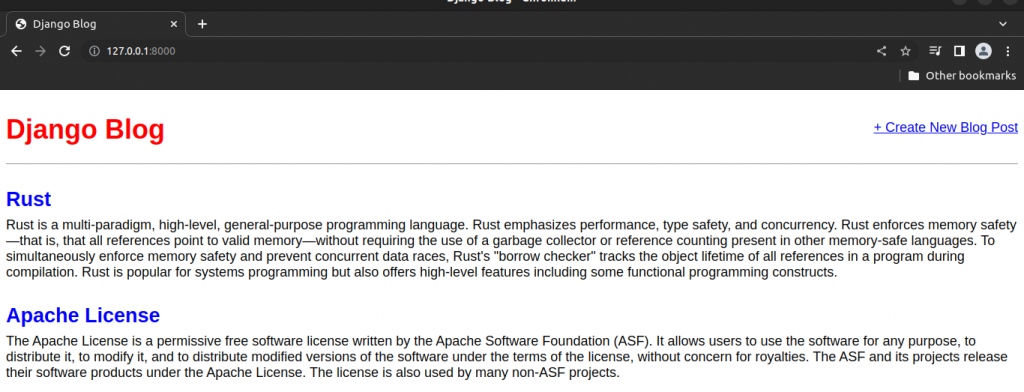
Click on +Create New Blog Post to create a new blog post.
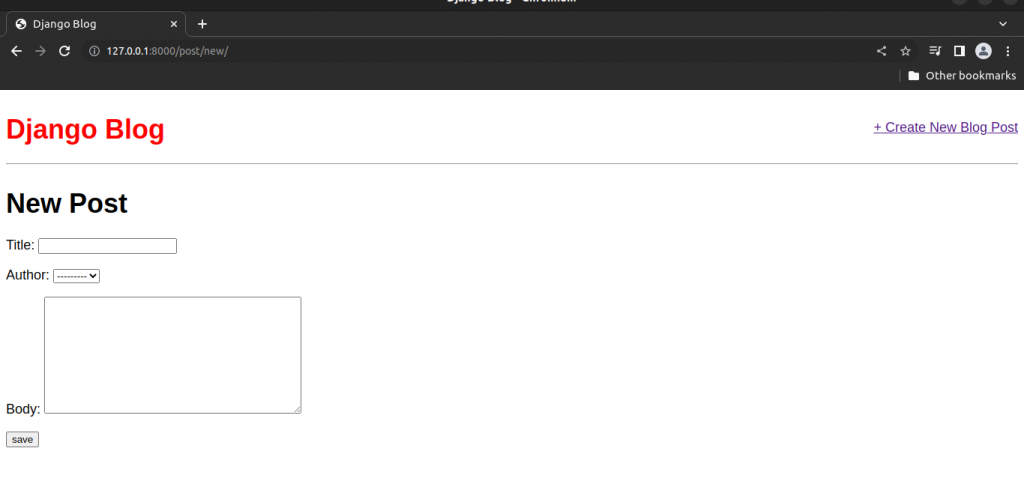
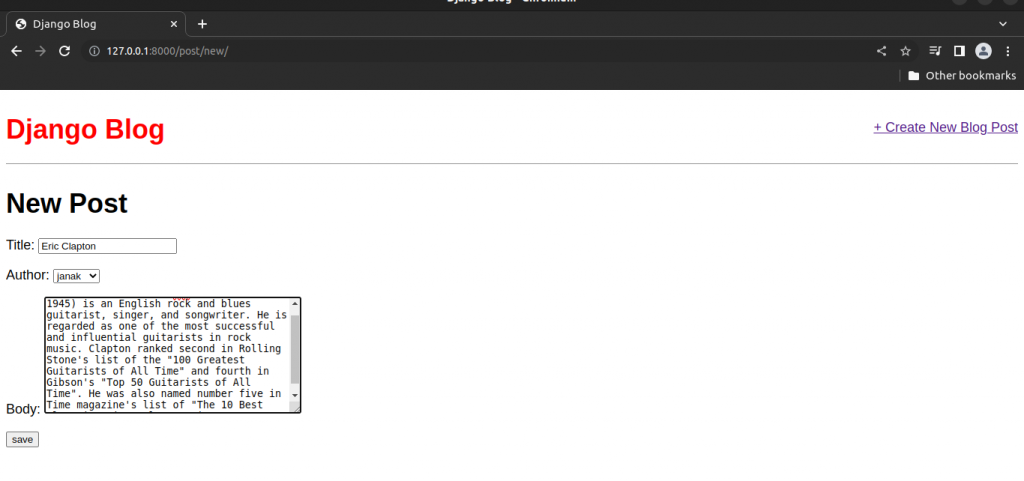
Fill it and Save.
Saving will redirect to detail page of the post you just created.

Update Blog Post
Create a class BlogUpdateView in blog/views.py
from django.views.generic.edit import CreateView, UpdateView
...........................................

class BlogUpdateView(UpdateView):
    model = Post
    template_name = "post_edit.html"
    fields = ["title","body"]
We imported UpdateView class and the created BlogUpdateView which is a subclass of UpdateView. In BlogUpdateView listed field [“title” , “body”] based on the assumption that we only want to edit “title” and “body”.
We also need to add BlogUpdateView and then new route at the top of the existing urlpatterns. Edit blog/urls.py as follow.
from django.urls import path
from .views import BlogListView, BlogDetailView, BlogCreateView, BlogUpdateView #new

urlpatterns = [
    path("post/<int:pk>/edit/",BlogUpdateView.as_view(),name="post_edit"), #new
    path("post/new/",BlogCreateView.as_view(),name="post_new"),
    path("post/<int:pk>/",BlogDetailView.as_view(),
         name="post_detail"),
    path("",BlogListView.as_view(),name="home"),

]
At the top we add our view BlogUpdateView to the list of imported views, then created a new url pattern for /post/pk/edit and gave it the name post_edit.
Now update templates/post_detail.html to include edit option.
{% extends "base.html" %}
{% block content %}
<div class="post-entry">
    <h2>{{ post.title }}</h2>
    <p>{{ post.body }}</p>
</div>
<a href="{% url 'post_edit' post.pk %}">+ Edit this post</a>

{% endblock content %}
We have added a link using < a href> … </a> and the Django template engine’s {% url … %} tag. Within it, we have specified the target name of our url, which will be called post_edit and also passed the parameter needed, which is the primary key of the post post.pk
Create the template file for our edit page called templates/post_edit.html and add the following code.
{% extends "base.html" %}
{% block content %}
<h1>Edit Post</h1>
<form action="" method="post">
    {% csrf_token %}
    {{ form.as_p }}
    <input type="submit" value="Update">
</form>

{% endblock content %}
We used HTML <form></form> tags, Django’s csrf_token for security, form.as_p to display our form fields with paragraph tags, and finally give it the value “Update” on the submit button.
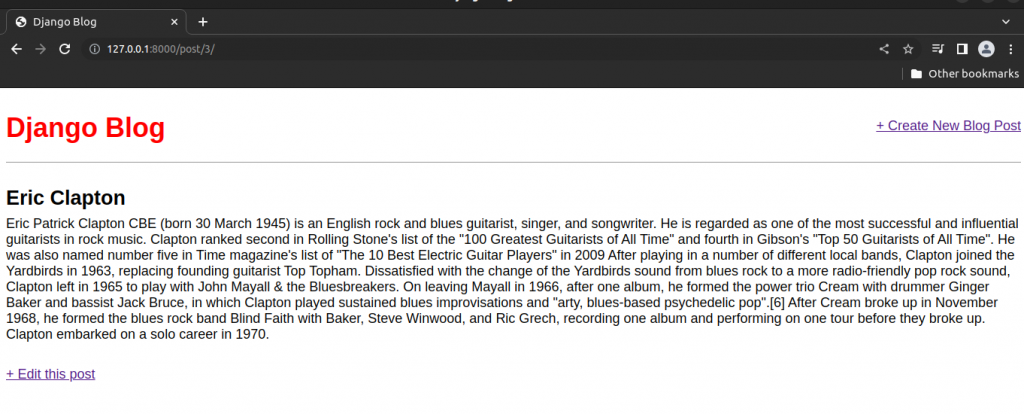
Now you can see edit options in post detail page.
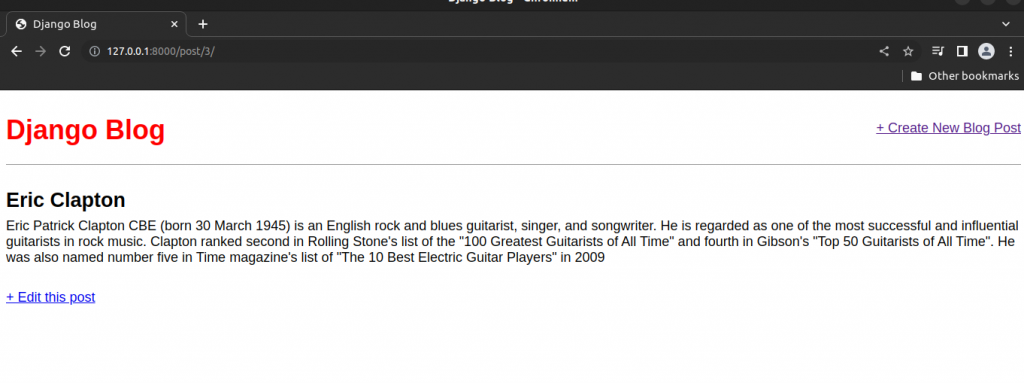
Click Edit this post to edit the blog post.
After editing the post.
Delete
Import DeleteView and create a new class named BlogDeleteView in blog/views.py.
from django.views.generic import ListView, DetailView
#new
from django.views.generic.edit import CreateView, UpdateView, DeleteView #new
from django.urls import reverse_lazy

from .models import Post

# Create your views here.
class BlogListView(ListView):
    model = Post
    template_name = "home.html"

class BlogDetailView(DetailView):
    model = Post
    template_name = "post_detail.html"

class BlogCreateView(CreateView):
    model = Post
    template_name = "post_new.html"
    fields = ["title","author","body"]

class BlogUpdateView(UpdateView):
    model = Post
    template_name = "post_edit.html"
    fields = ["title","body"]

#new
class BlogDeleteView(DeleteView):
    model = Post
    template_name = "post_delete.html"
    success_url = reverse_lazy("home")
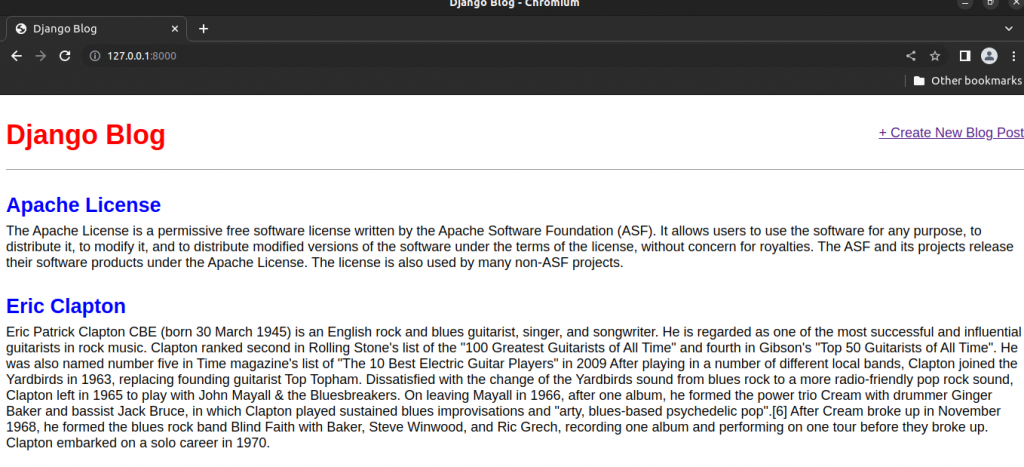
The DeleteView specifies a model which is Post, a template post_delete.html, and a third field called success_url. After a blog post is deleted we want to redirect the user to another page, which in our case in the homepage. In CreateView and UpdateView we did not need to use success_url as the Django will automatically use get_absolute_url() on the model object if it is avaliable.
We used reverse_lazy here as opposed to just reverse so that it won’t execute the URL redirect until our view has finished deleting the blog post.
We need to include this BlogDeleteView in blog/urls.py.
from django.urls import path
from .views import BlogListView, BlogDetailView, BlogCreateView, BlogUpdateView,BlogDeleteView #new

urlpatterns = [
    path("post/<int:pk>/edit/",BlogUpdateView.as_view(),name="post_edit"),
    path("post/new/",BlogCreateView.as_view(),name="post_new"),
    path("post/<int:pk>/",BlogDetailView.as_view(),
         name="post_detail"),
    #new
    path("post/<int:pk>/delete/",BlogDeleteView.as_view(),
         name="post_delete"),
    path("",BlogListView.as_view(),name="home"),

]
Now, let us edit the templates/post_detail.html to include the delete option.
{% extends "base.html" %}
{% block content %}
<div class="post-entry">
    <h2>{{ post.title }}</h2>
    <p>{{ post.body }}</p>
</div>
<a href="{% url 'post_edit' post.pk %}">+ Edit this post</a>
<br>
<a href="{% url "post_delete" post.pk %}">+ Delete Blog Post</a>
{% endblock content %}
Create a new file templates/post_delete.html for our delete page template.
{% extends "base.html" %}
{% block content %}
<h1>Delete Post</h1>
<form action="" method="post">
    {% csrf_token %}
    <p>Are you sure want to delete "{{ post.title }}"?</p>
    <input type="submit" value="Confirm">
</form>
{% endblock content %}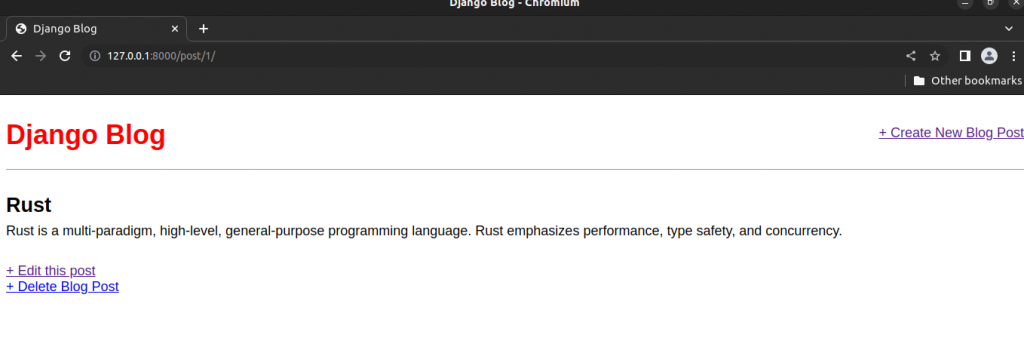
Click on Delete Blog Post
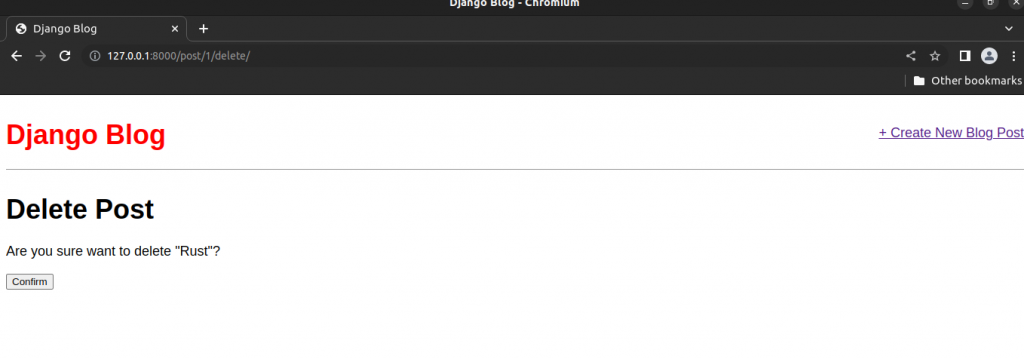
After confirming you will be redirected to home page.
Test
We have added new views for create, update and delete so that means we need to create three new methods to test them.
Add the following code to blog/tests.py
..............................................
def test_post_createview(self):
        response = self.client.post(
            reverse("post_new"),
            {
                "title":"New title",
                "body":"New text",
                "author":self.user.id,

            },

        )
        self.assertEqual(response.status_code,302)
        self.assertEqual(Post.objects.last().title,"New title")
        self.assertEqual(Post.objects.last().body,"New text")


    def test_post_updateview(self):
        response = self.client.post(
            reverse("post_edit",args="1"),
            {
                "title":"Updated title",
                "body":"Updated text",
            },
        )
        self.assertEqual(response.status_code,302)
        self.assertEqual(Post.objects.last().title,"Updated title")
        self.assertEqual(Post.objects.last().body,"Updated text")


    def test_post_deleteview(self):
        response = self.client.post(reverse("post_delete",args="1"))
        self.assertEqual(response.status_code,302)
For test_post_createview we create a new response and check that the page has a 302 redirect status code and the last() object created on our model matches the new response.
Then test_post_updateview sees if we can update the initial post created in setUpTestData since that data is avaliable throughout our entire test class.
The last new test, test_post_deleteview, confirms that a 302 redirect occurs when deleting a post.
#Terminal
python3 manage.py test